Most of the cameras I use (and projectors for that matter) are driven by a motor where one full turn, or 360 degrees equals one frame of film (they are all optical printer or animation cameras).
There obviously needs to be position accuracy because the camera needs to be closed when the motor has spun 360 degrees, made its exposure and comes to rest, ready for next frame.
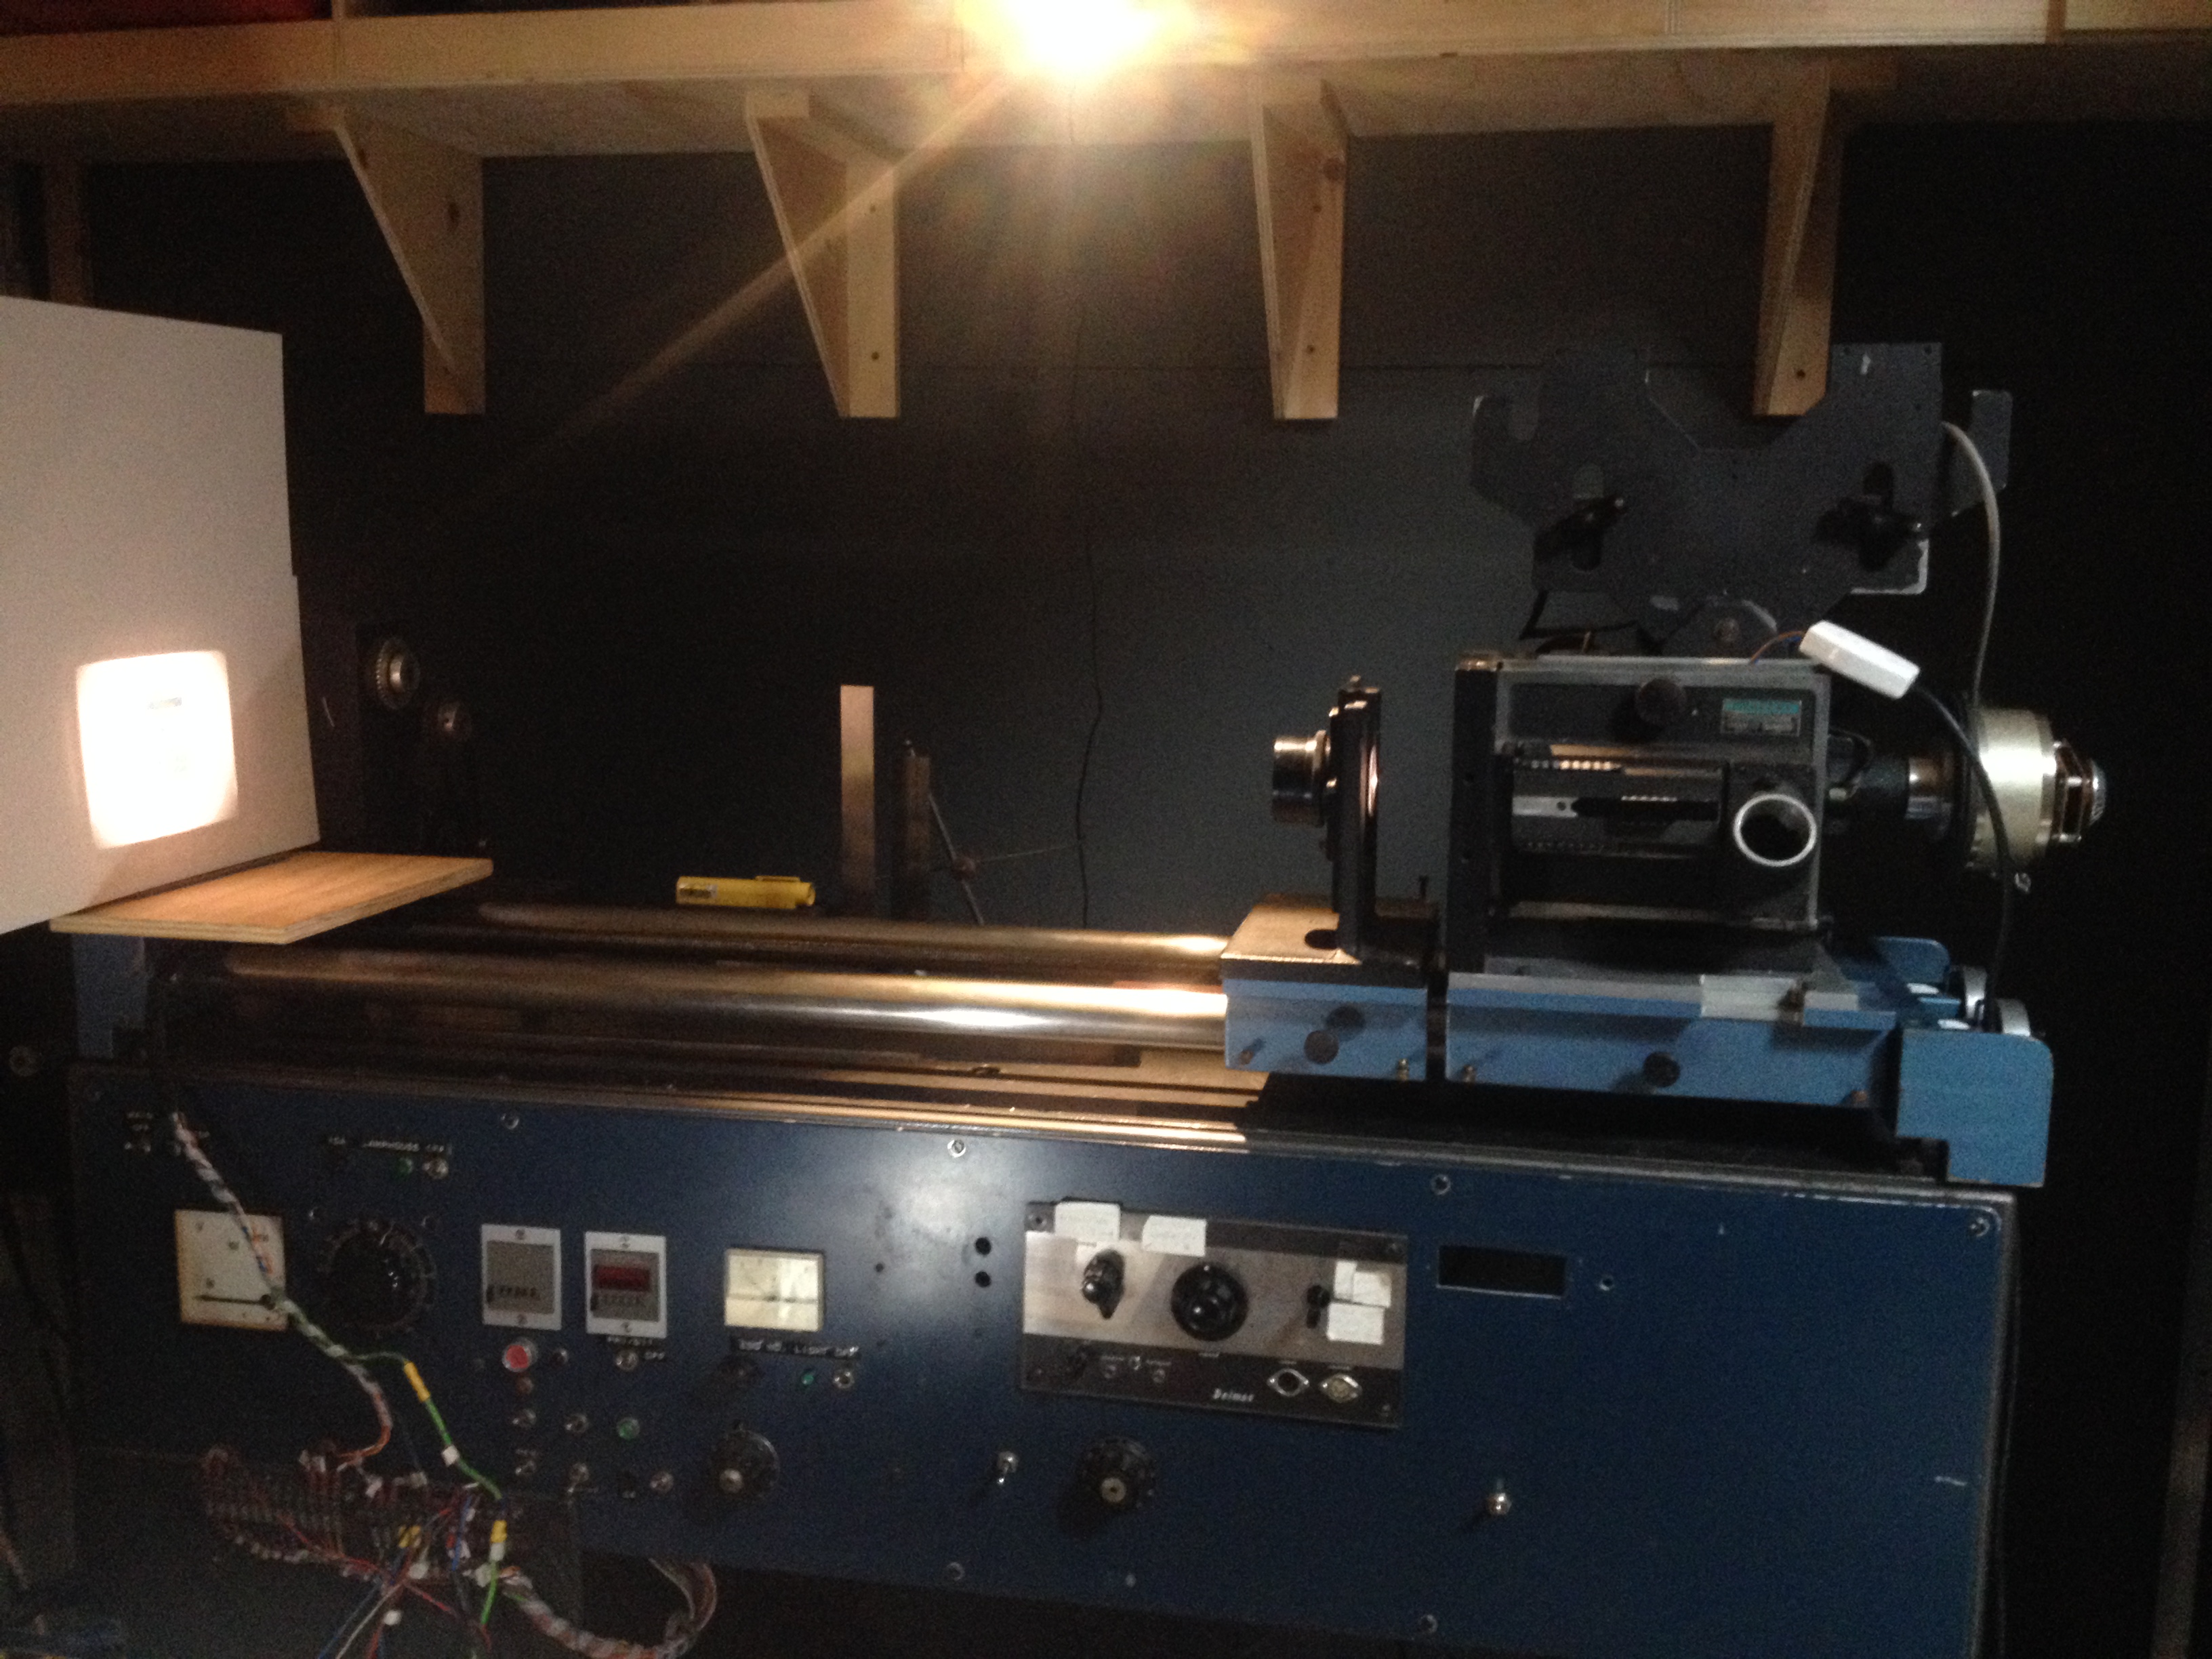
The way this is achieved varies from camera to camera. On the Oxberry, the motor is an expensive ‘pancake’ style printed armature motor. Its spins very smoothly, has zero ‘cogging’ and other features. Its position is known to itself because of an optical disc that stops after each rotation. This is handy BUT what if I want super long exposures. And, to replace this motor is cost prohibitive.
Enter Closed Loop stepper motors.
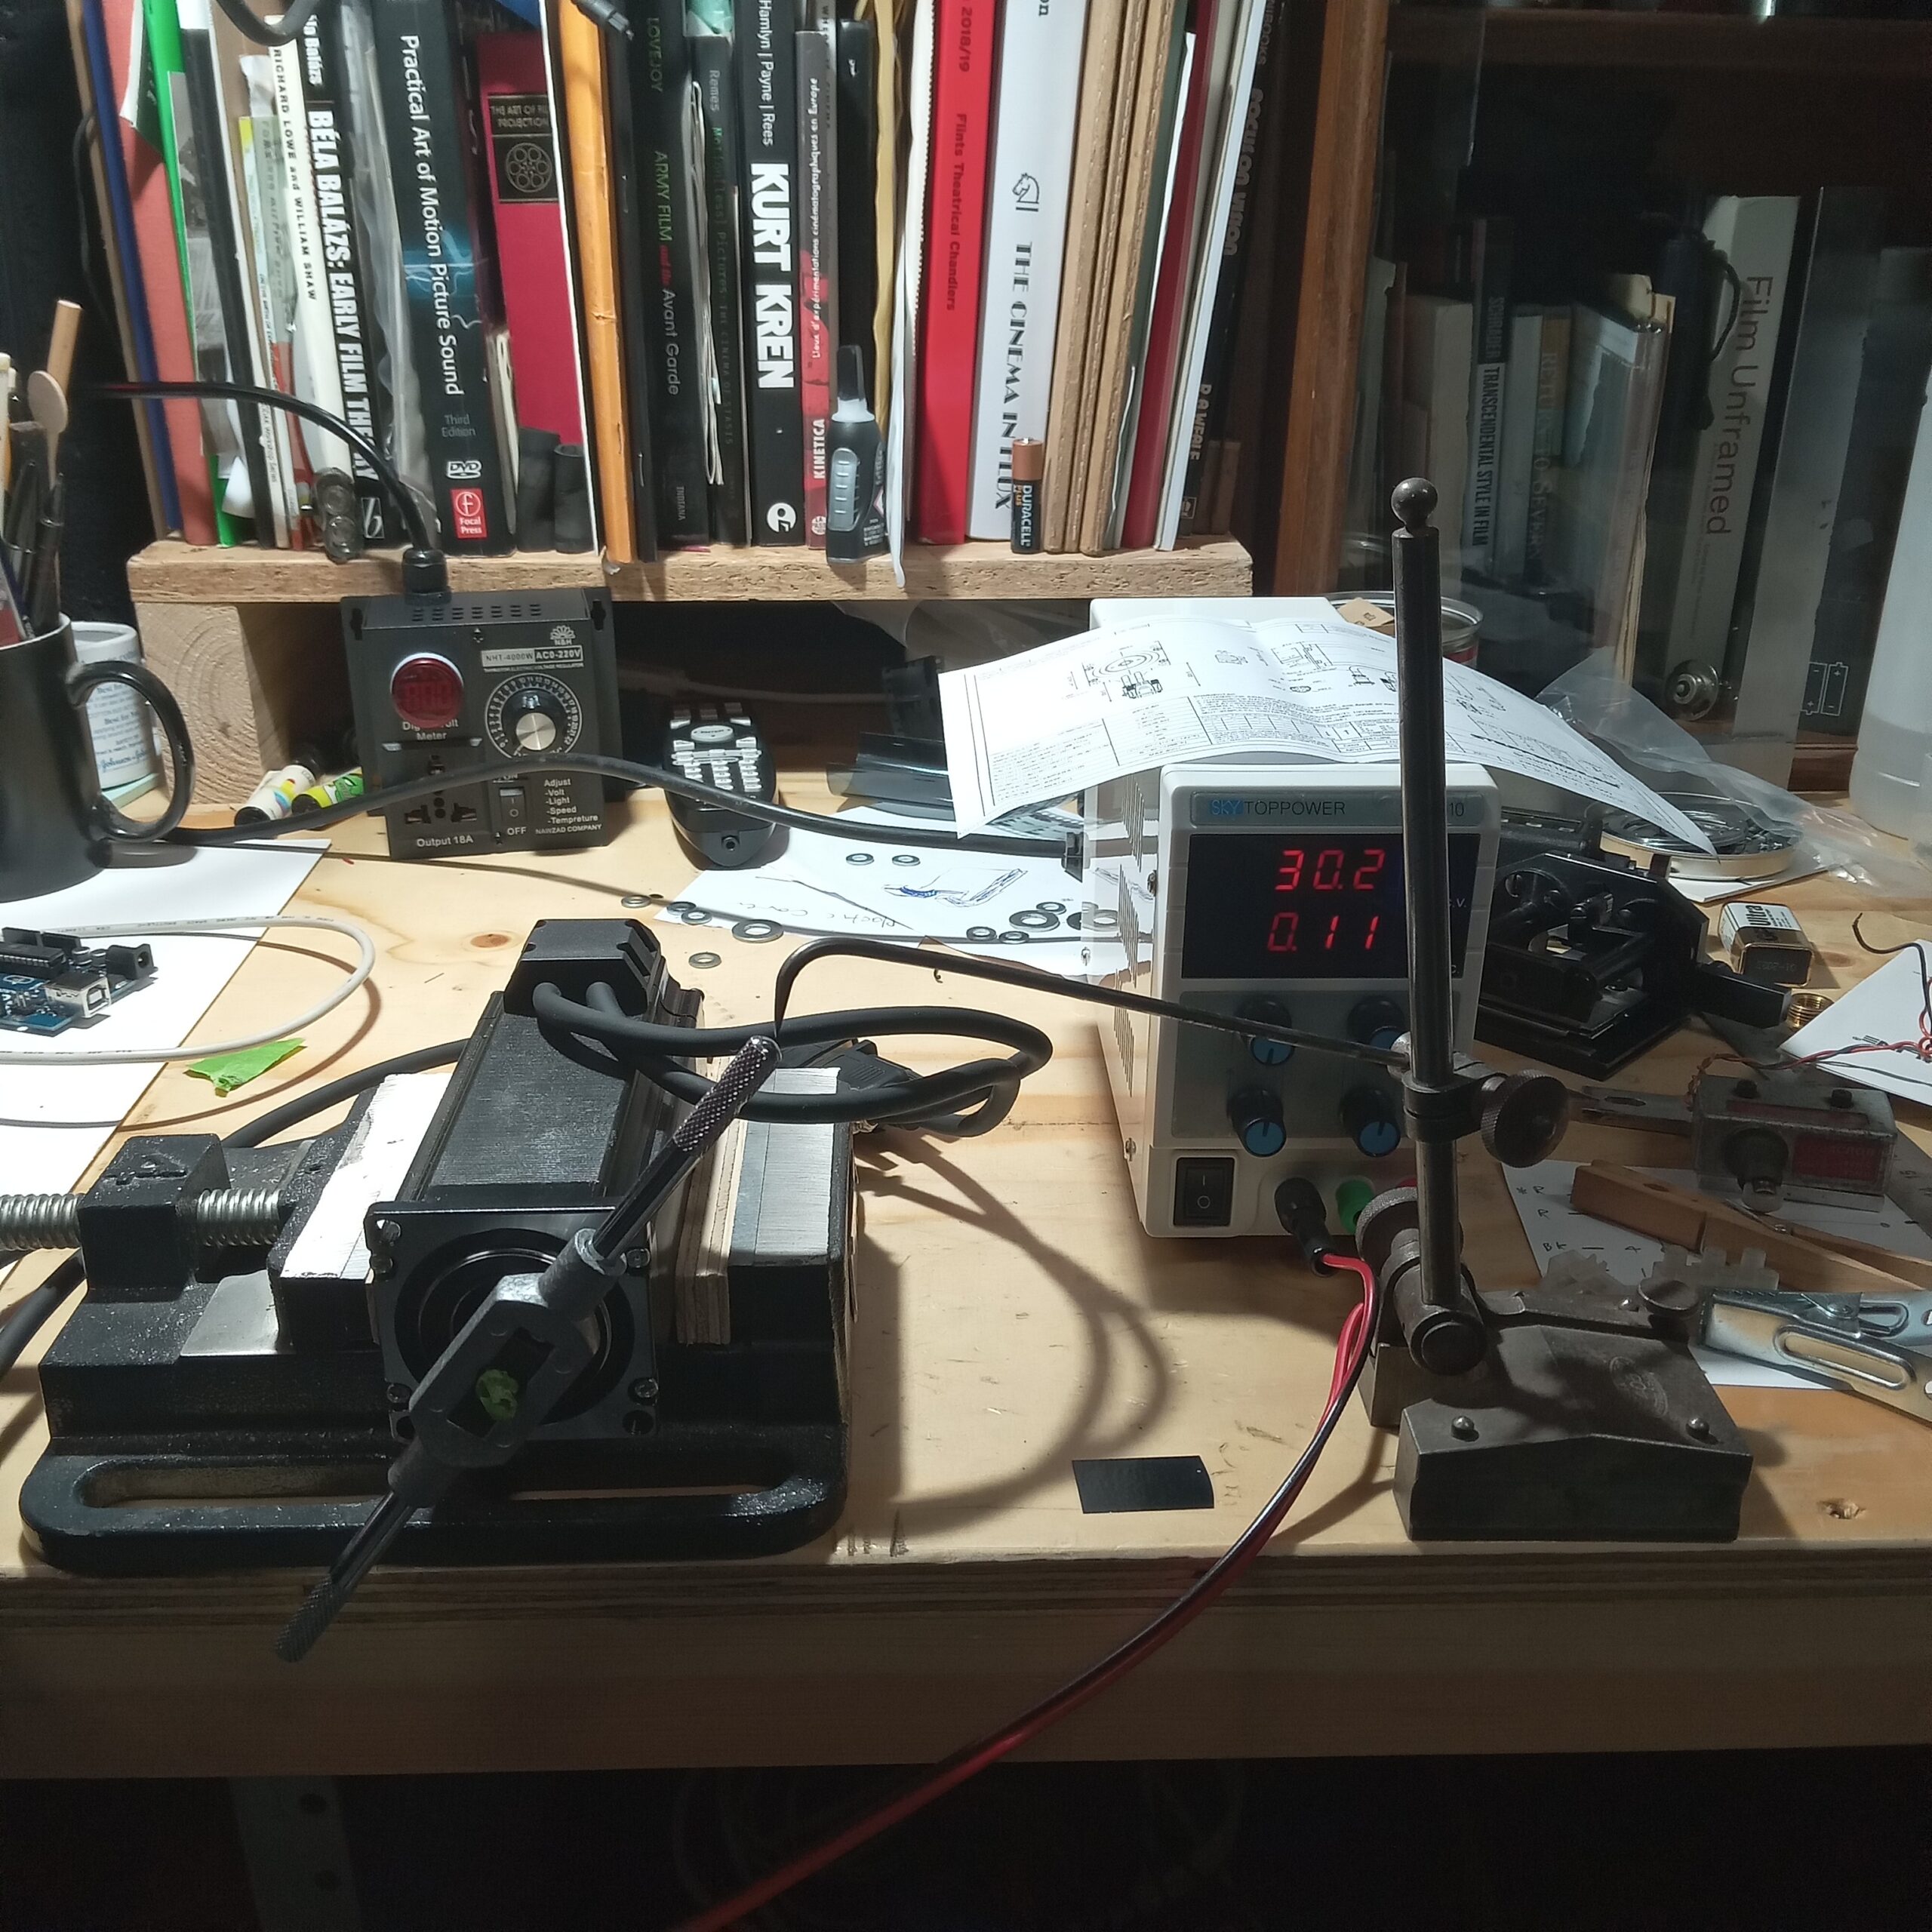
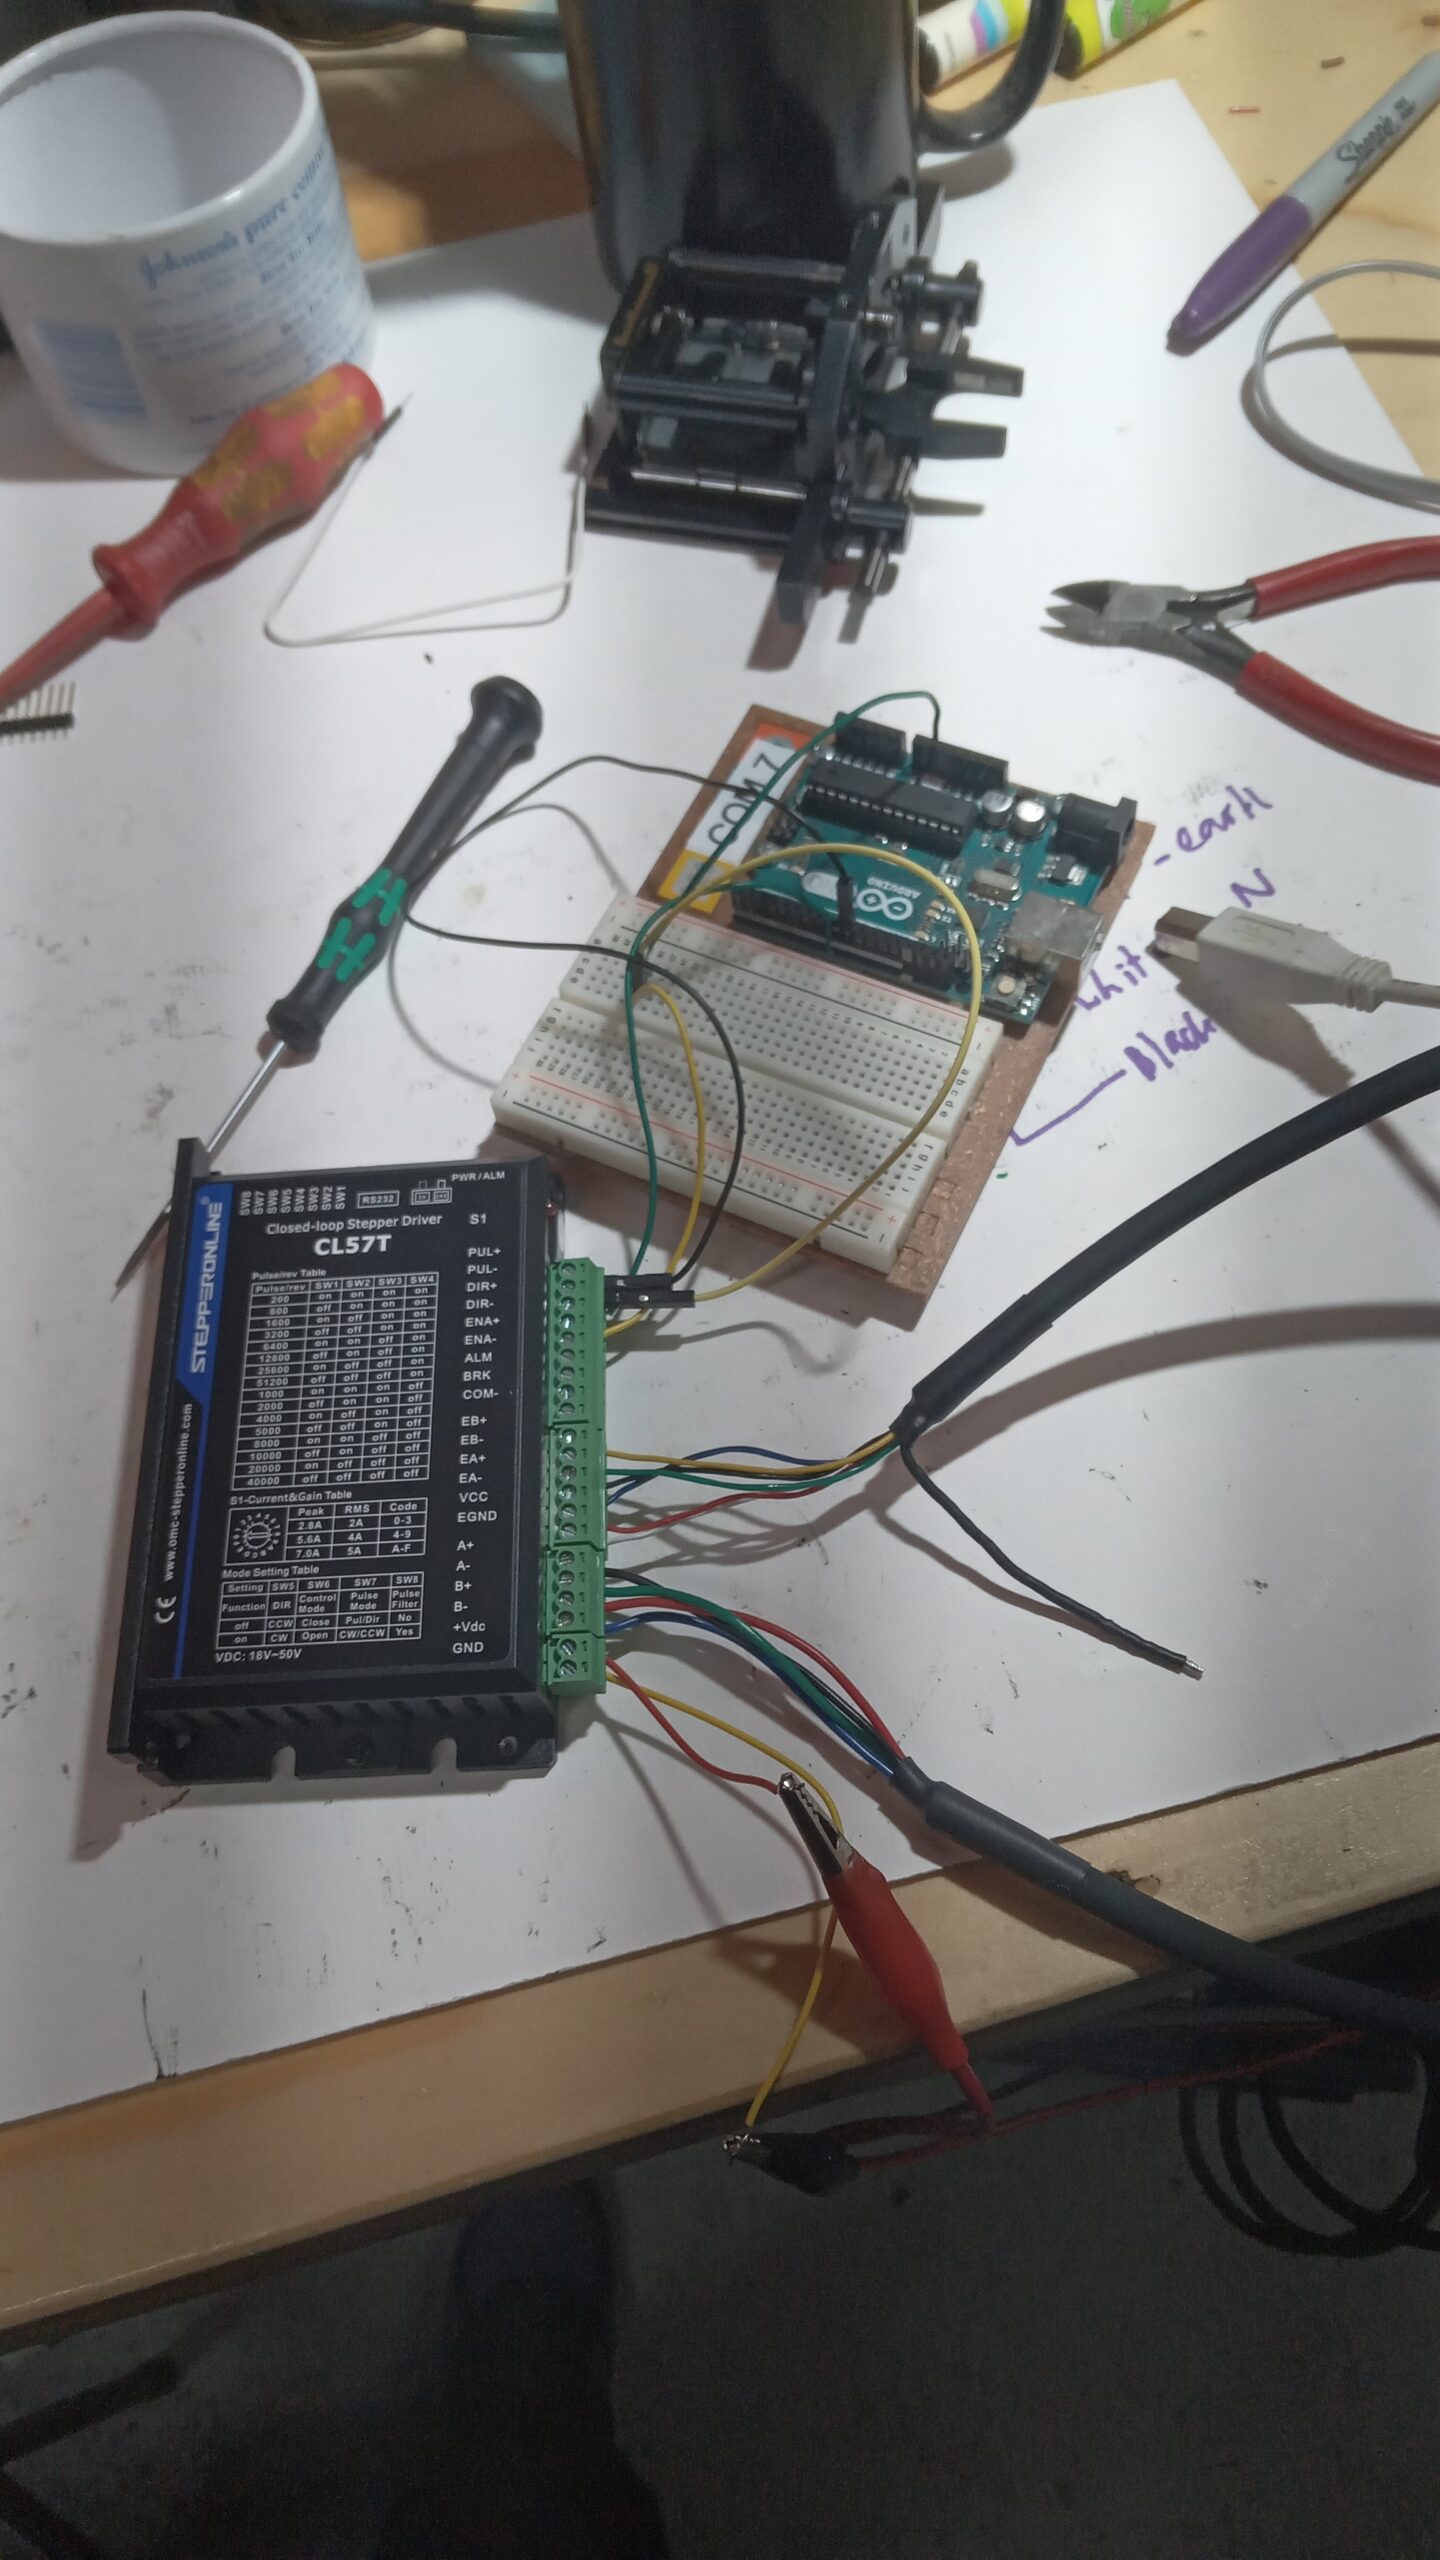
These systems have really improved in recent years so now for less than £100 you can get the motor, the driver and the PSU. To operate the motor, ie to make it spin, a microcontroller is used such as Arduino or Raspberry PI. I am using an Arduino.
The functions which the motor will be programmed to perform can go way beyond that possible with the motor system on the optical printer. However, the printer can extend its functions by also being controlled by an Arduino and I am working on this aswell.
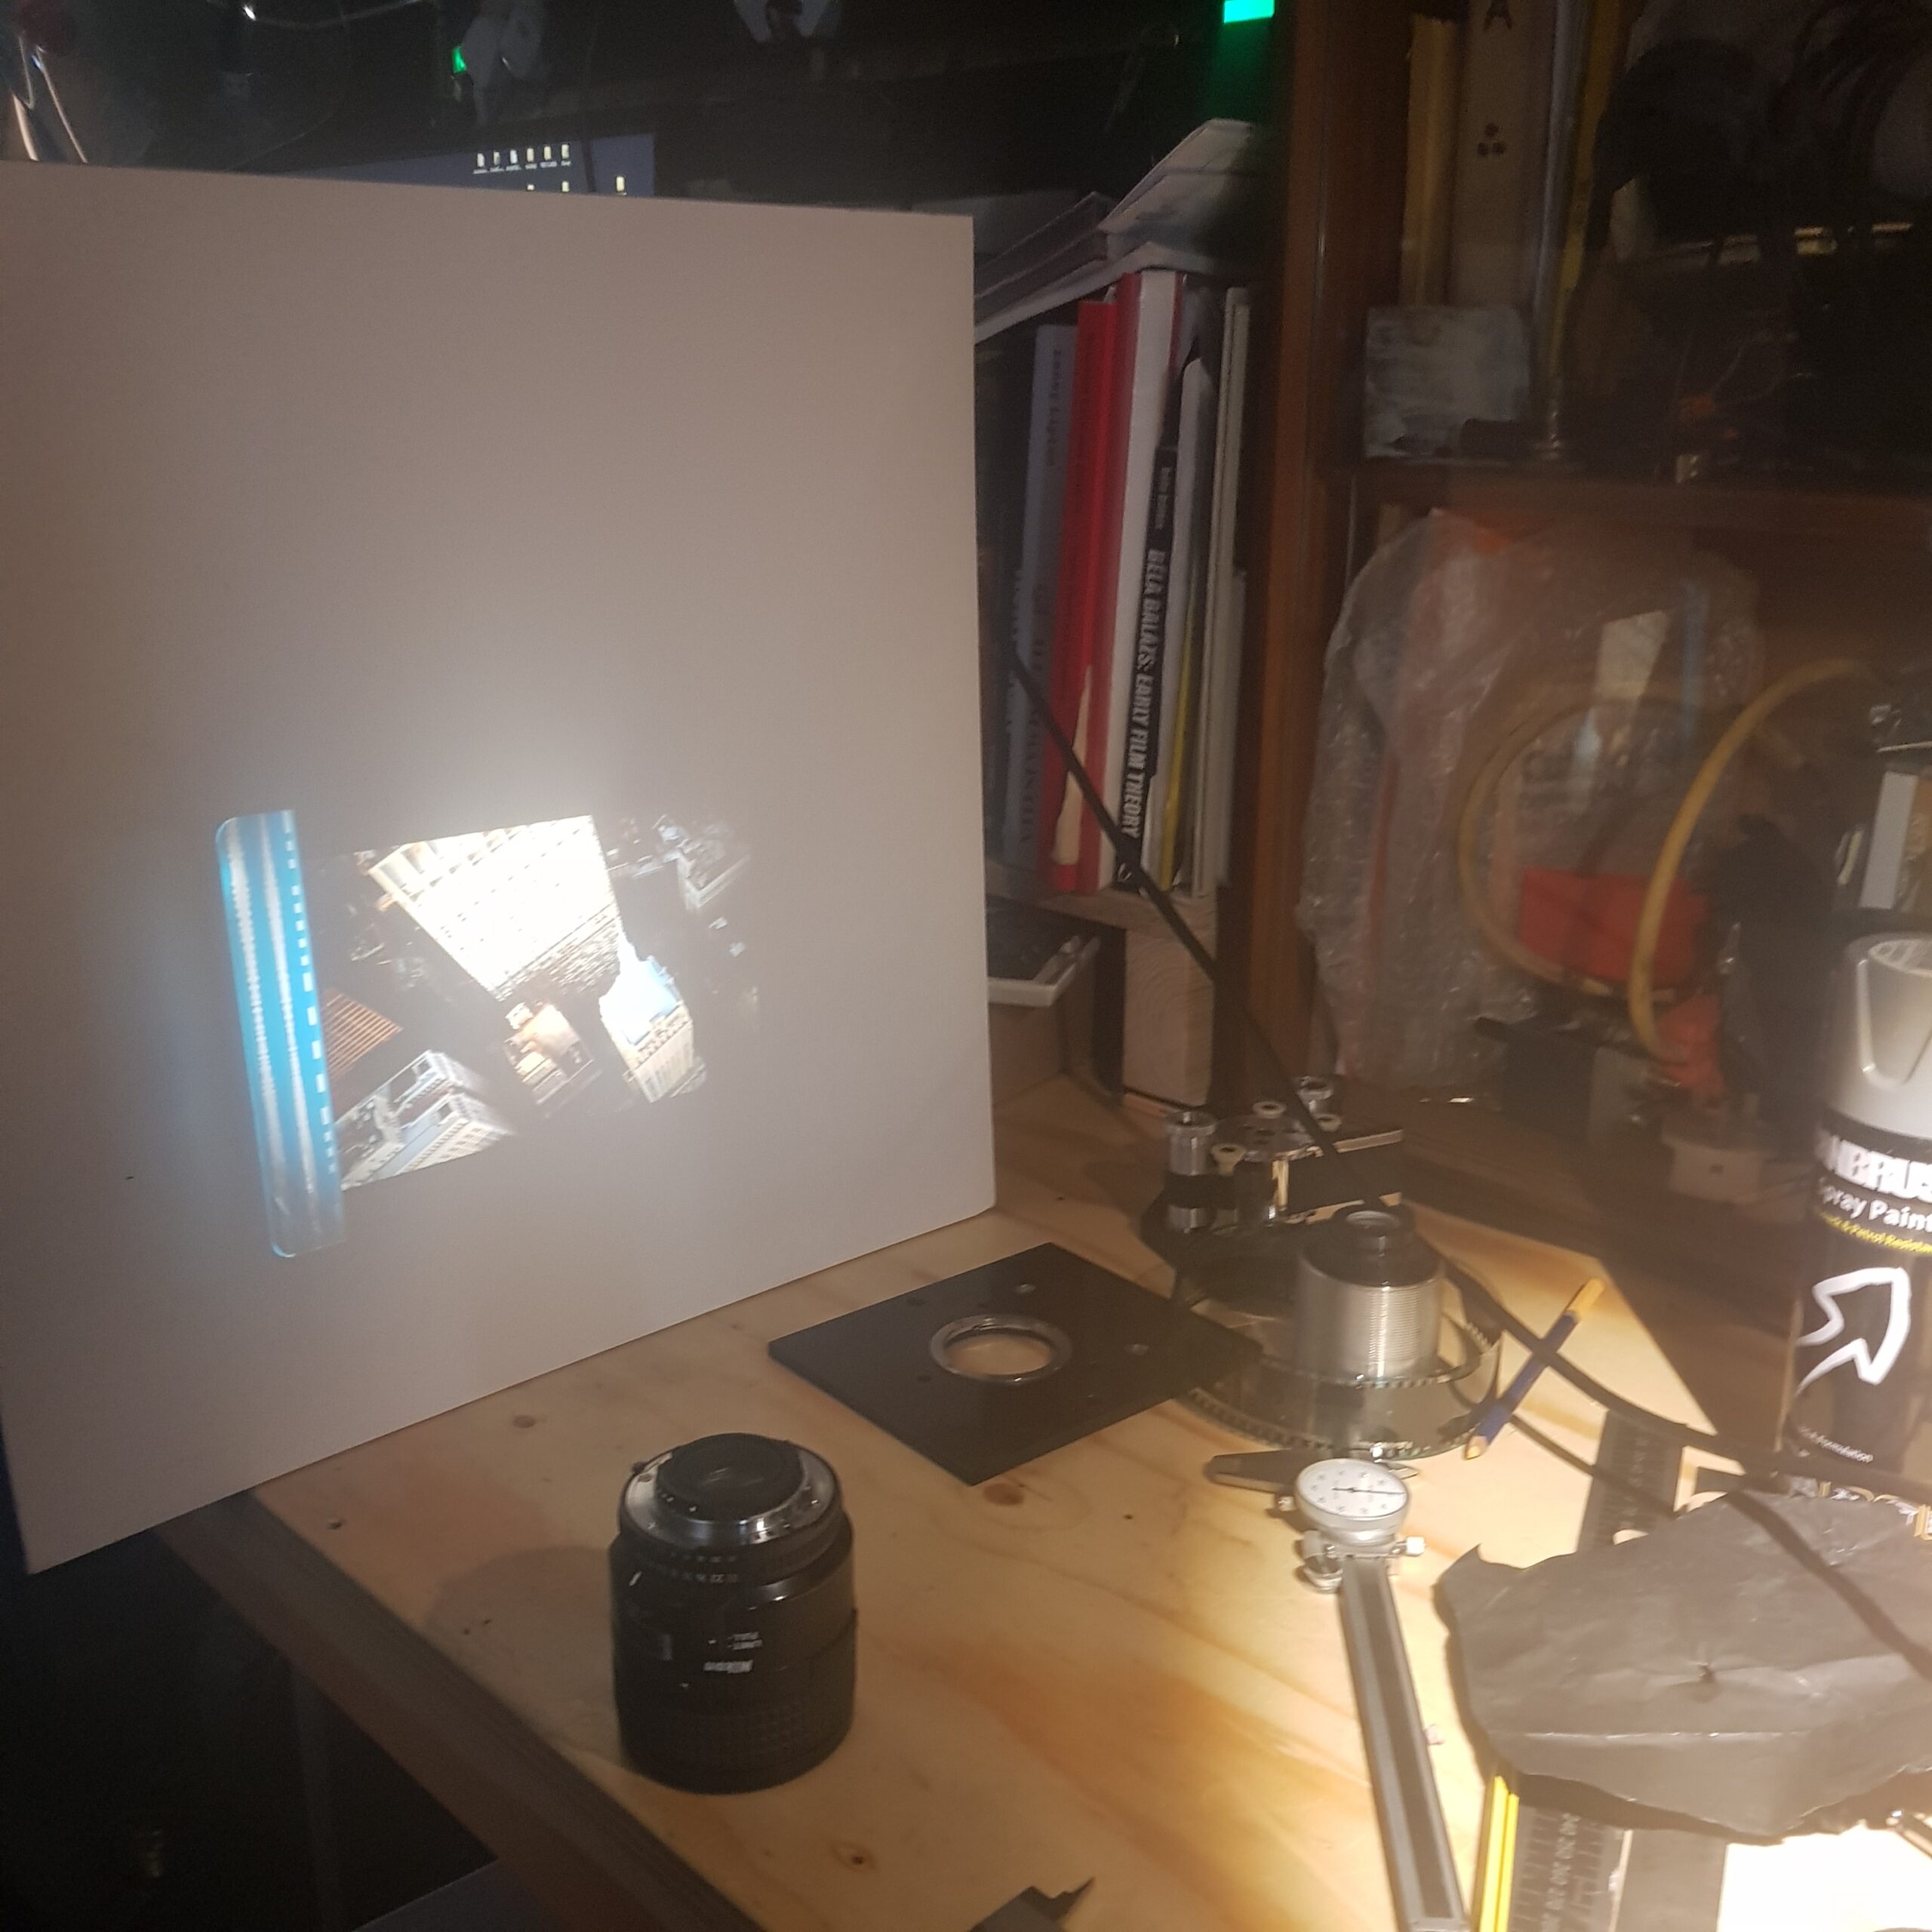
For this experimental animation / plate / studio camera I need a way to control exposures and position as well as other possible inputs like the postion of objects being filmed.
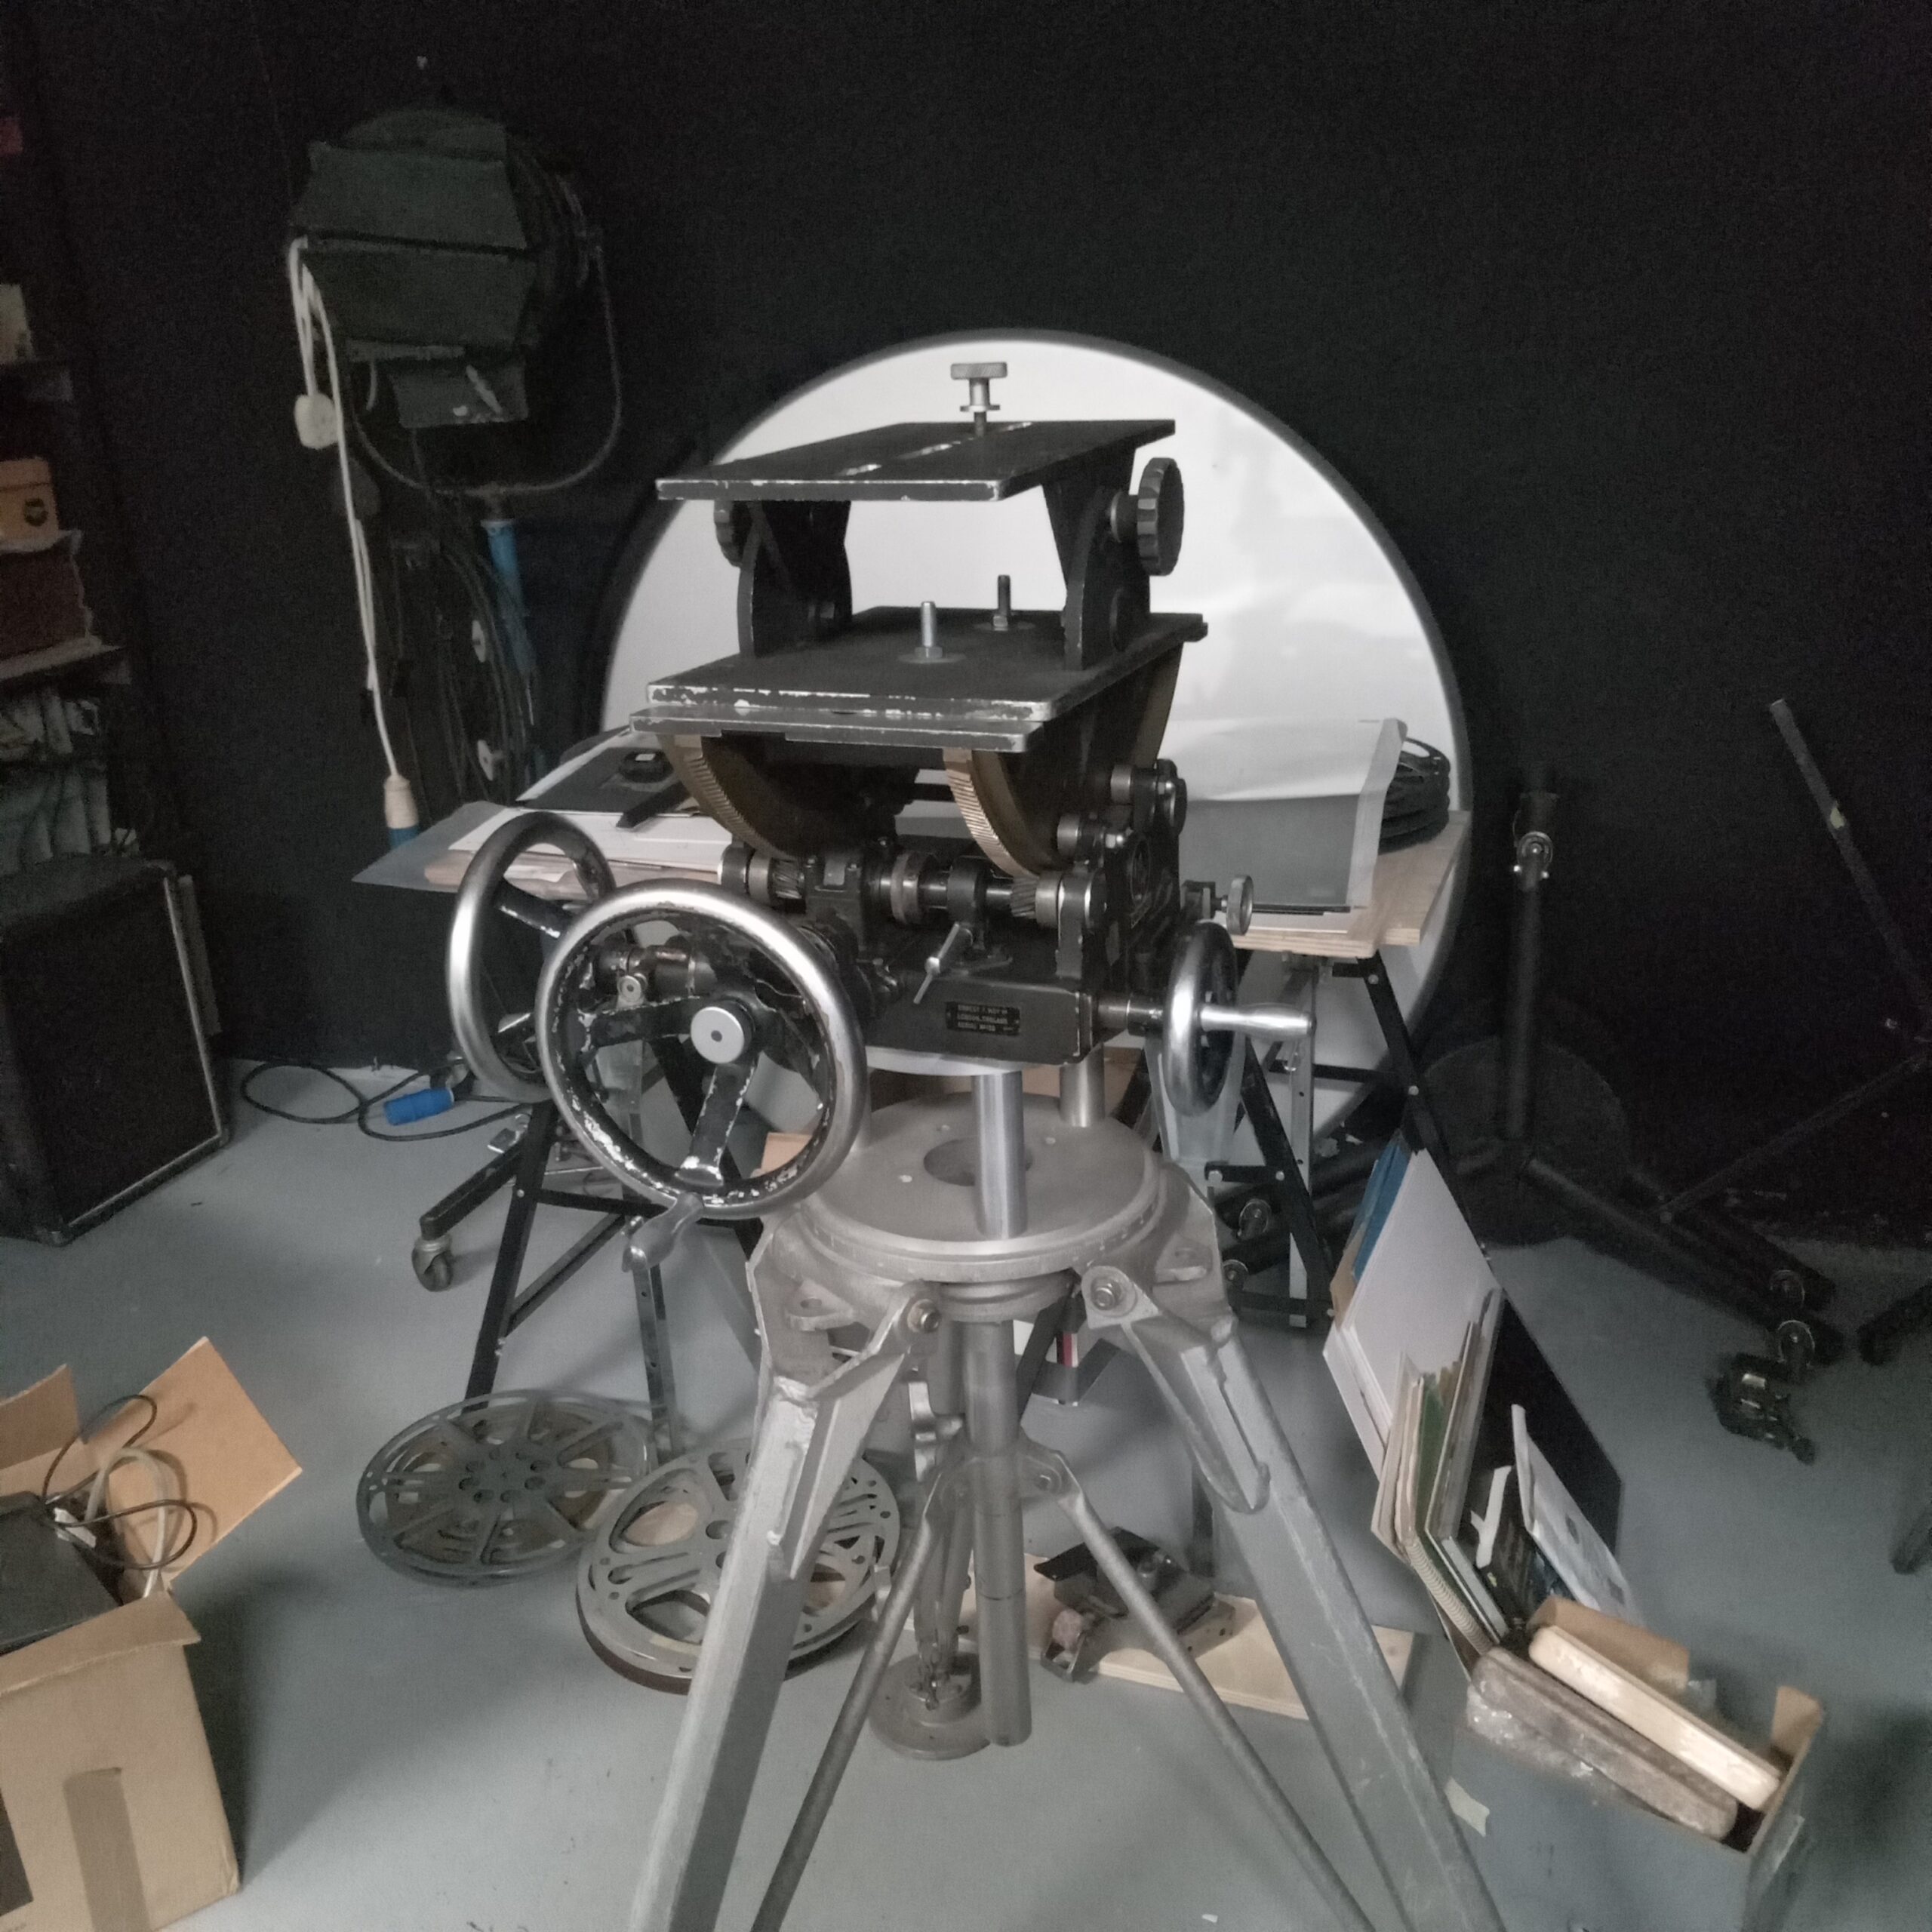
I’ve dug out the beast and next need to design mounts that place the camera at the nodal points. These heavy geared heads were really useful in the old days when your cameras was also heavy. To machine something like this now is cost prohibitive but thanks to digital ‘progress’, you can buy them if you are lucky enough to see one for sale. I dont like the design of the top angle plate, held only by bolt tension. Decent heads have a pivoting shoe design that has mechanical rigidity. If a heavy camera slips on these tensions it could crush your hand or a finger.
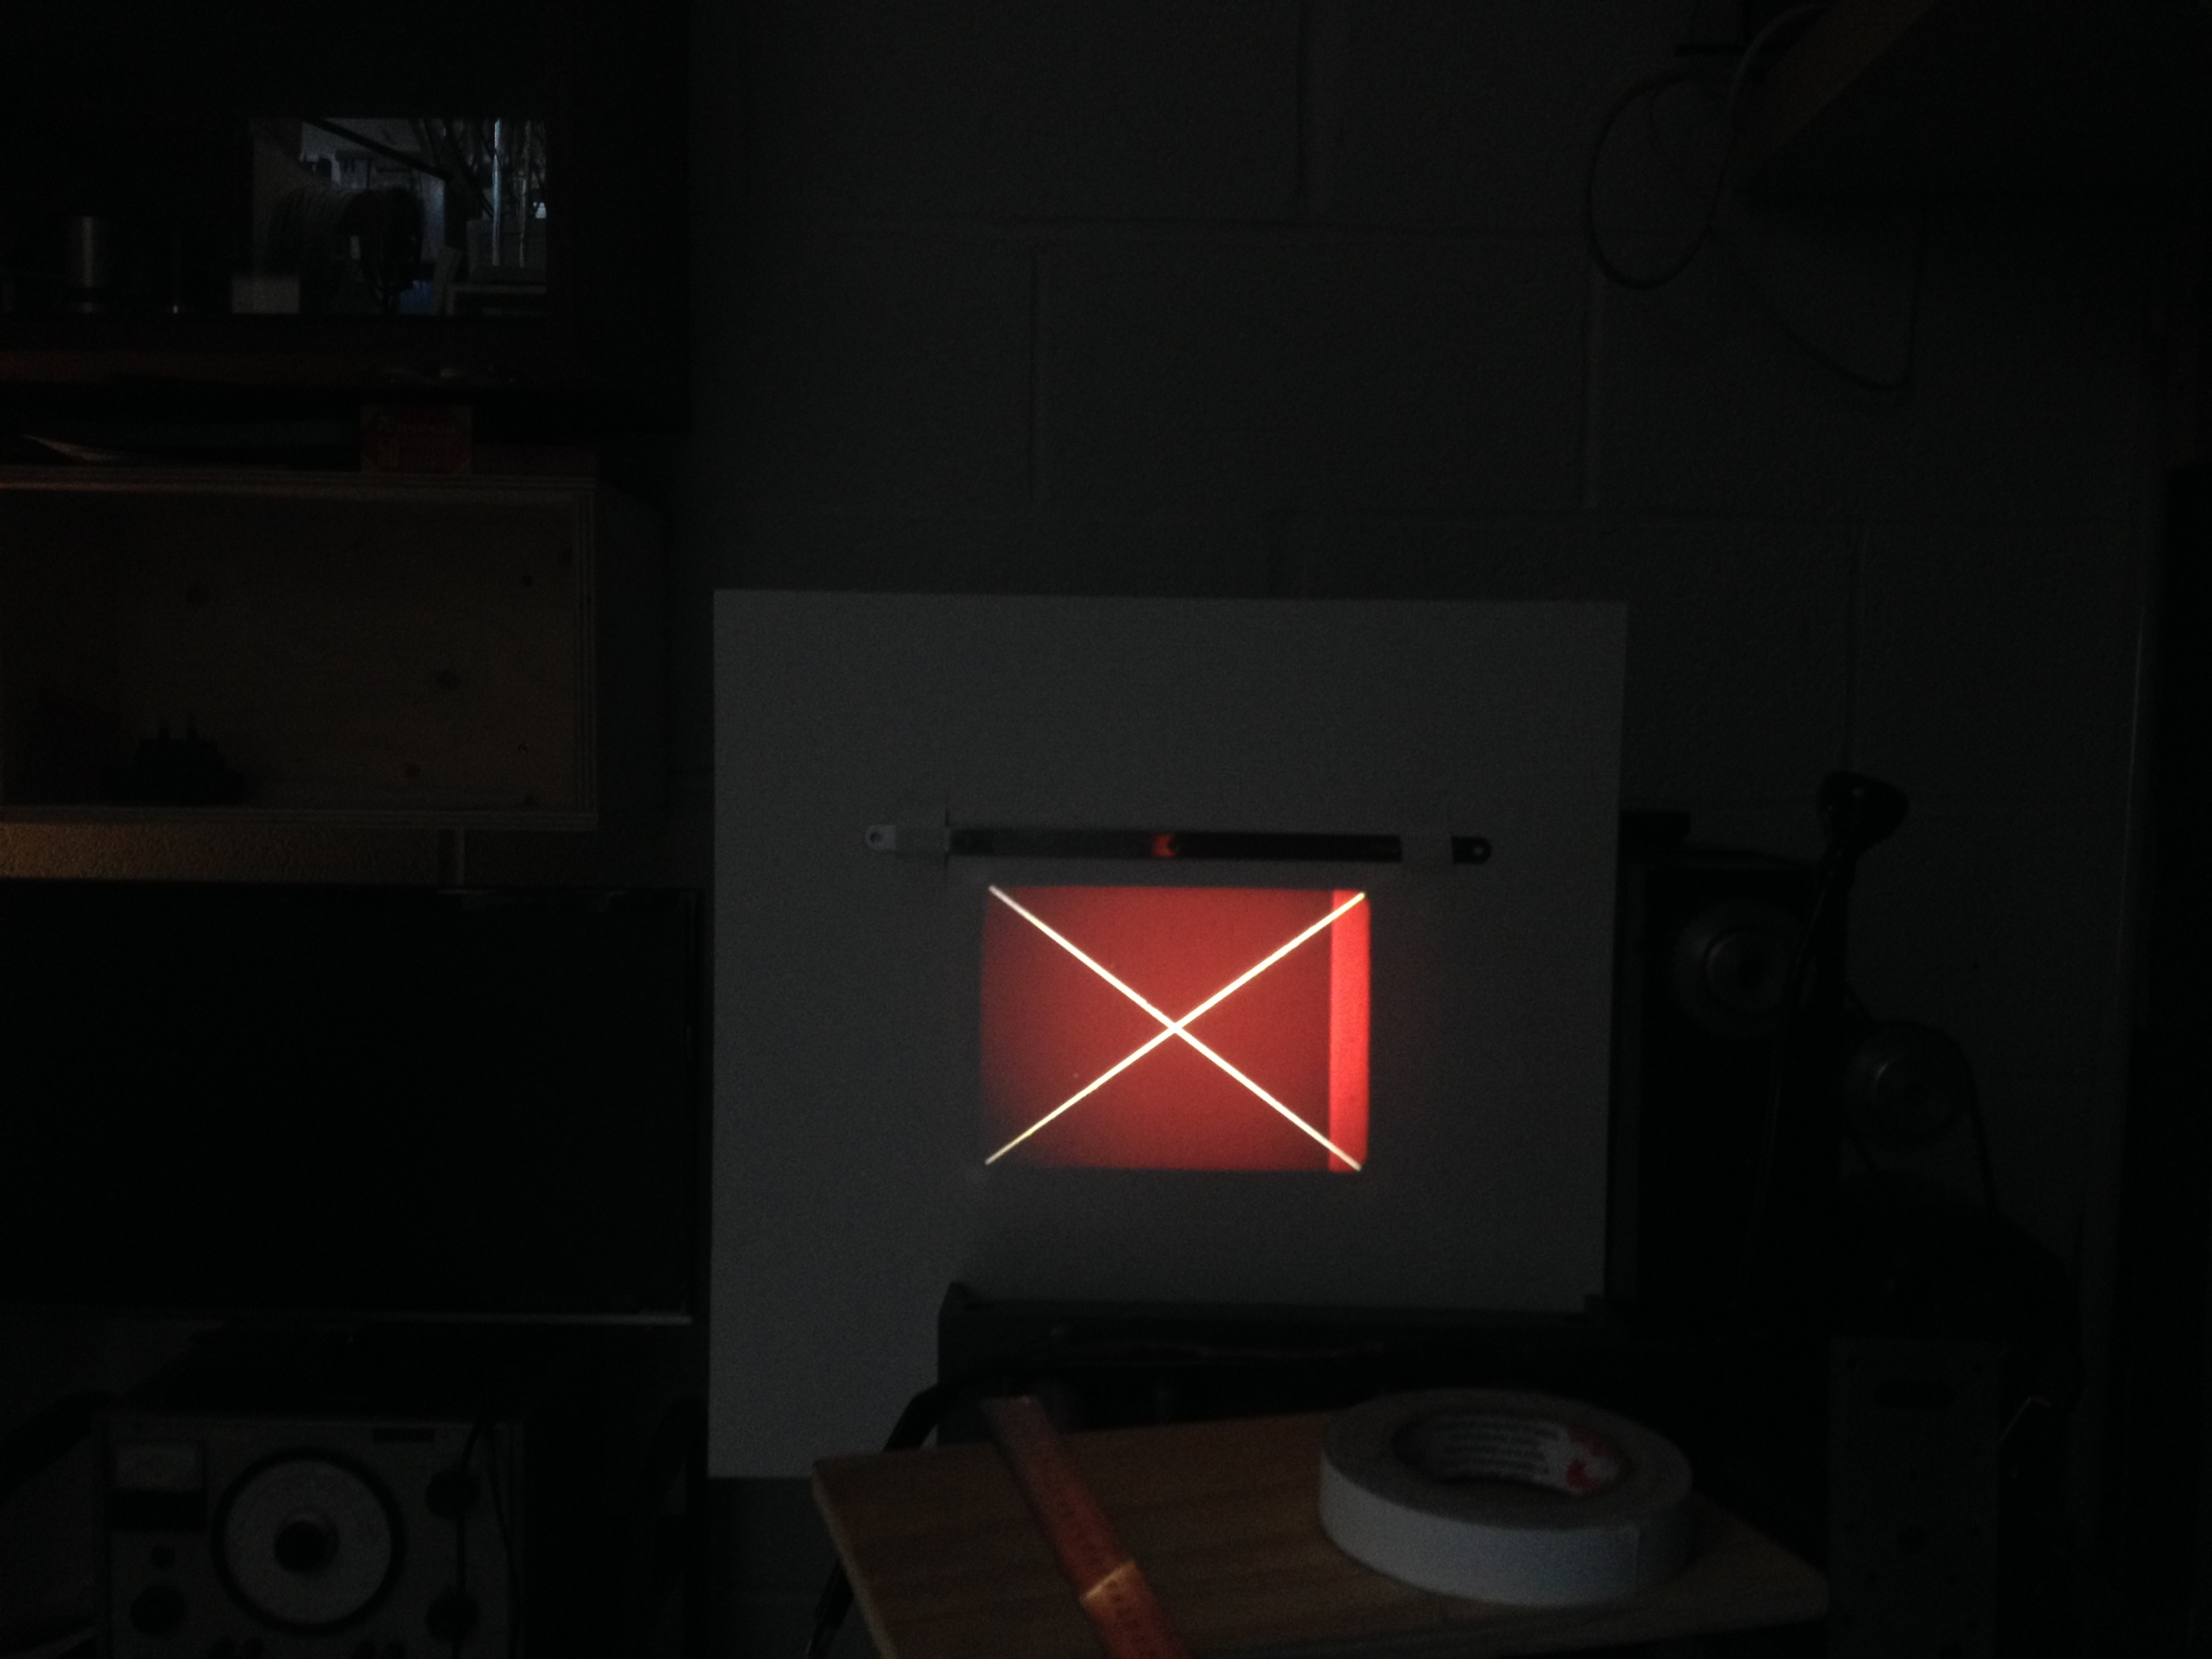
Back to the Arduino programming. It’s hard. Thats because I’m not a programmer or coder and so I have had to start at the beginning with getting an LED to blink. Some deme code to make the motor run has kept me busy as you can see below.
Quick wish list function table……………..
| MODE | FUNCTIONS | SUB menu |
| Inching | manual turning to thread/unthread film | motor psu- |
| Zeroing | Bring shutter into correct position | count? |
| Single Frame | Push button single frame / manual / speed options | (speeds) |
| ‘B’ | Push button shutter open/close / manual | |
| ‘B timer’ | Push button shutter open/close / programmed time | (Time) |
| Reverse | Prepare for reverse / shooting / frame find | (speeds) |
| Rewind | Rewind to set frame | Frame # |
| Single Frame / SP | Single frame exposure on special event / input | (speeds) |
| TimeLap | Programmed single frames and intervals | (Speed & Time) |
| Cont’ Run | Set frames, speed, running 12fps MAX (???) | |
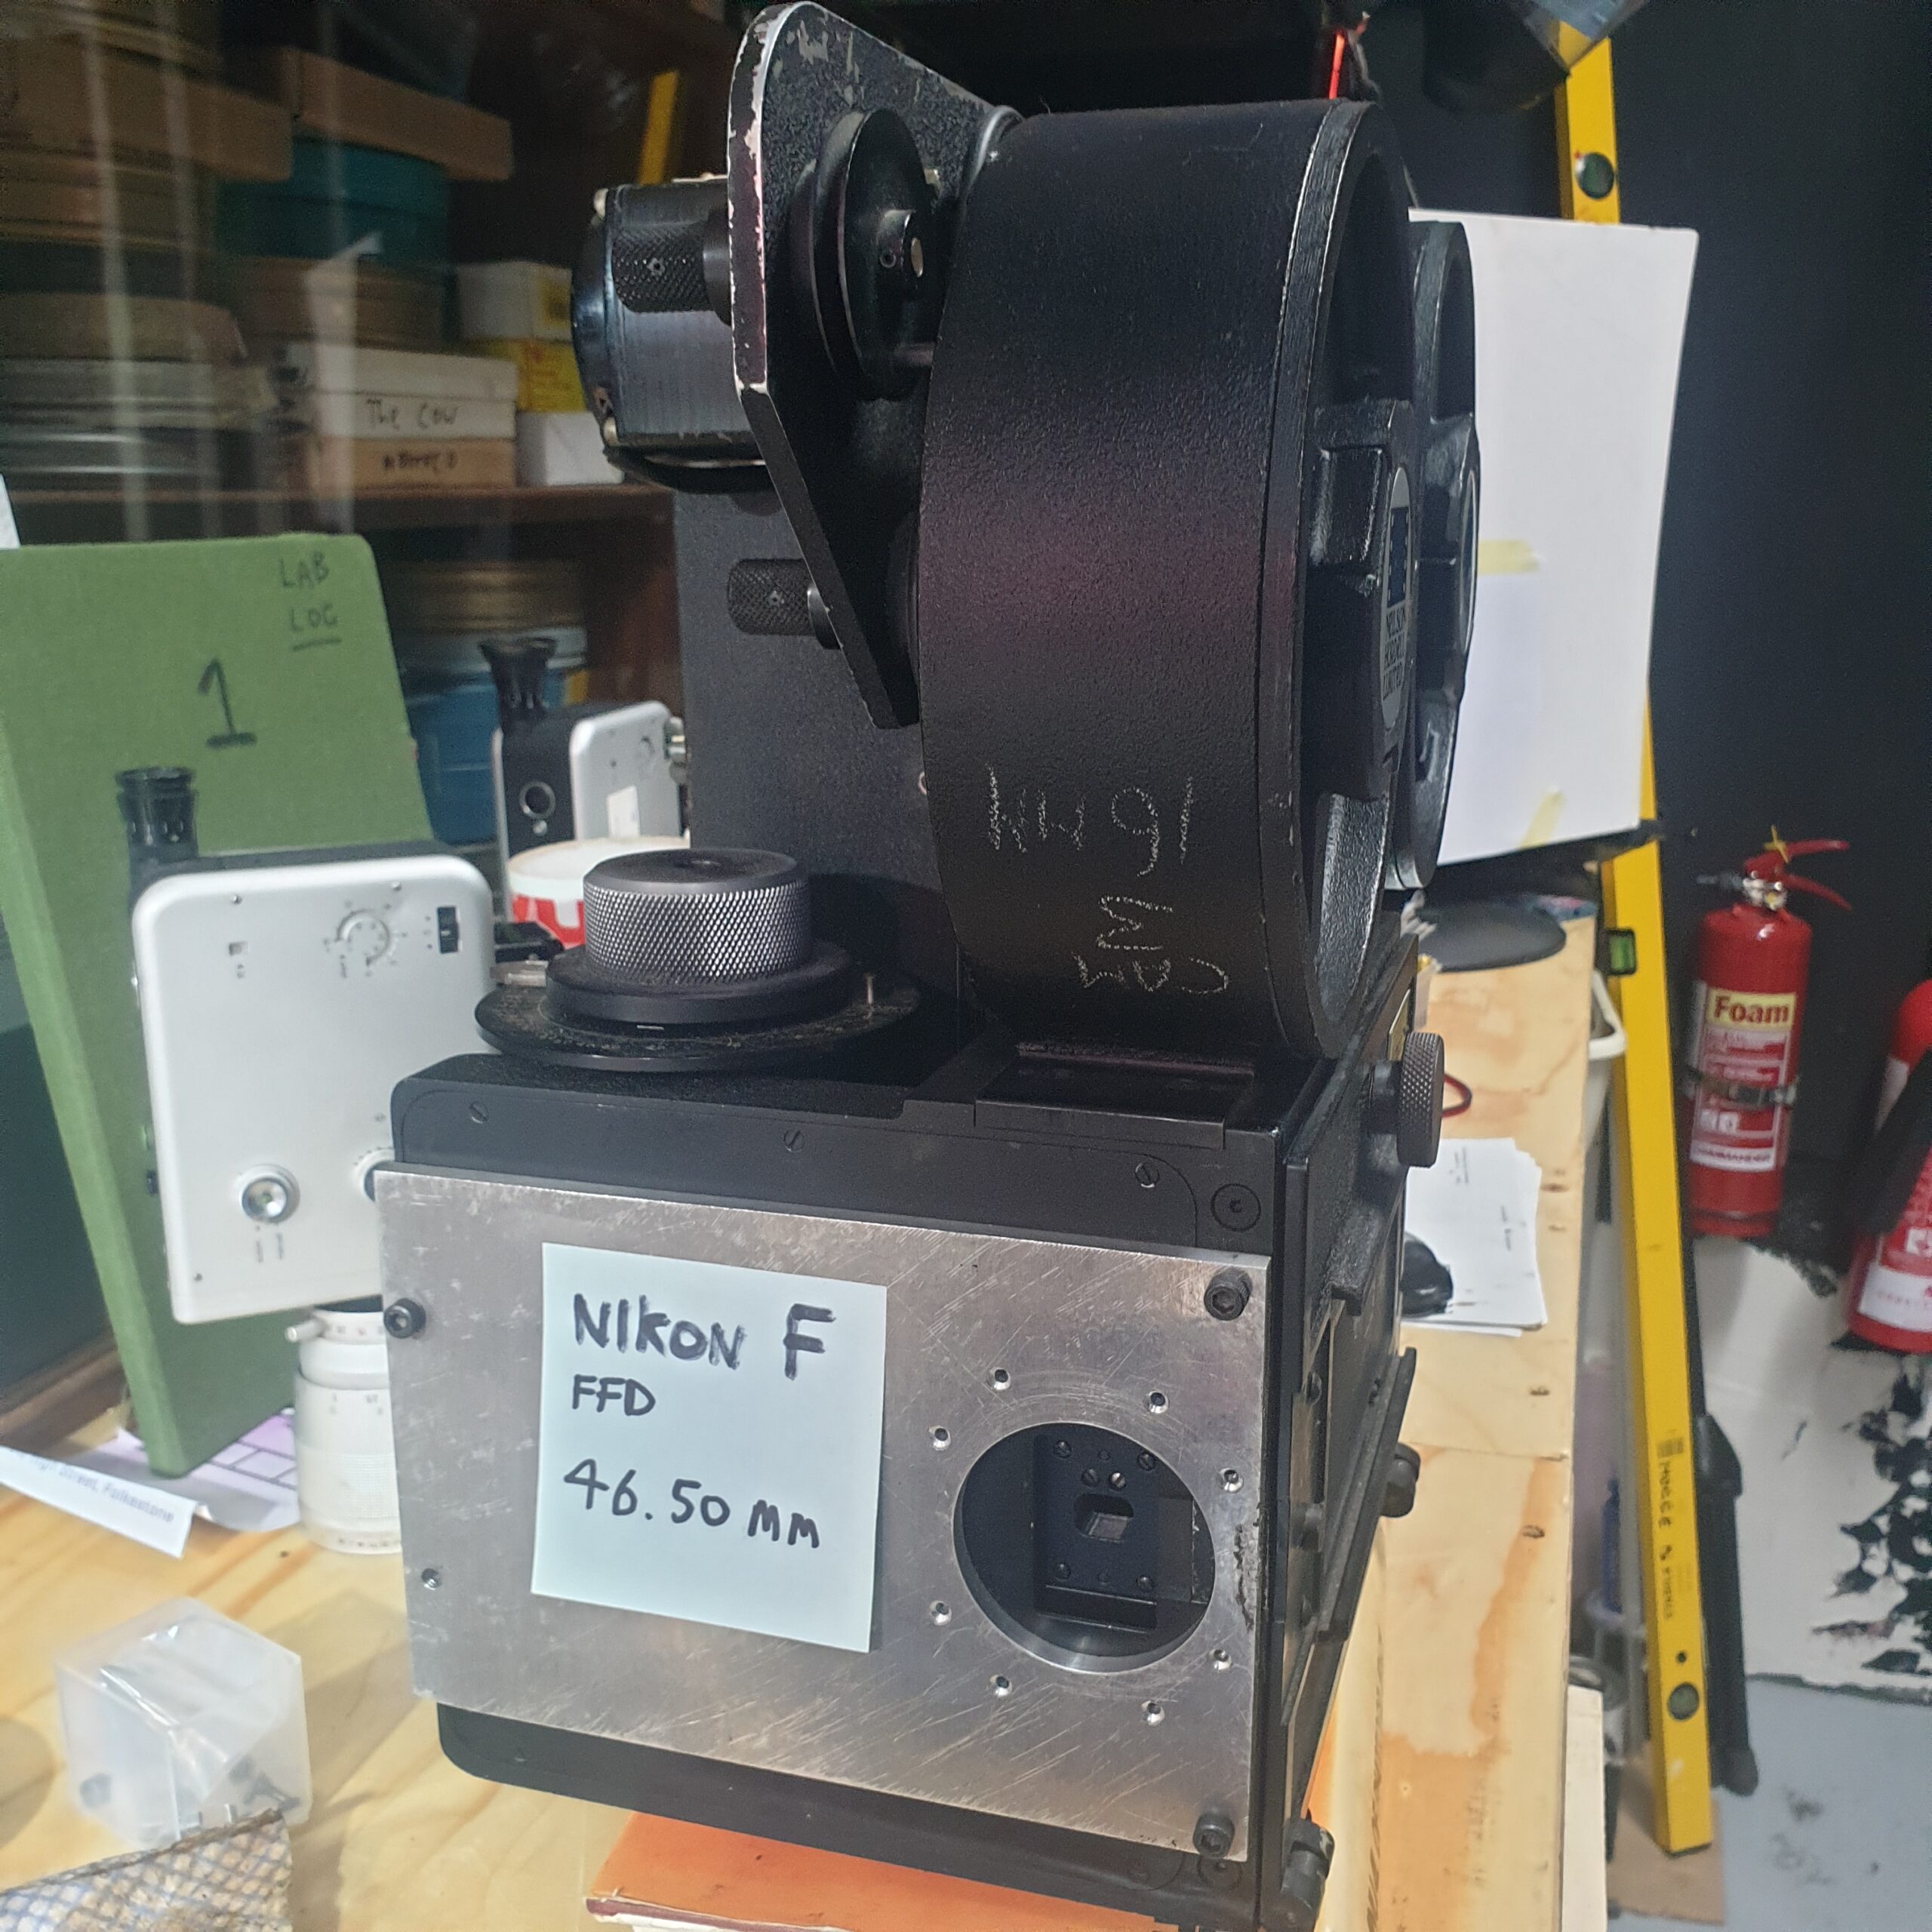
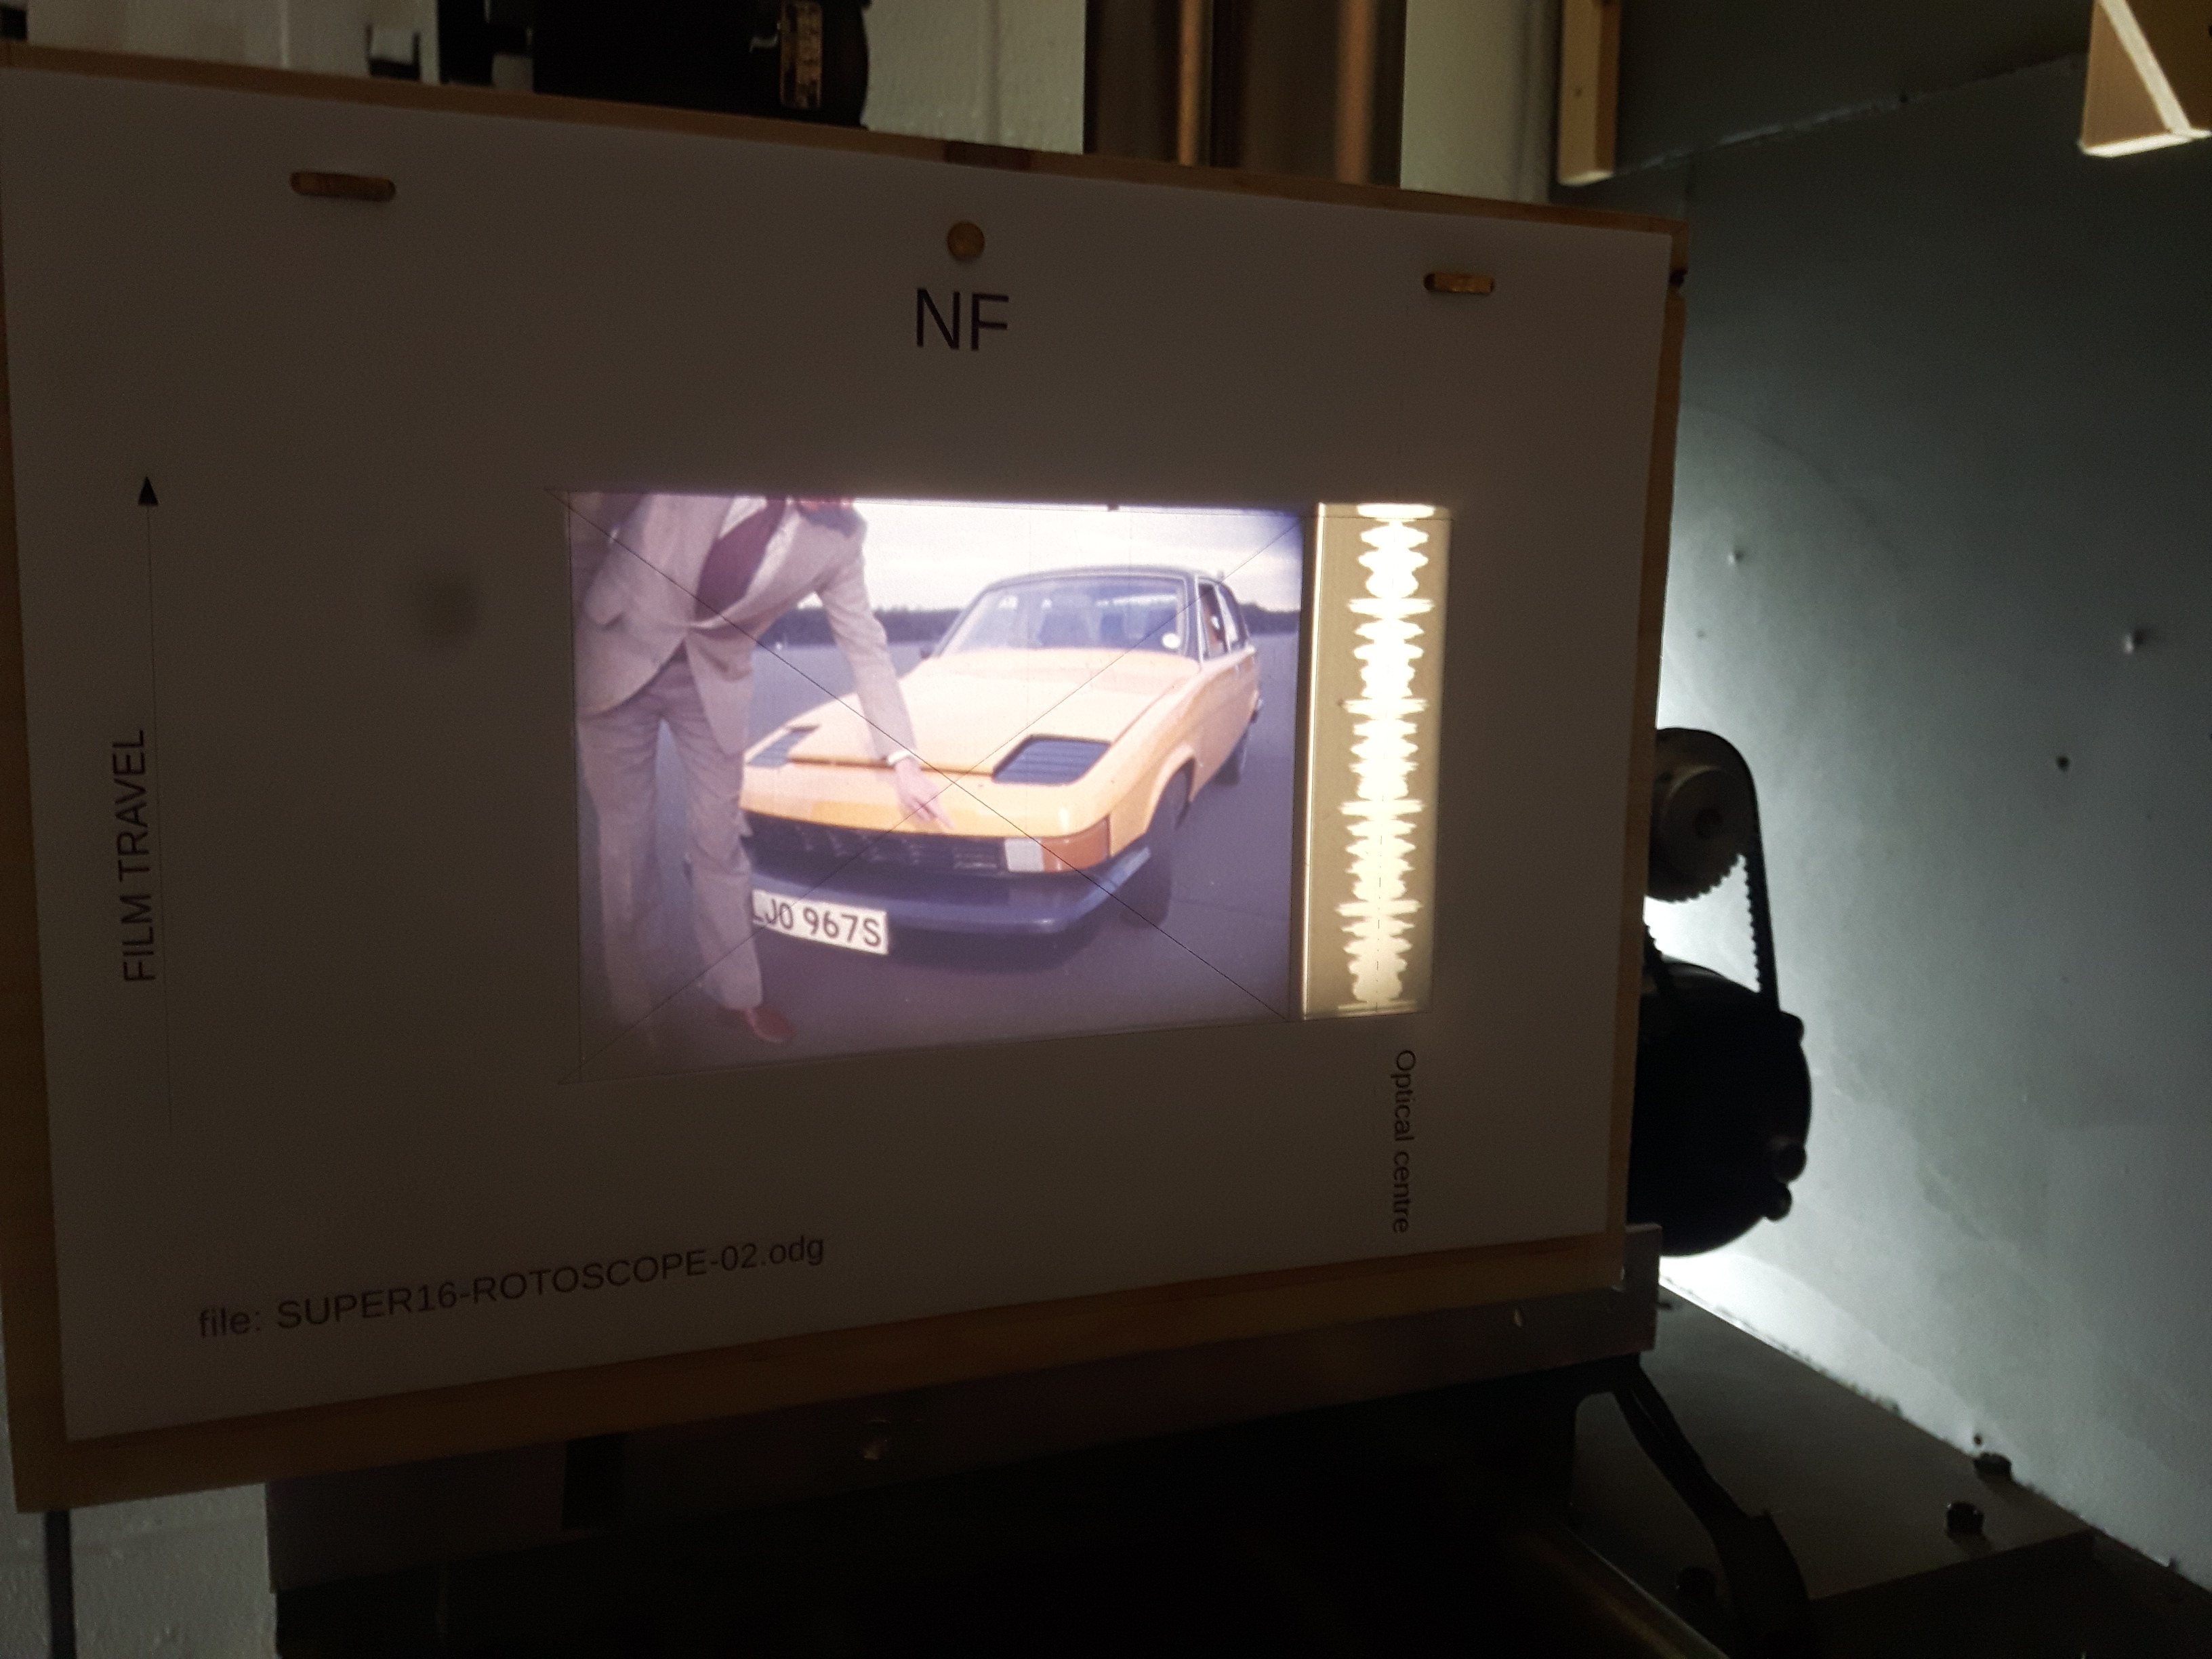
Then, after NIkon F mount plate is done we can start Rotoscoping to our hearts content.