Month: November 2016

shutter speeds

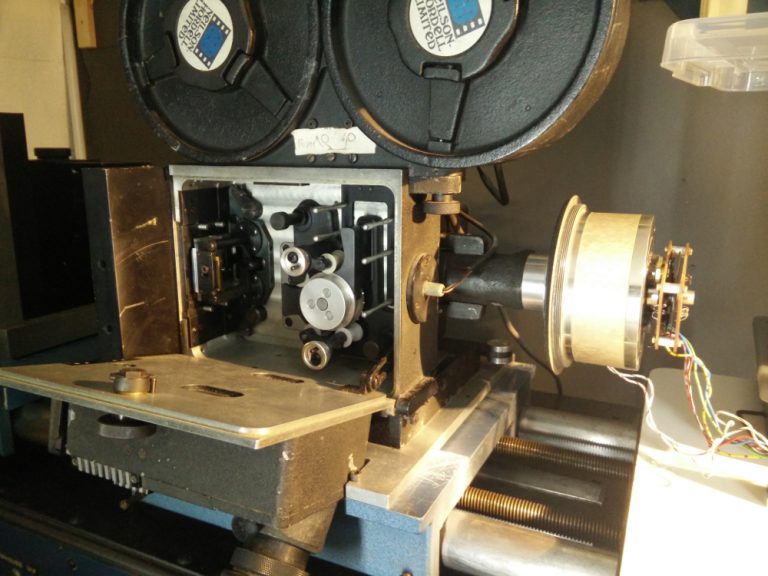
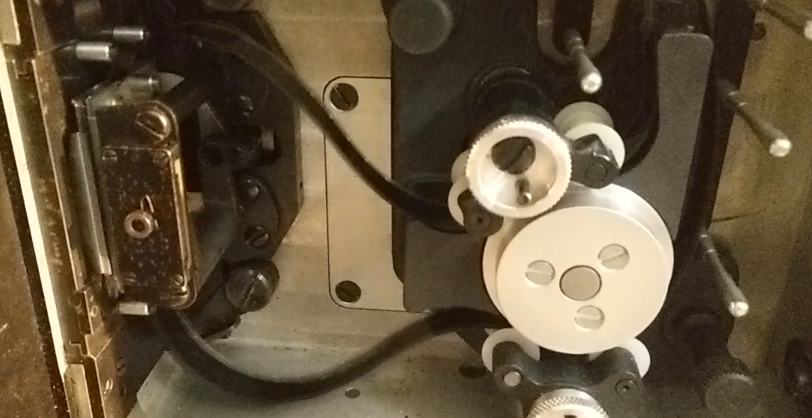
The controller has 3 settings that produce different DC voltages for the motor and produce different speeds to the spindle/shutter that results in different shutter speeds. The videos below show the 3 speeds and all these clips have the shutter set to 170 degrees. My first attempt at the linkage had the effect of a tiny amount of open shutter after firing a single frame so Ive rejigged the setup by turning the camera mech 90 degrees.


Below is shuttle cycle showing pin registration during exposure. So the linkage is set up right.
motor controller working

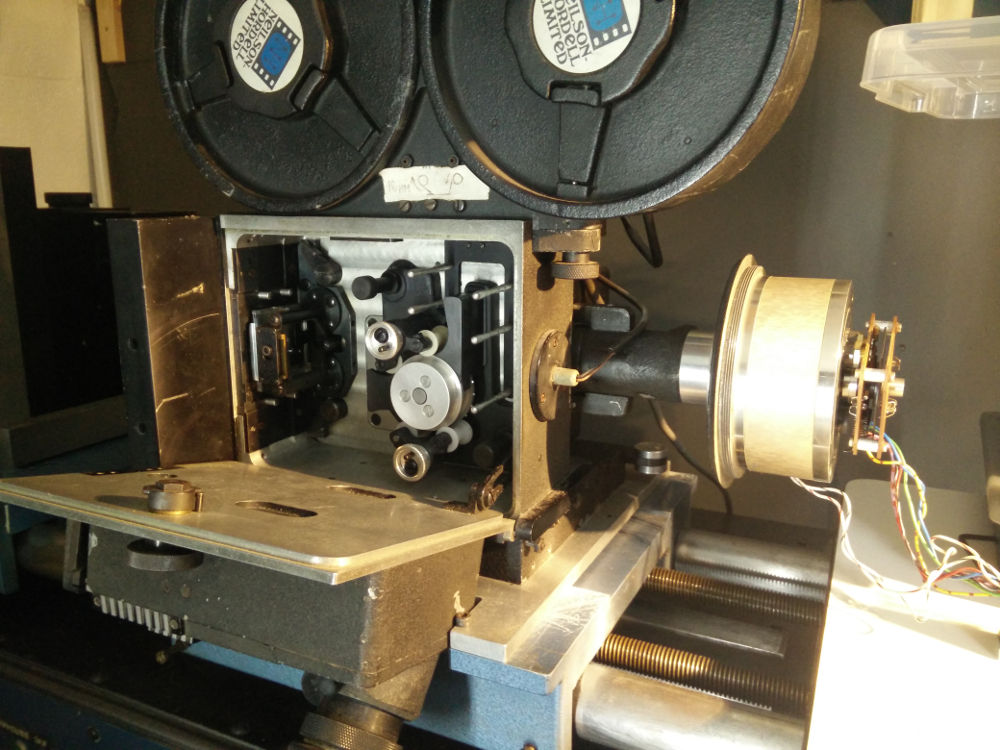
VERY great step forwards but I got the camera motor controller working and rigged it up to the camera to see how it runs and it runs smoothly, beautifully, accurately!!!.

cam-motor1

The controller has loads of speeds that turn the main spindle/crank at different speeds so that means different exposure lengths AS WELL AS the different lengths provided by the variabe shutter which can be adjusted during running. The motor tacho EMF feedback circuit works well accurately registering the spindle/crank in precisely the same position each turn or run of turns.  Next Ive got to design/build (probably Arduino) a gadget to measure the shutter speeds/exposure times and design a (better) system for programming sequences on the printer, remember the set-up as I was given it was configured for 1 to 1 blow up printing from S16m to 35mm/4 perf (full gate). This is a bit limited for me. I want to be able to run very complex mathematical ‘rhythms’ for want of a better term as well as obvious things like skip printing, reprinting, reverse printing, loop printing, etc.


Loading, please wait…
BACK TO TOP