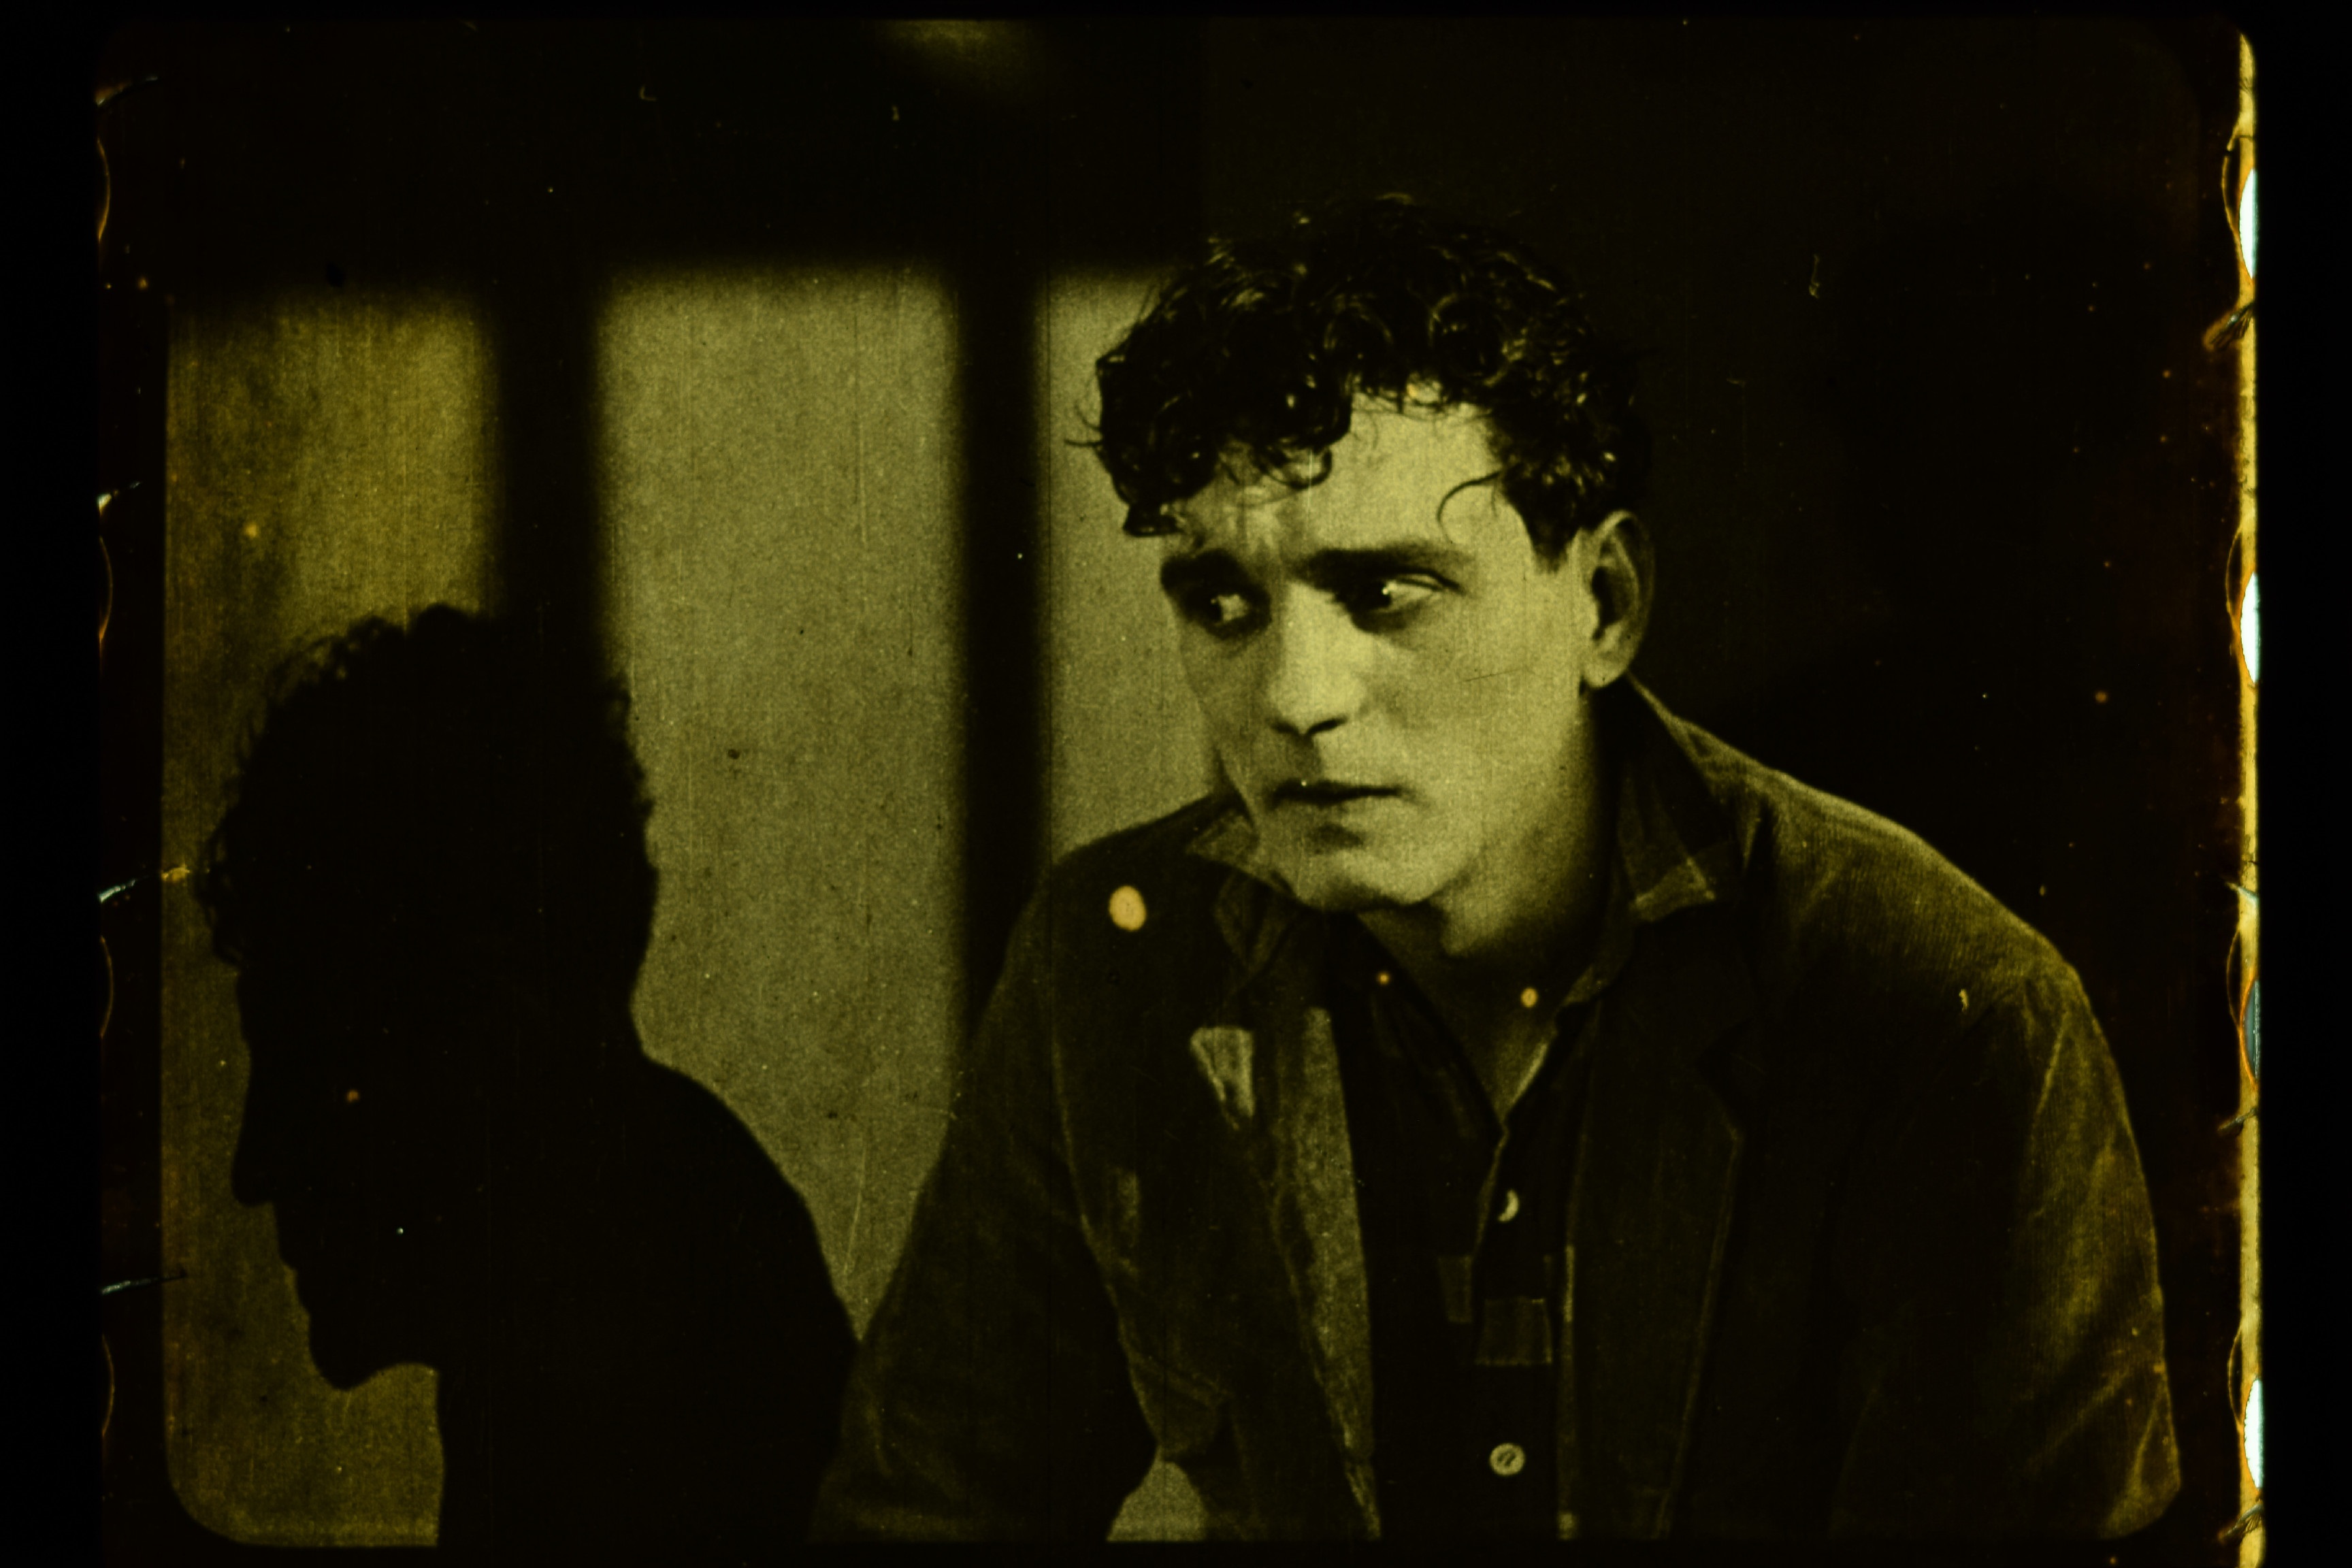
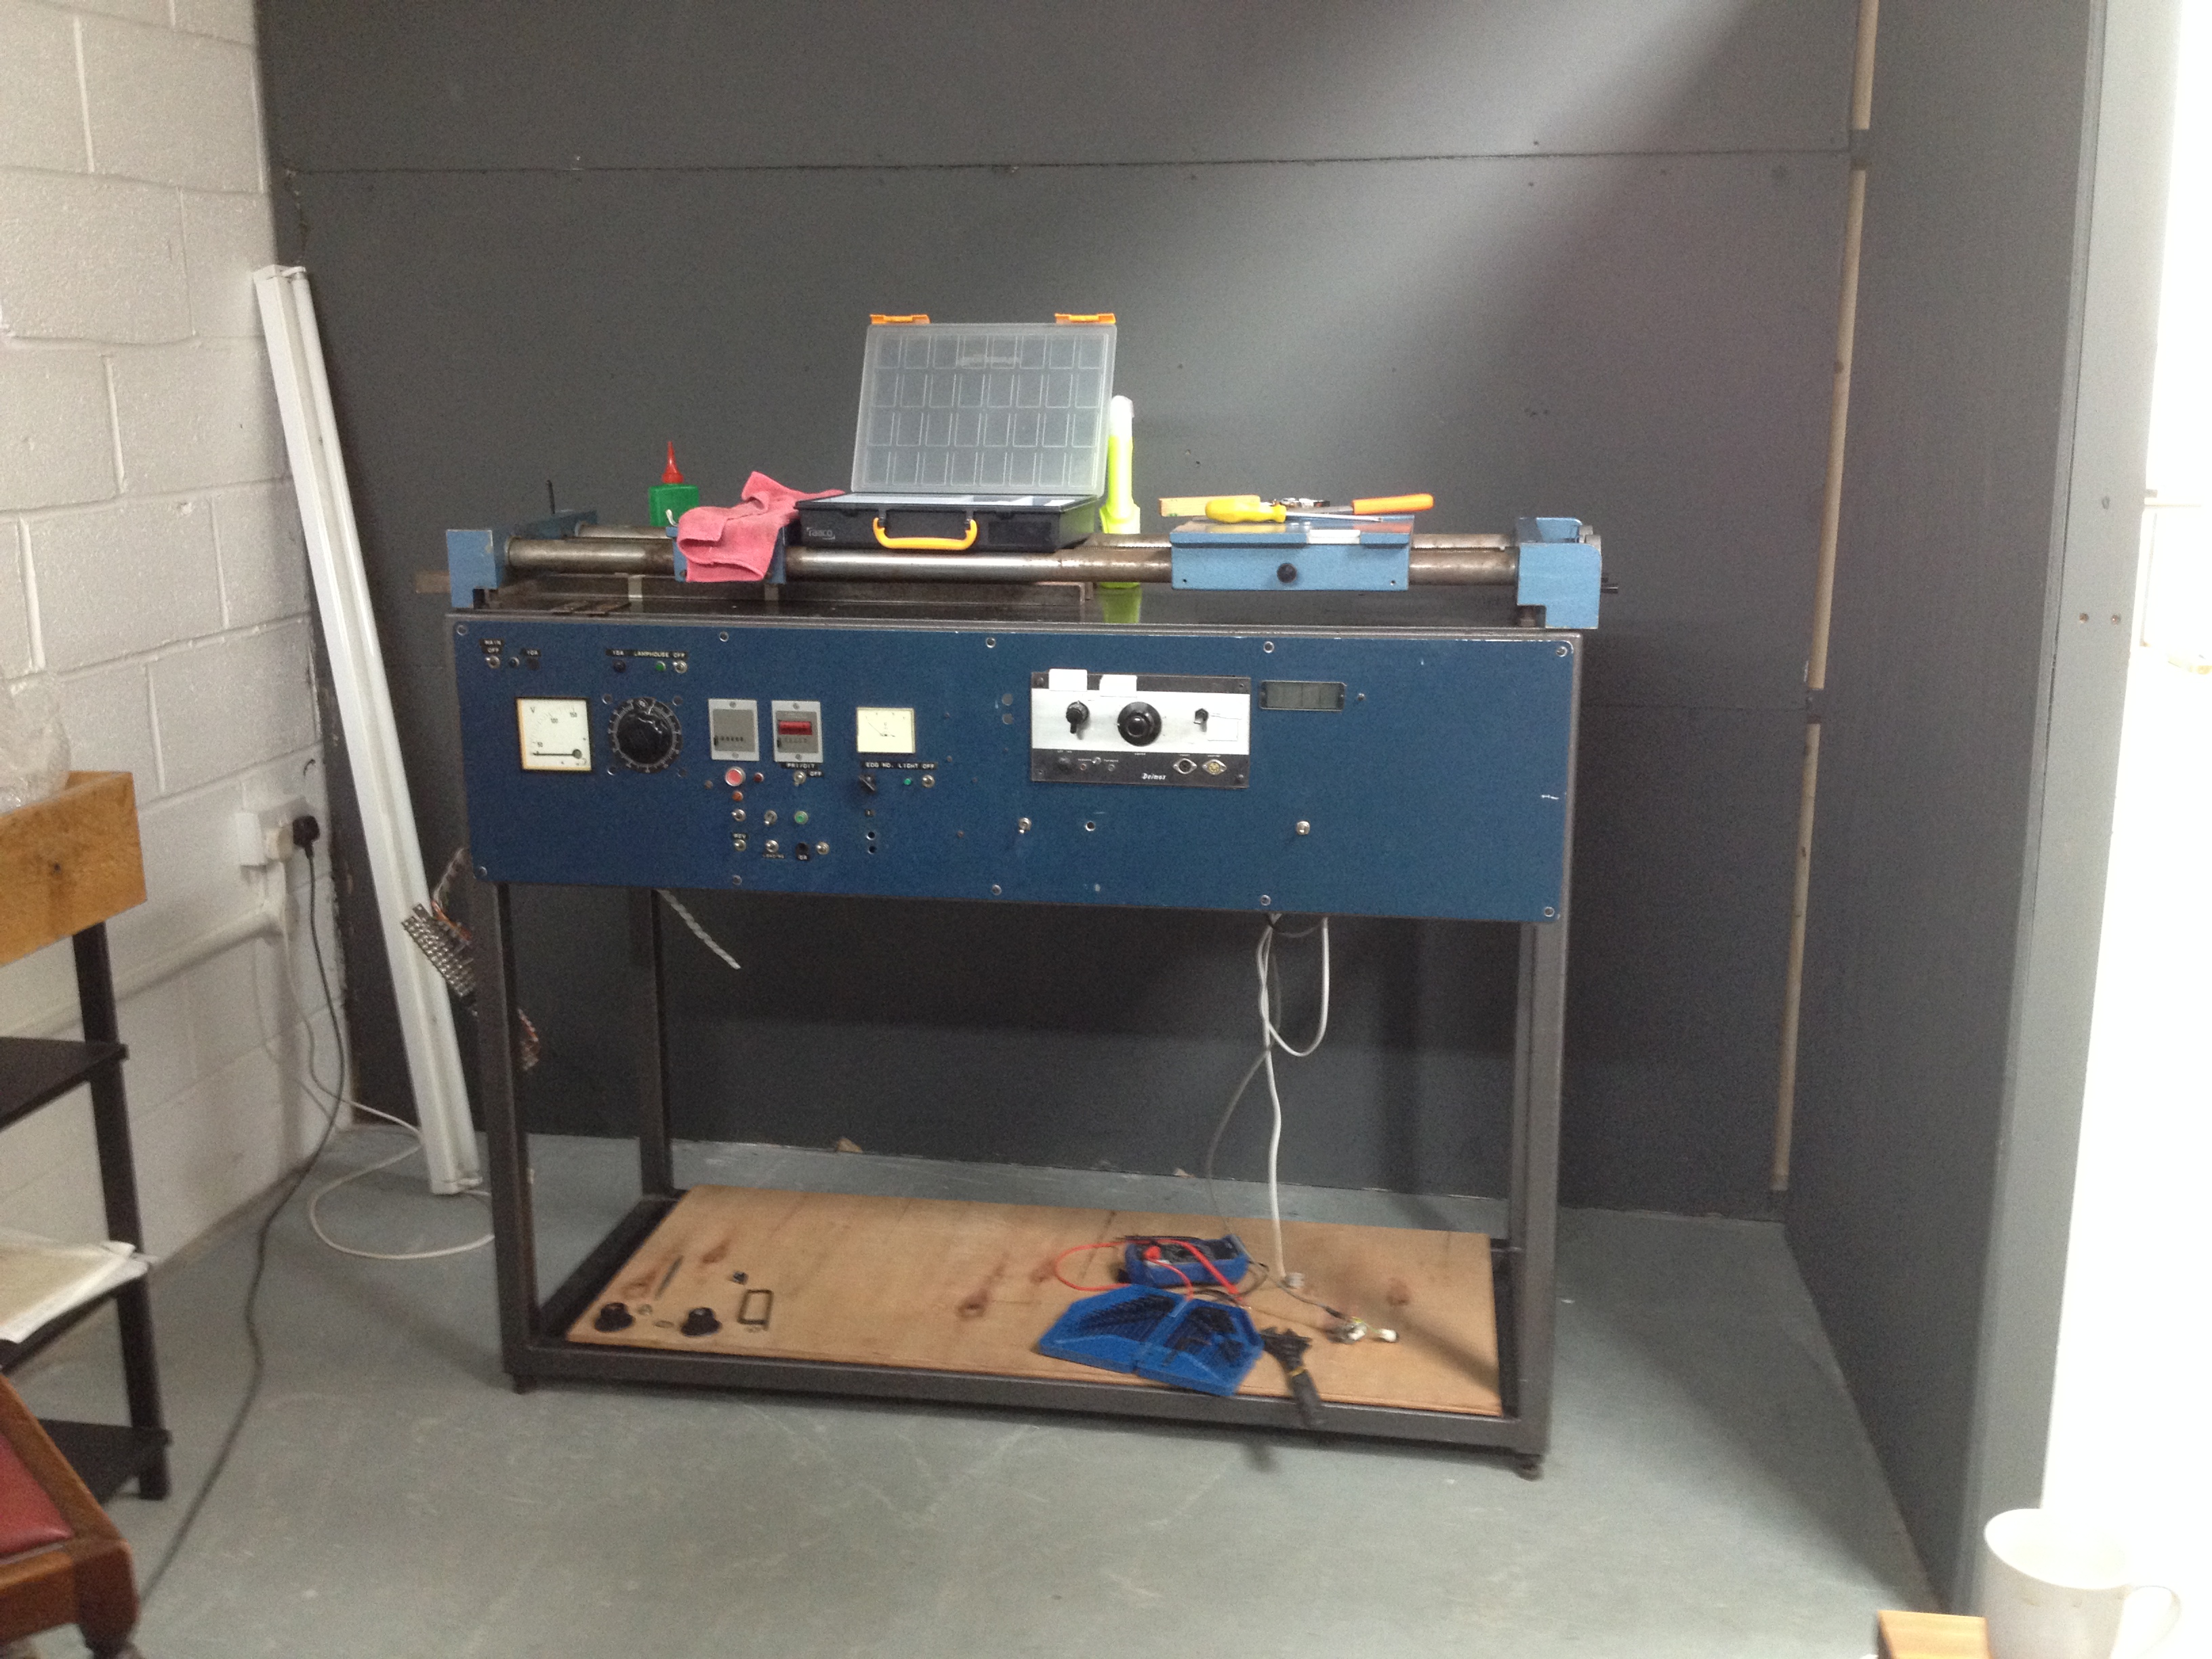
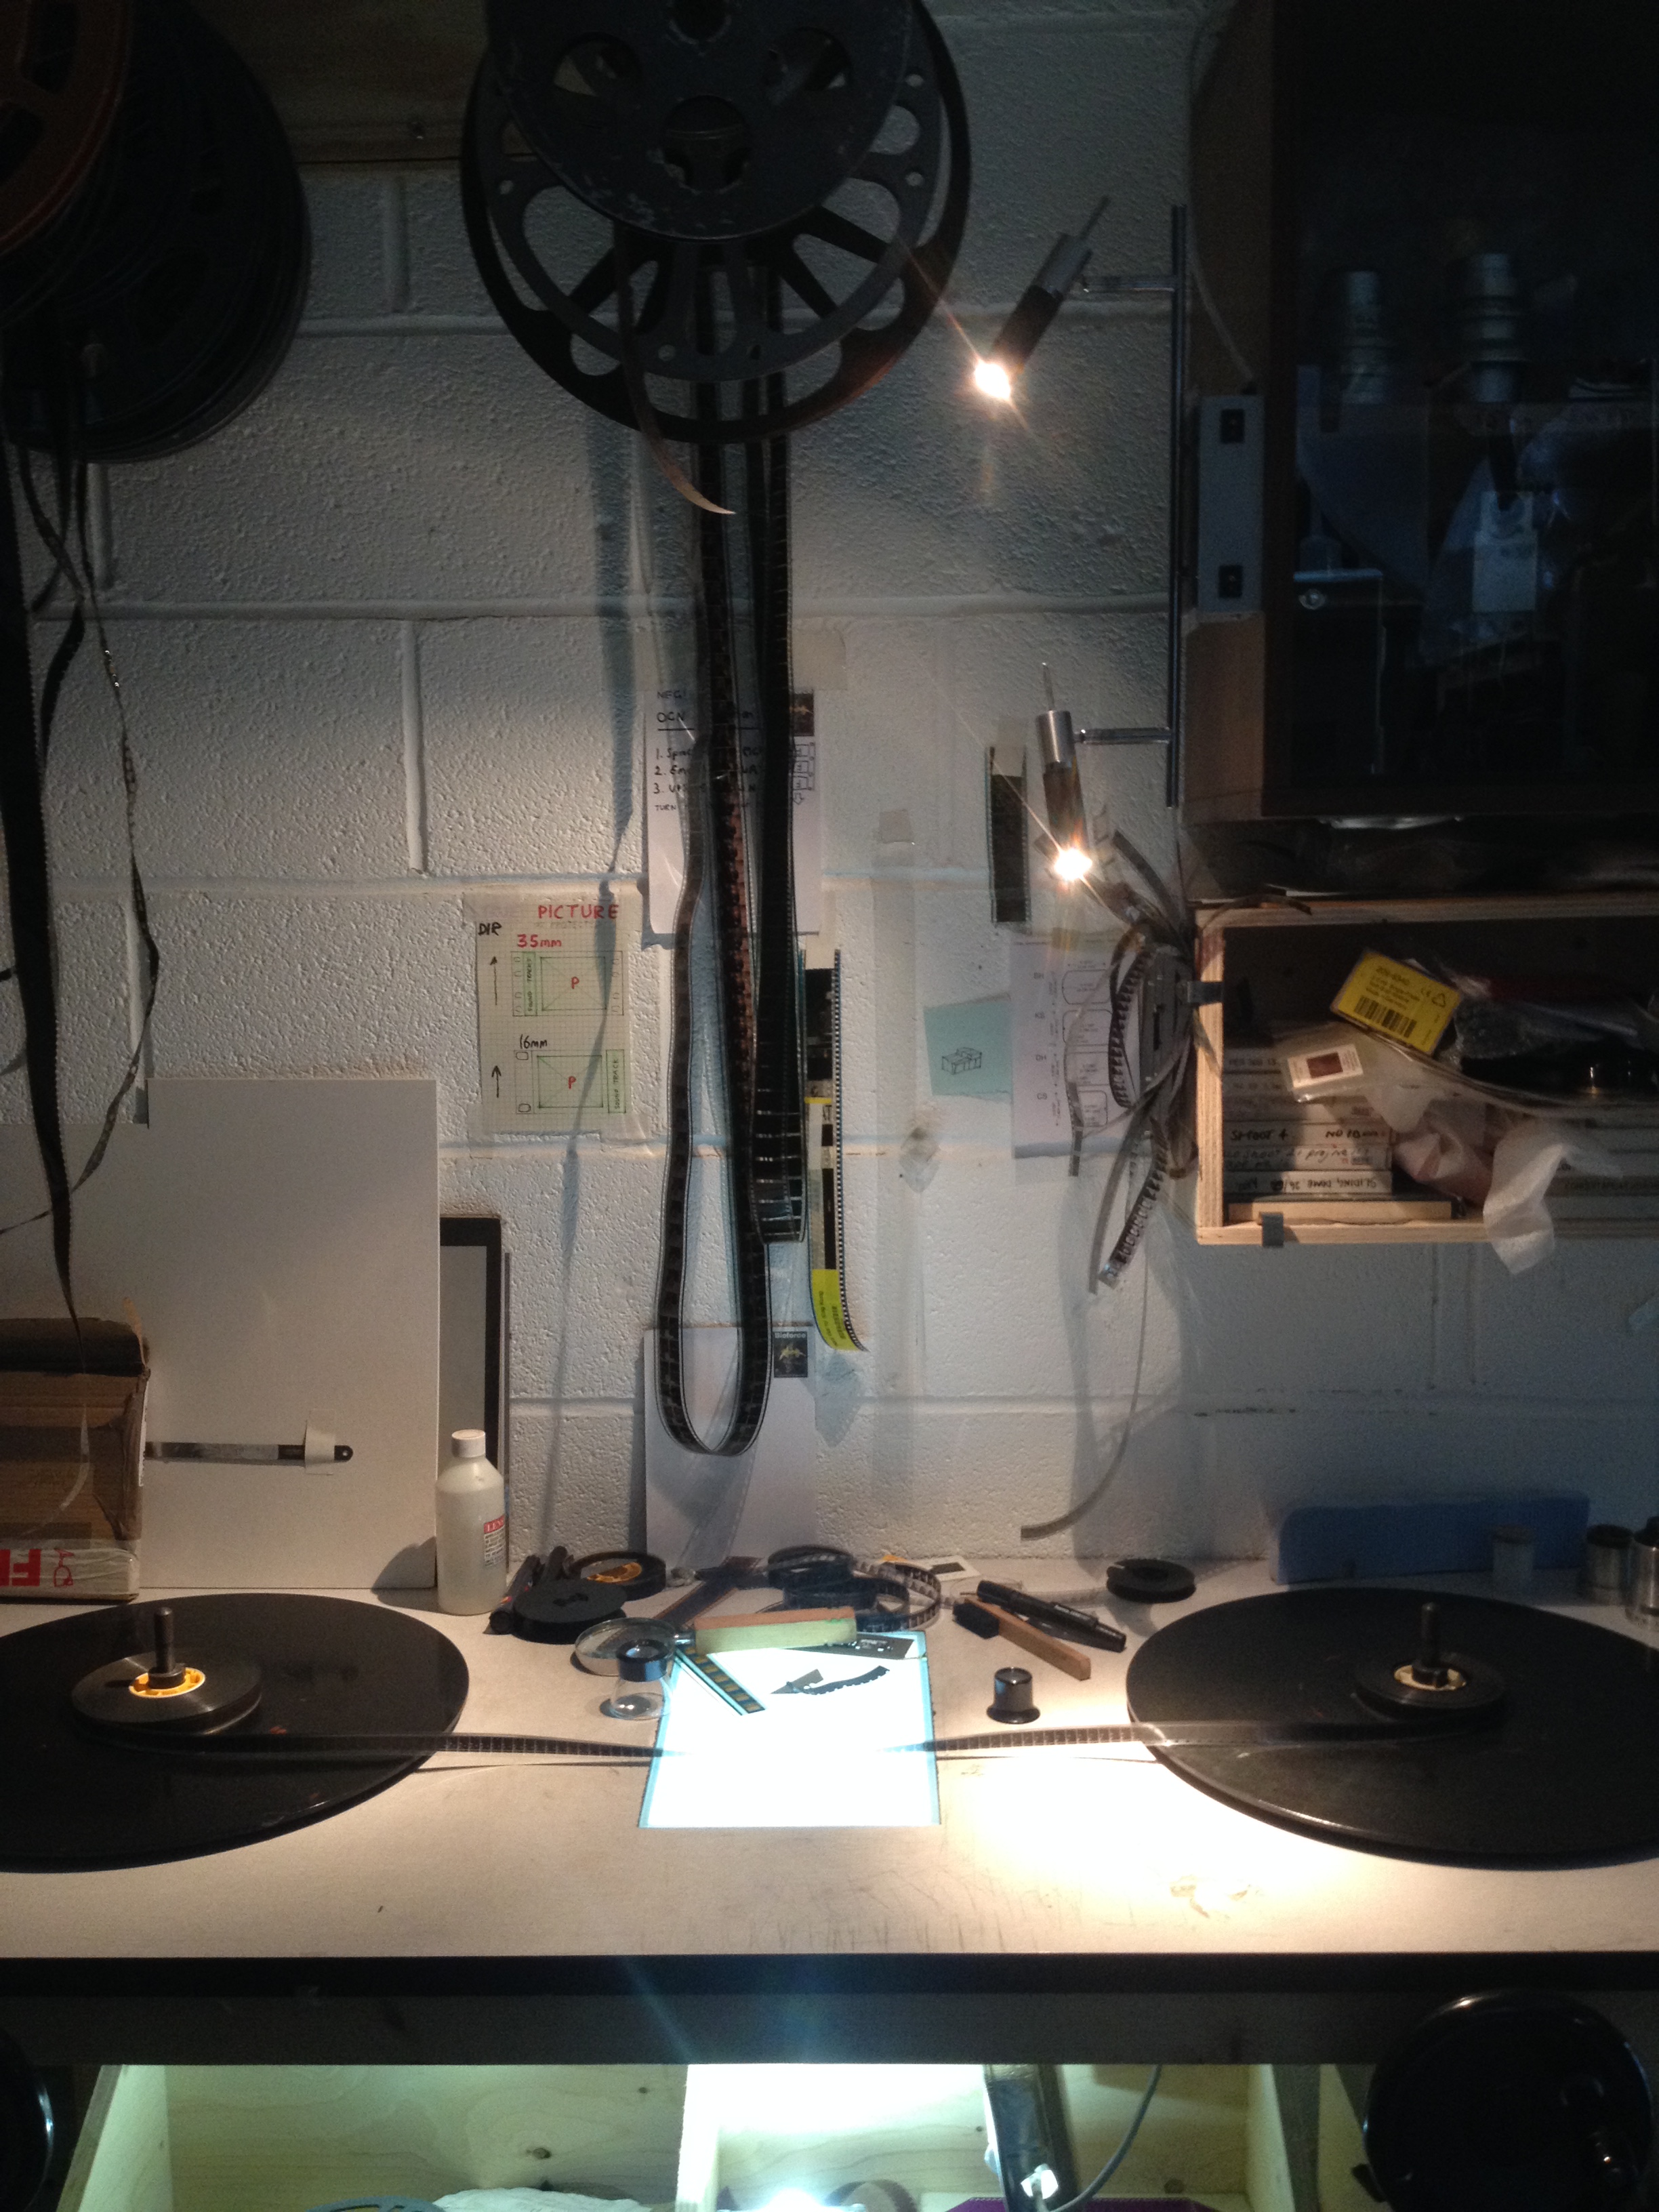
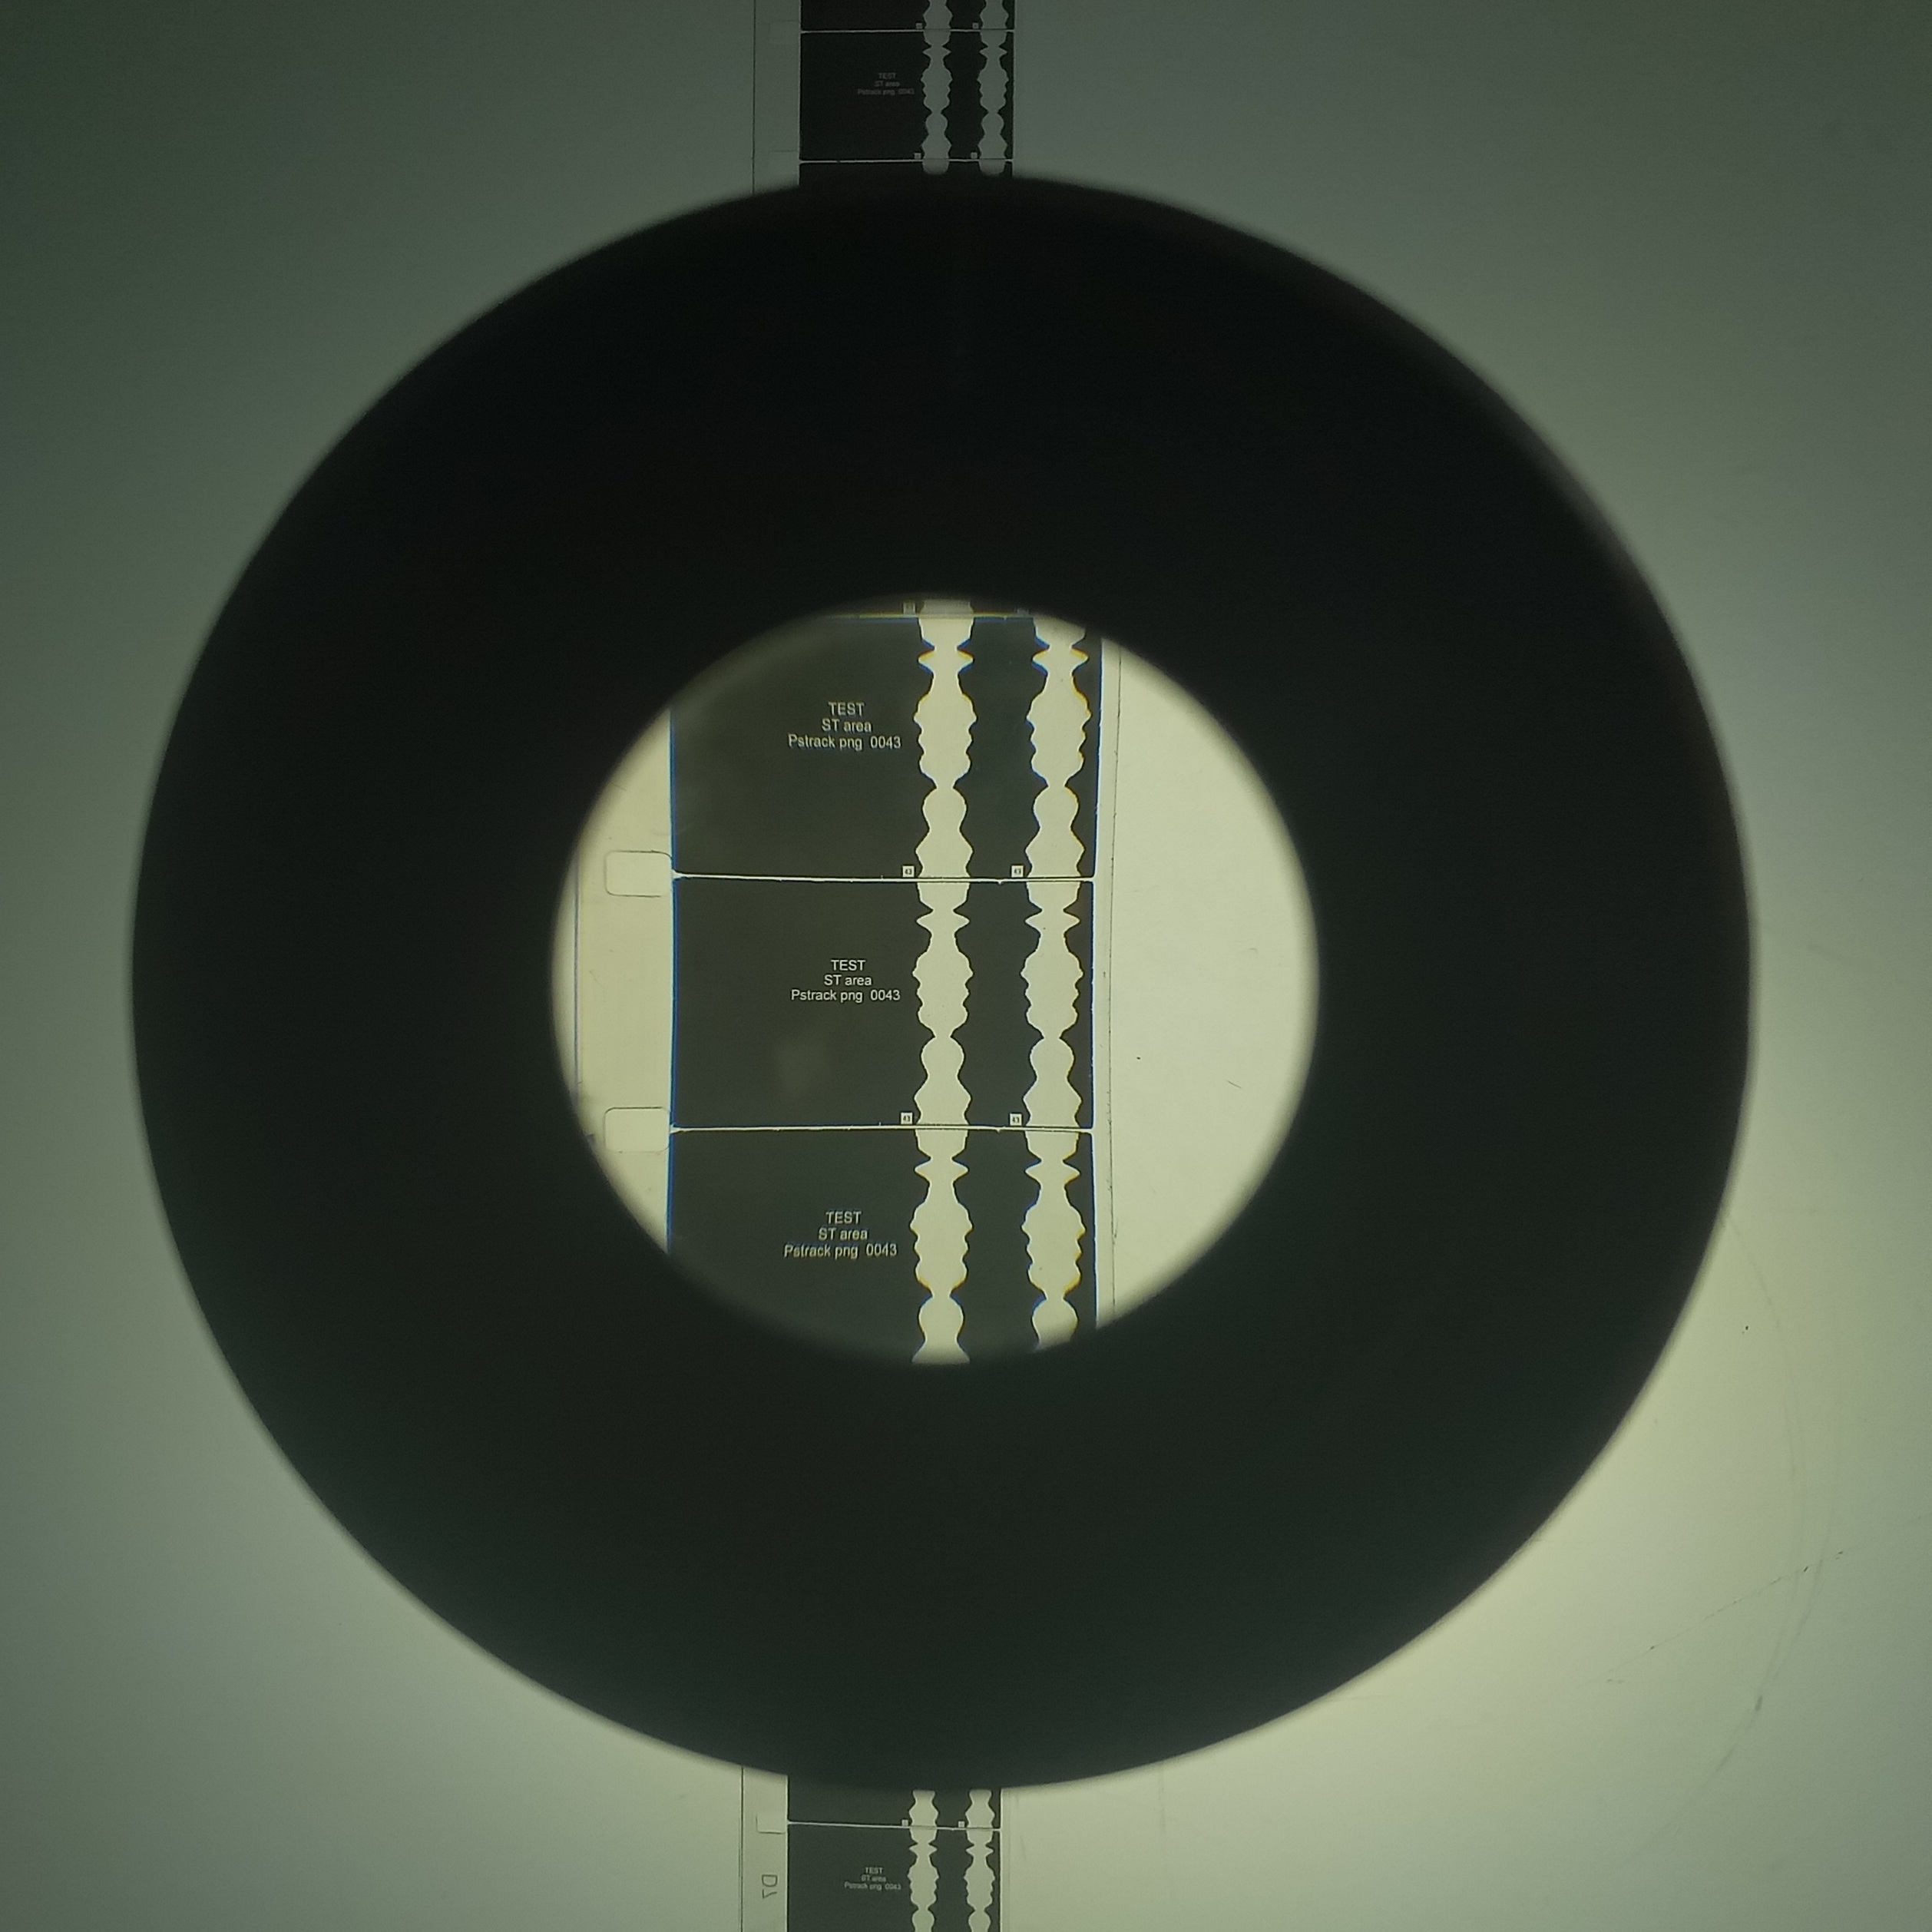
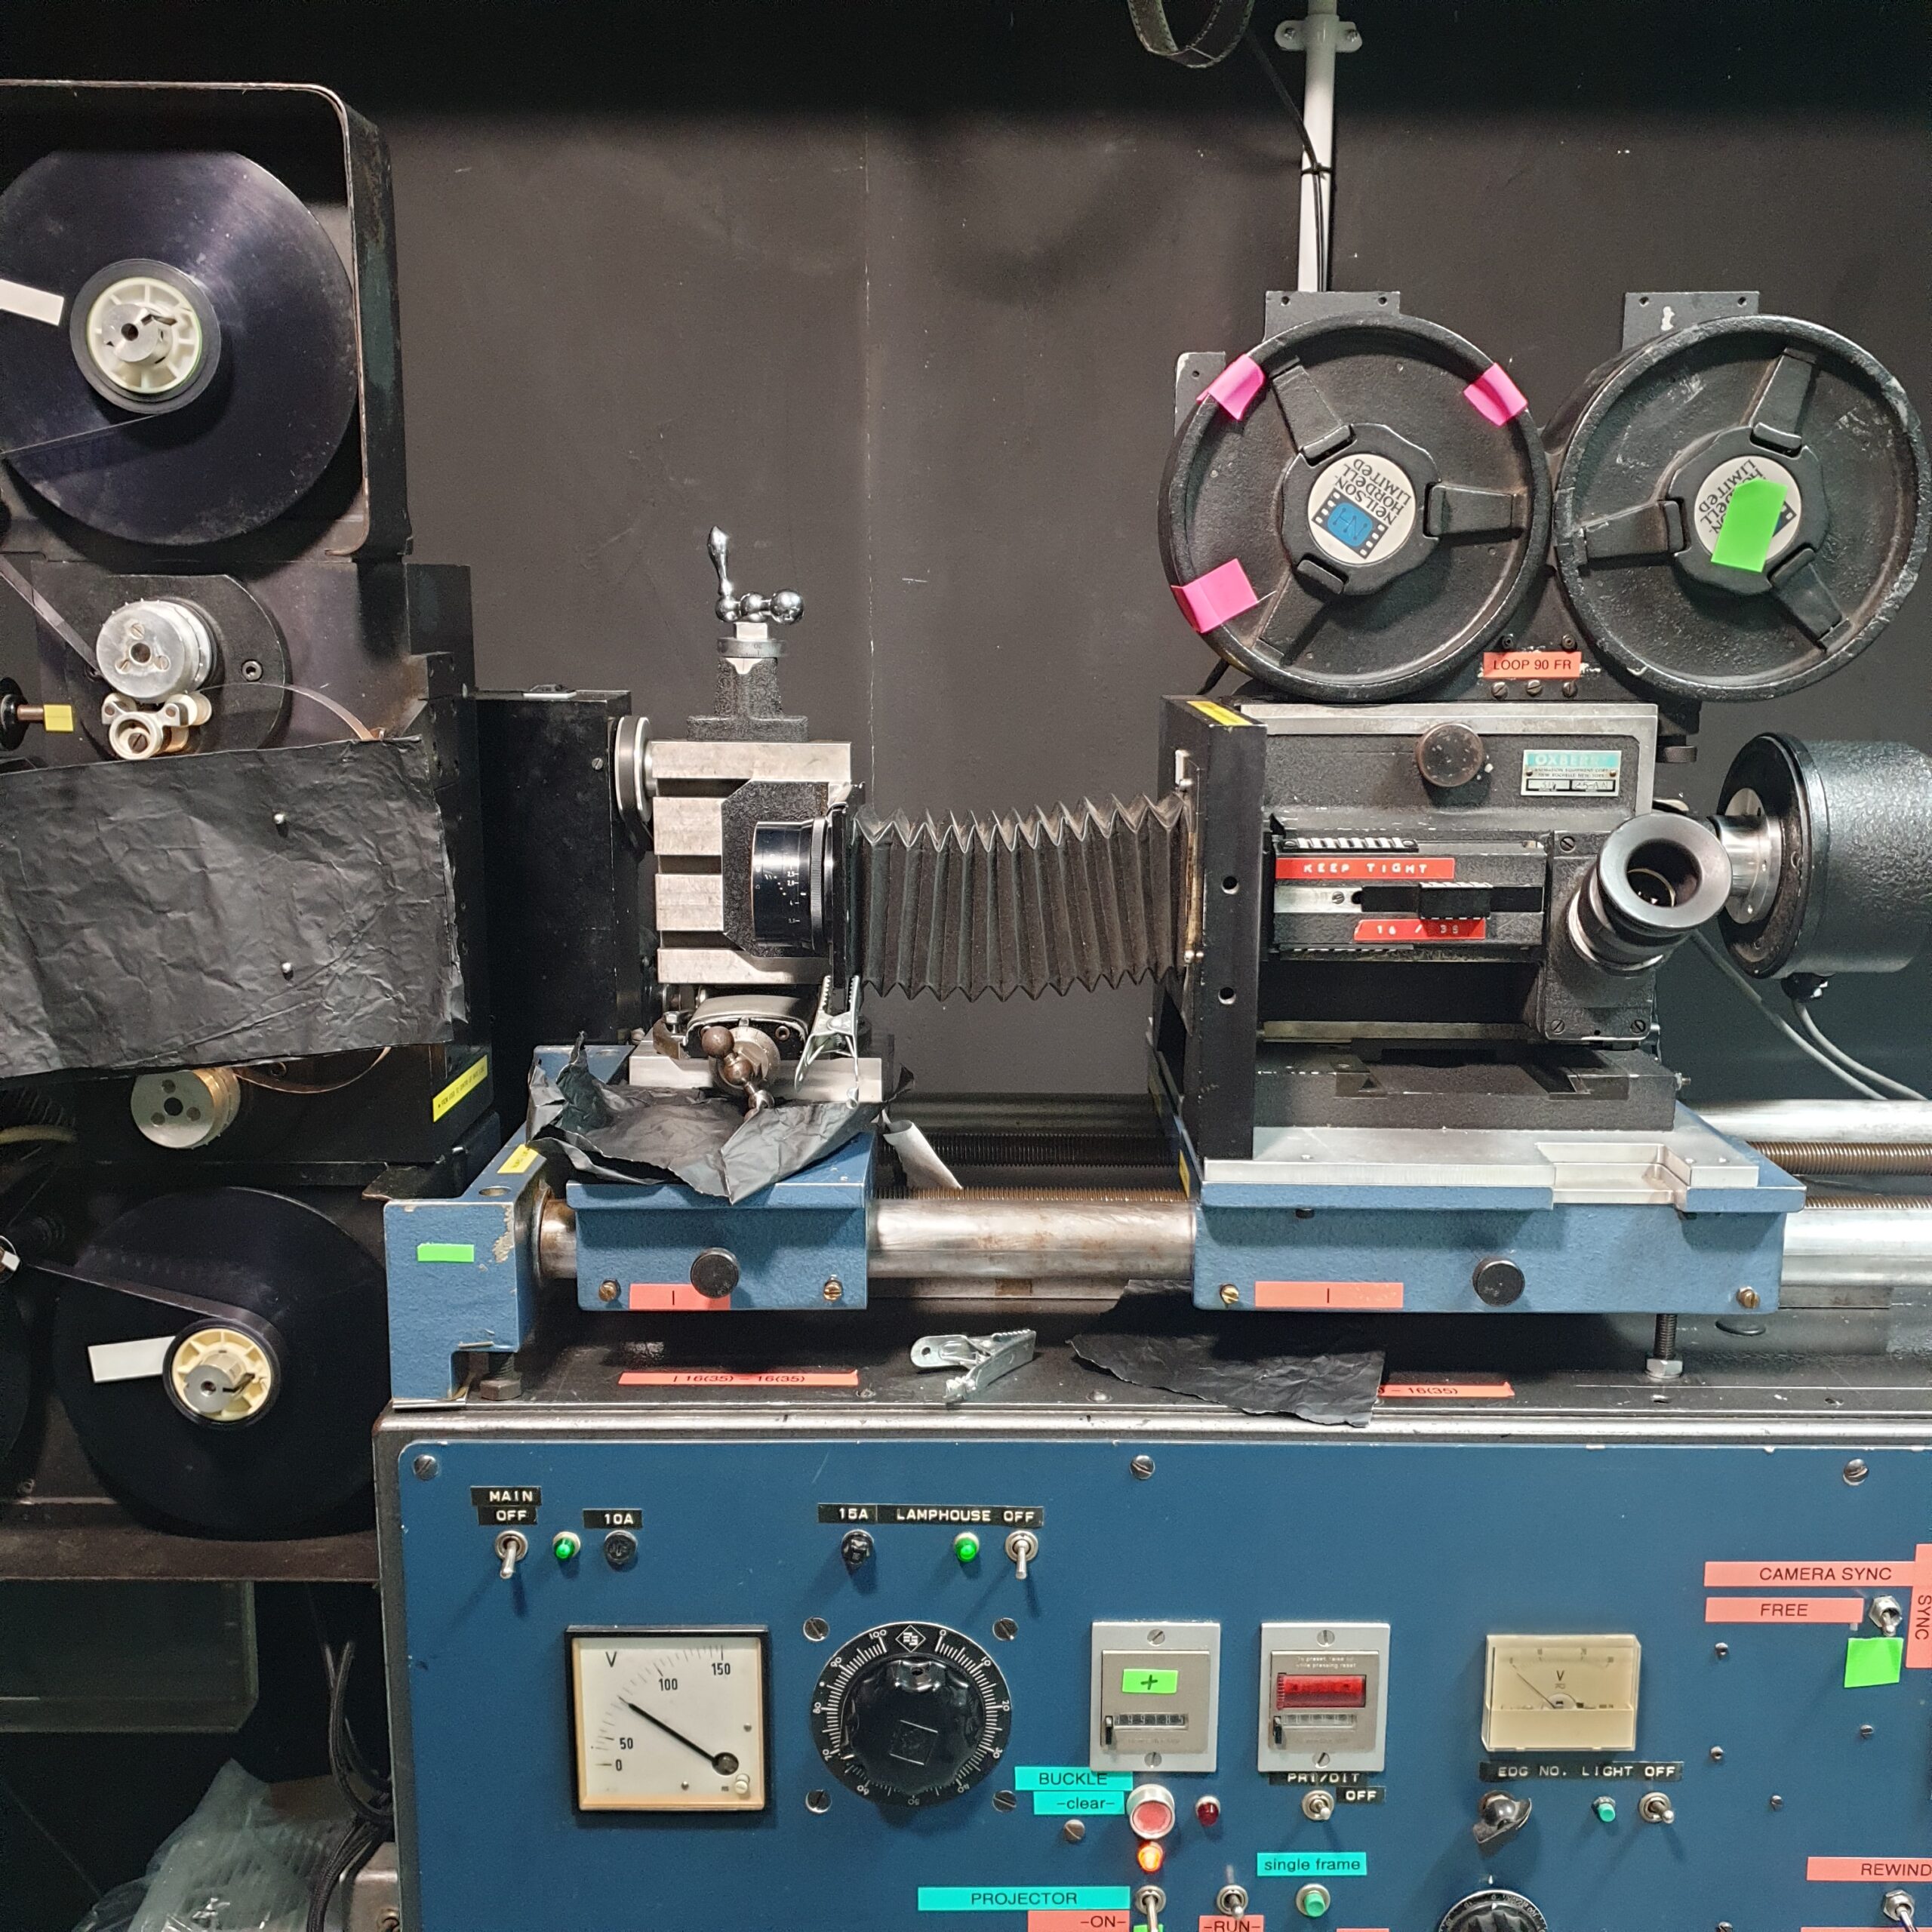
So after finally setting the lens stage and getting the camera drive working I’ve been conducting tons of tests to ascertain exposure settings for different stocks, processes and target outcomes. The first is really to get a good method established for printing negatives to PF2 and 3302 using accurate & repeatable D97 processing.
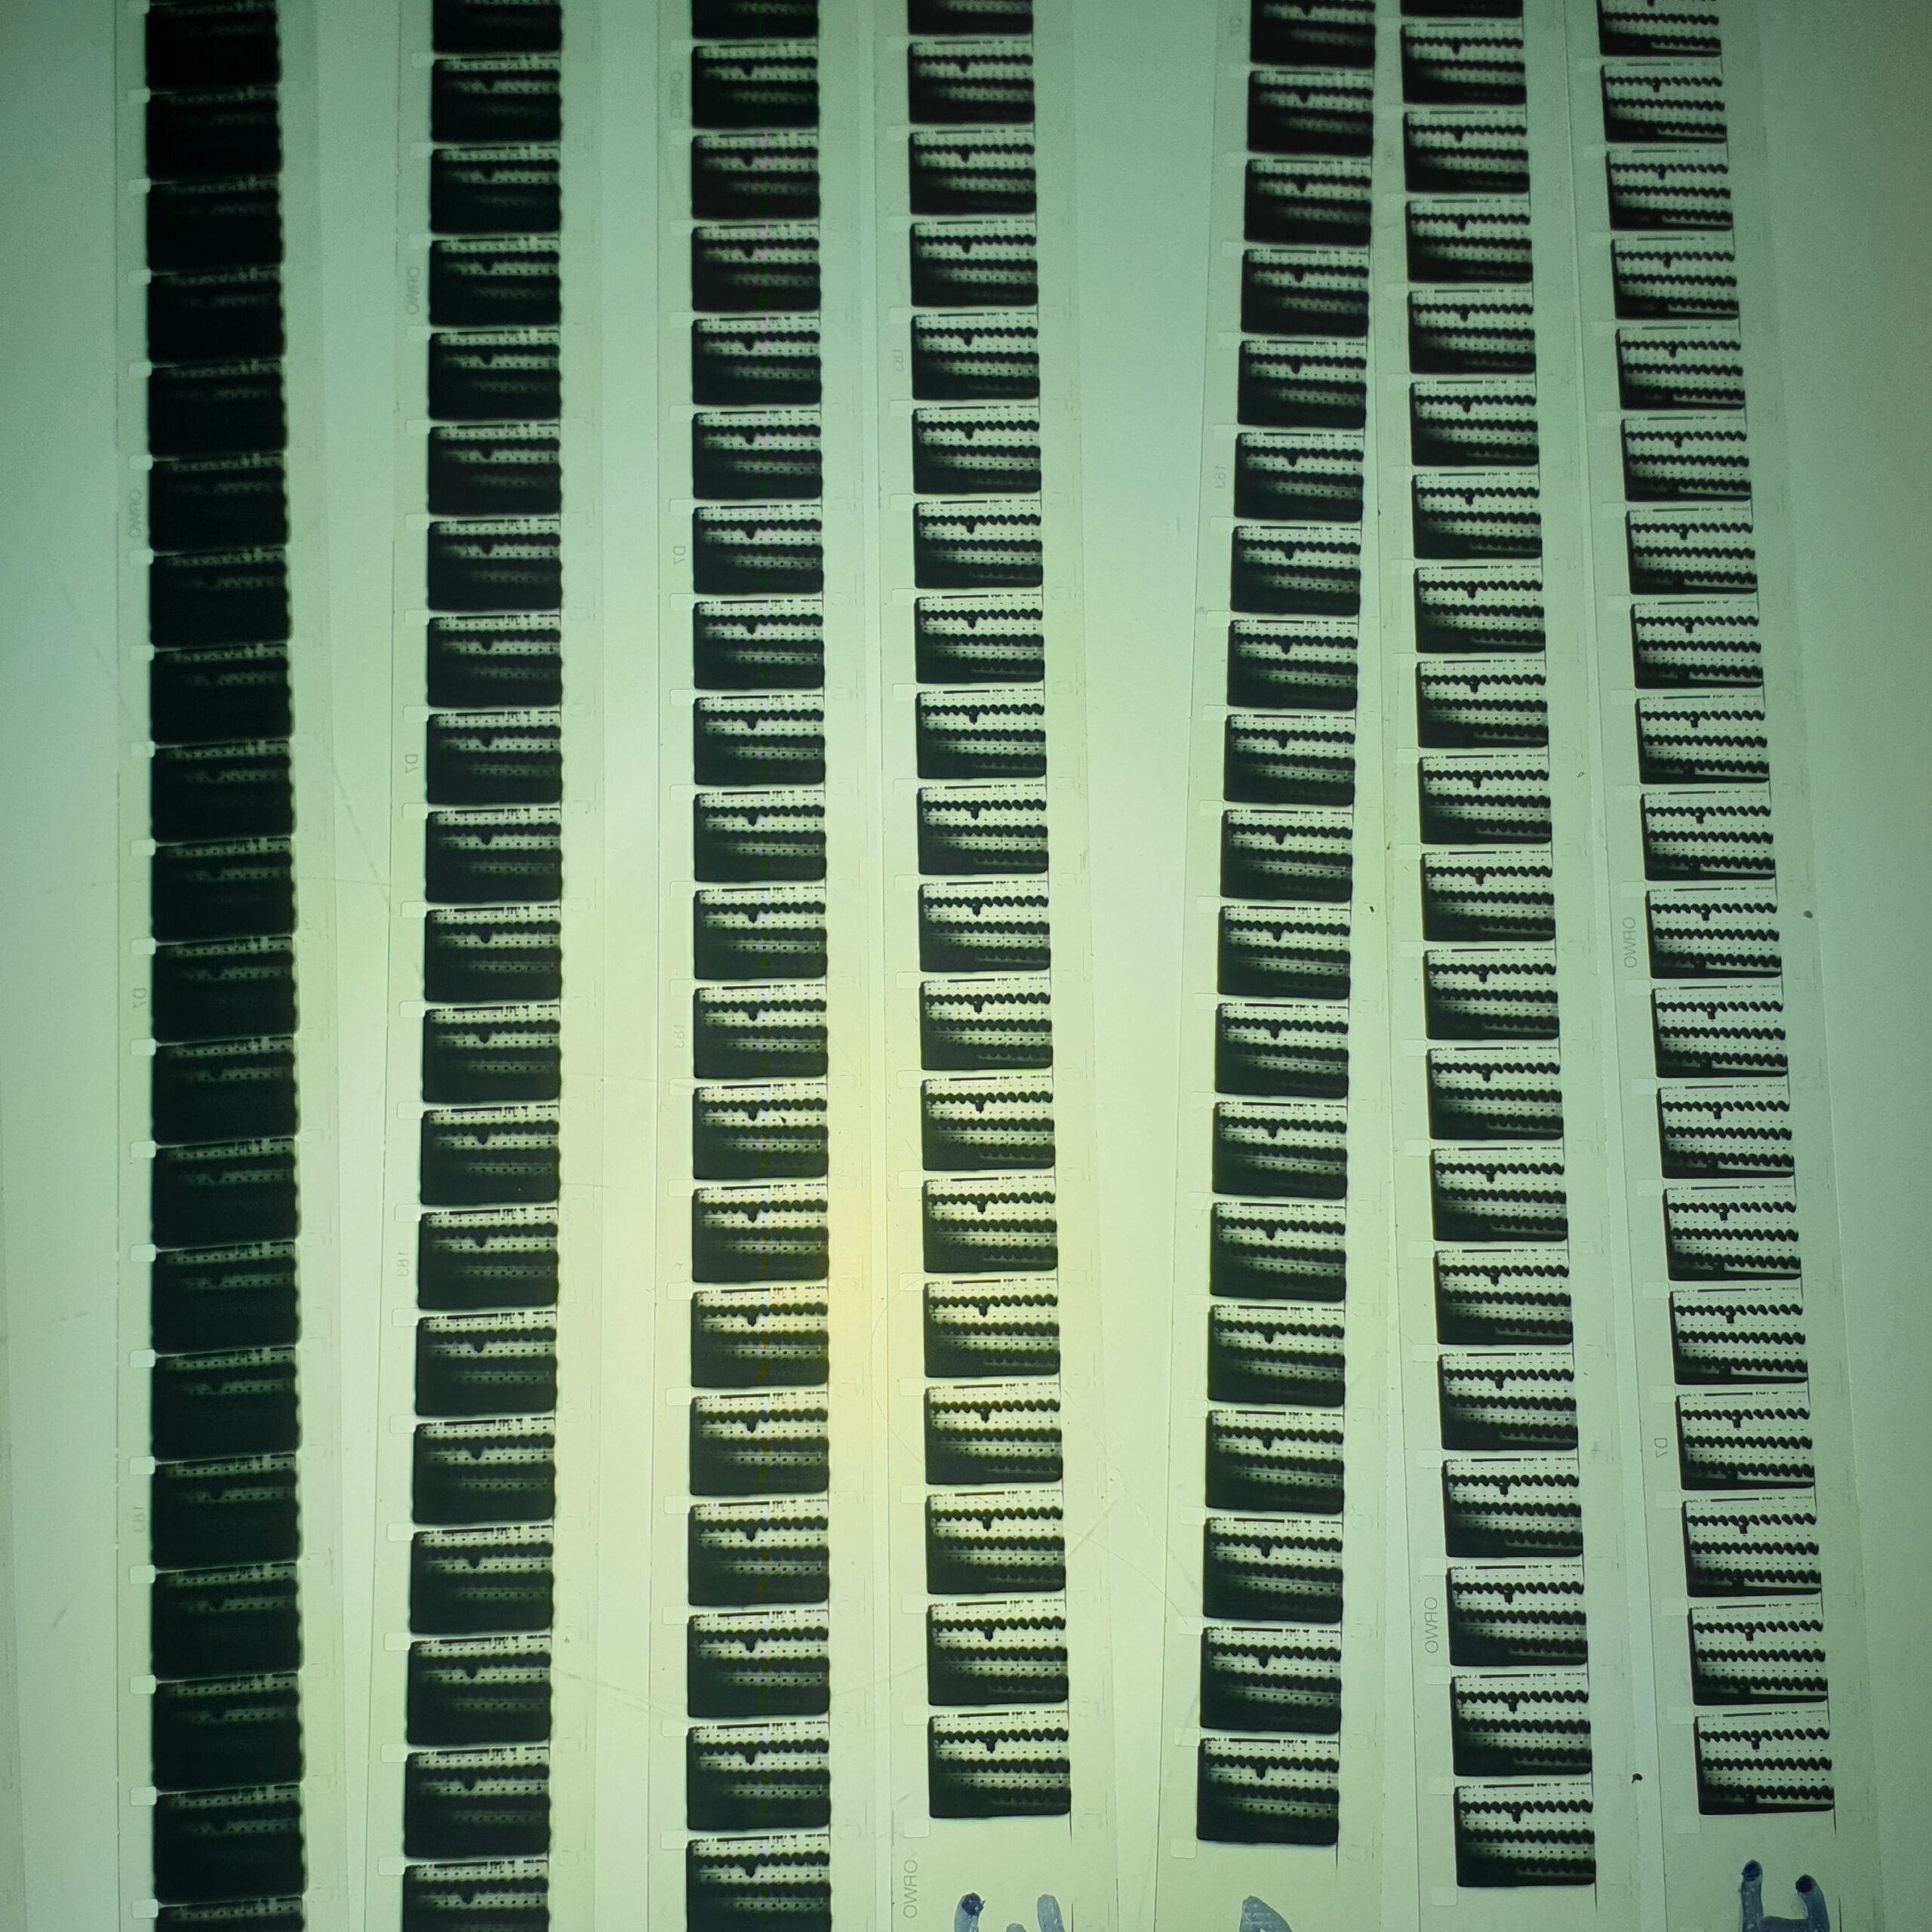
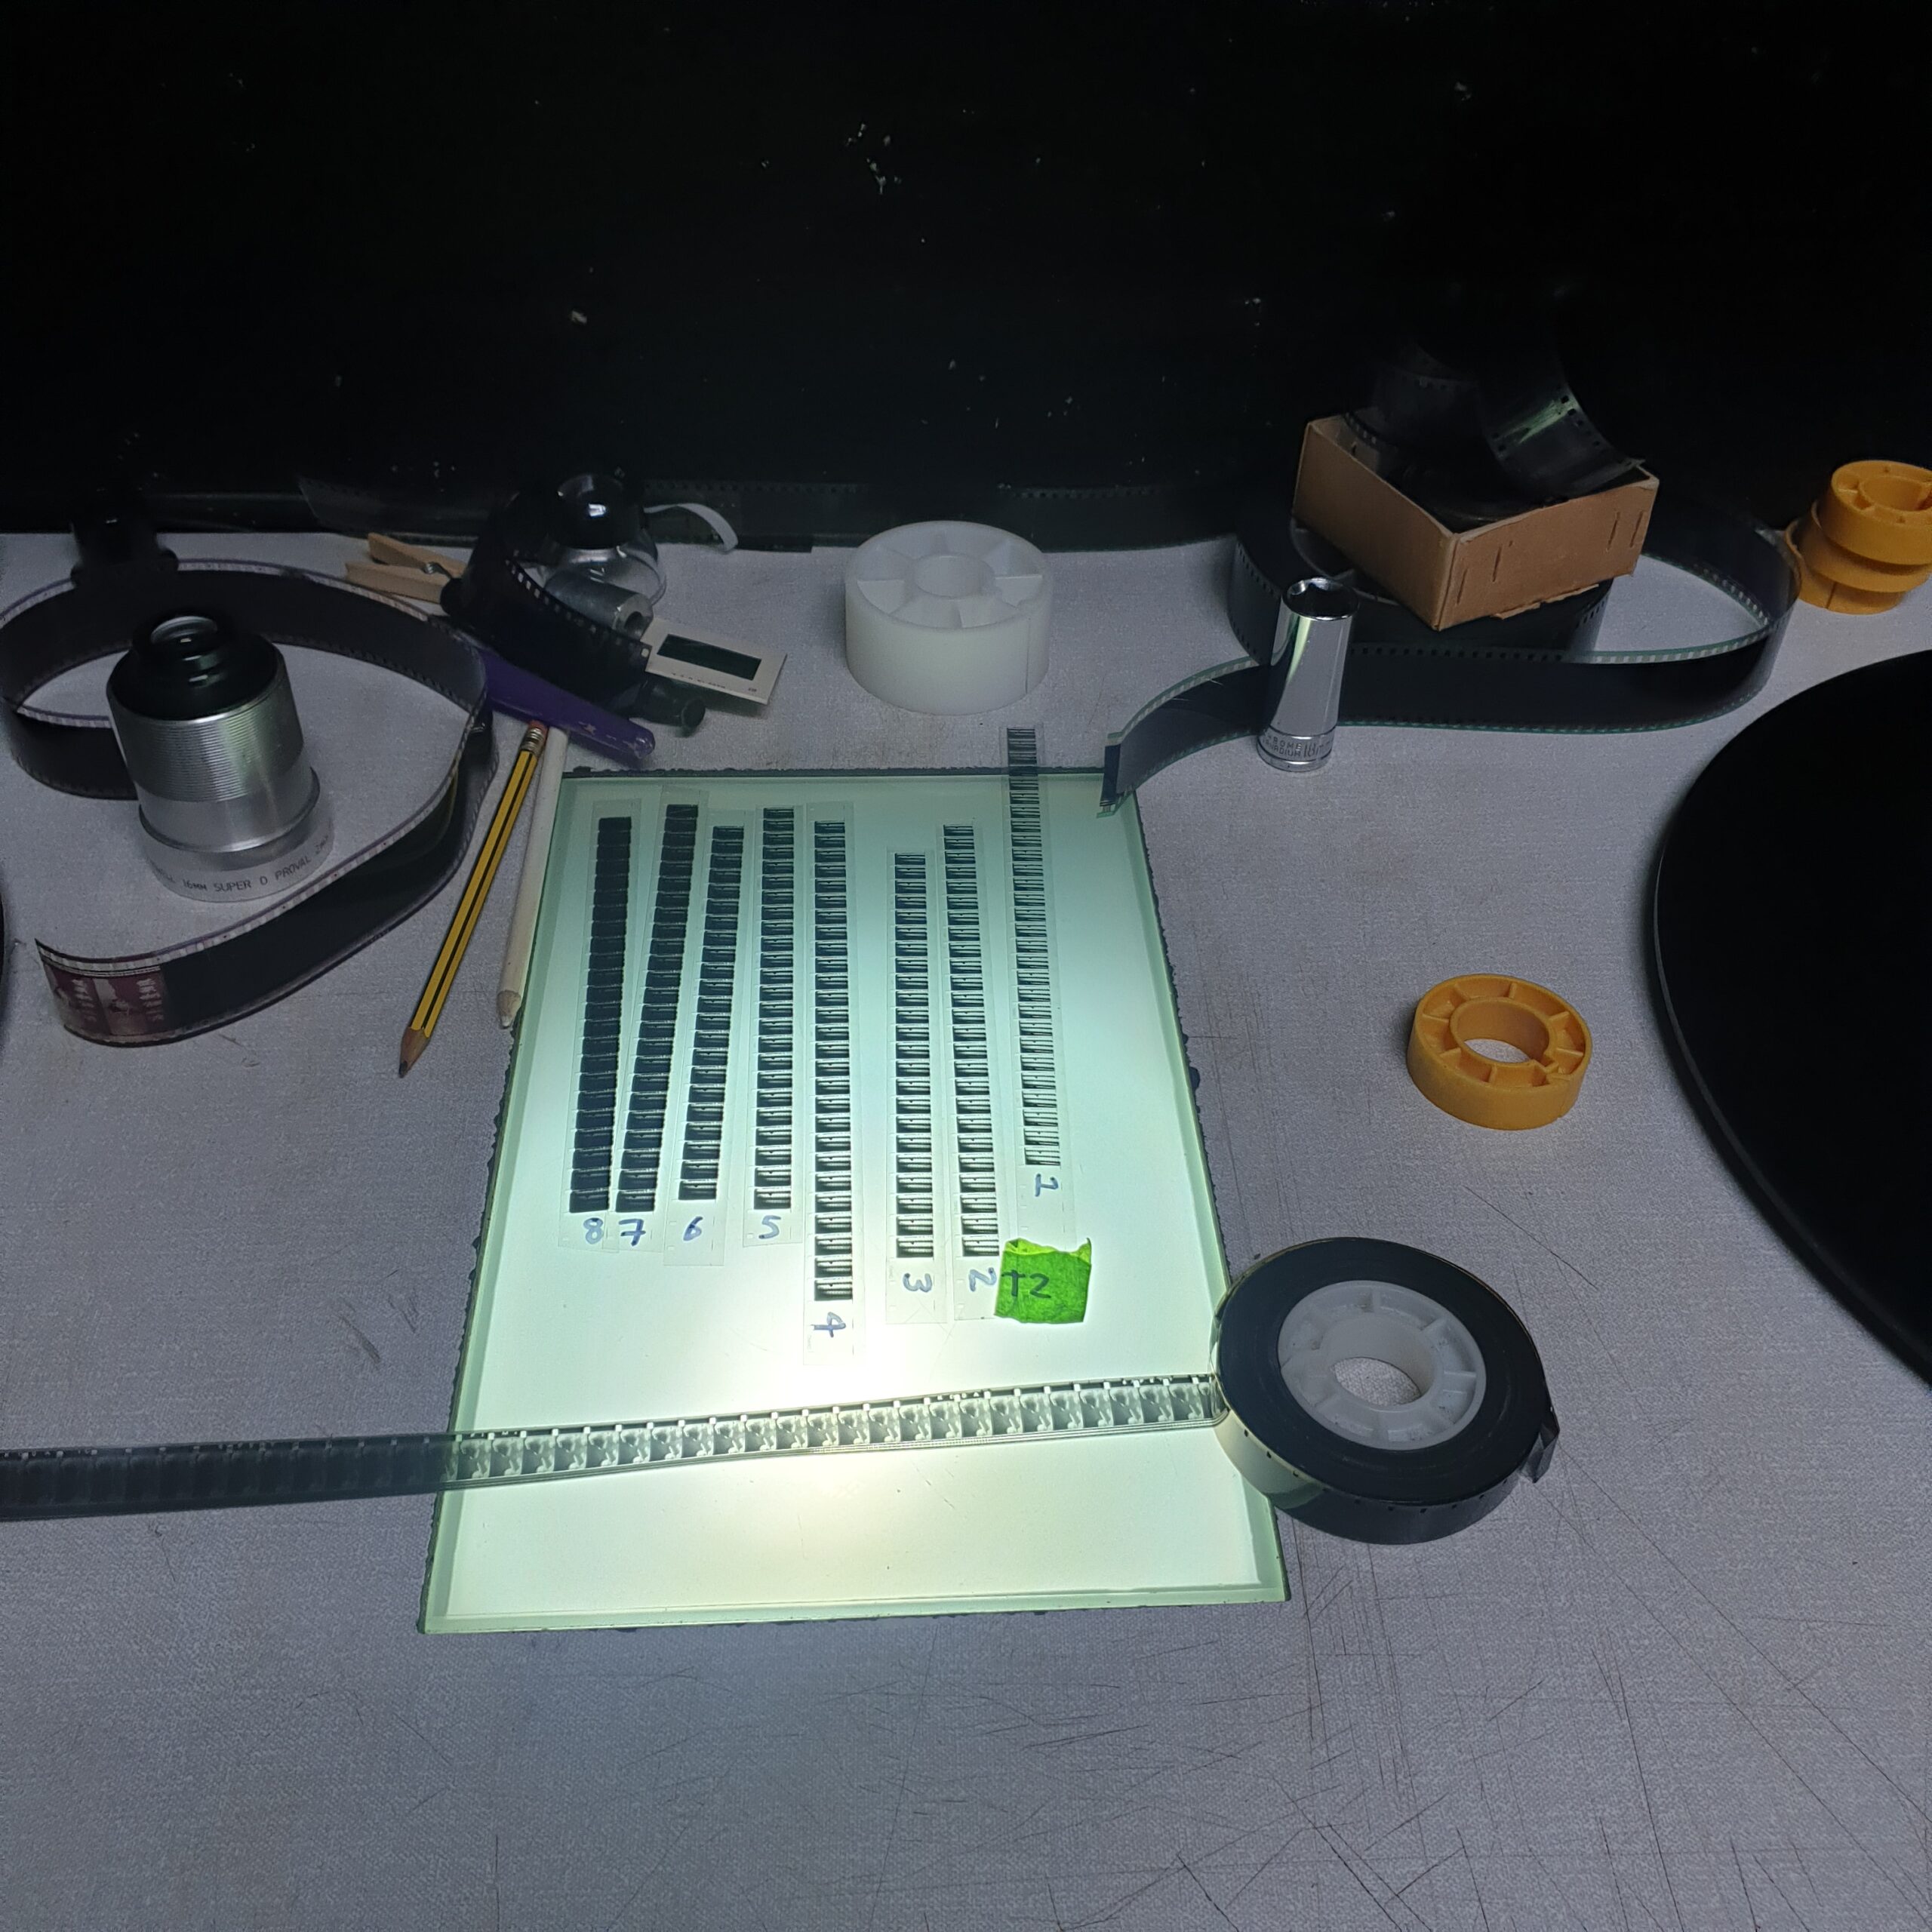
As the original materials I have to use are themselves also varied interms of calibrated or reference its a matter of getting a quick ‘acceptable’ result, taking into consideration the nature of the original, and aiming at shooting at T5.6 or T8 and then taking a lux measurement in the gate, with transmission through the target, to enable setting up a quick wedge test for any material going to the stocks mentioned above.
Once I have a good density positive at the lens mid point, further tests can be done with shutter angle and ND filters to tweeak the results plus of course processing factors such as dev time and contrast etc.
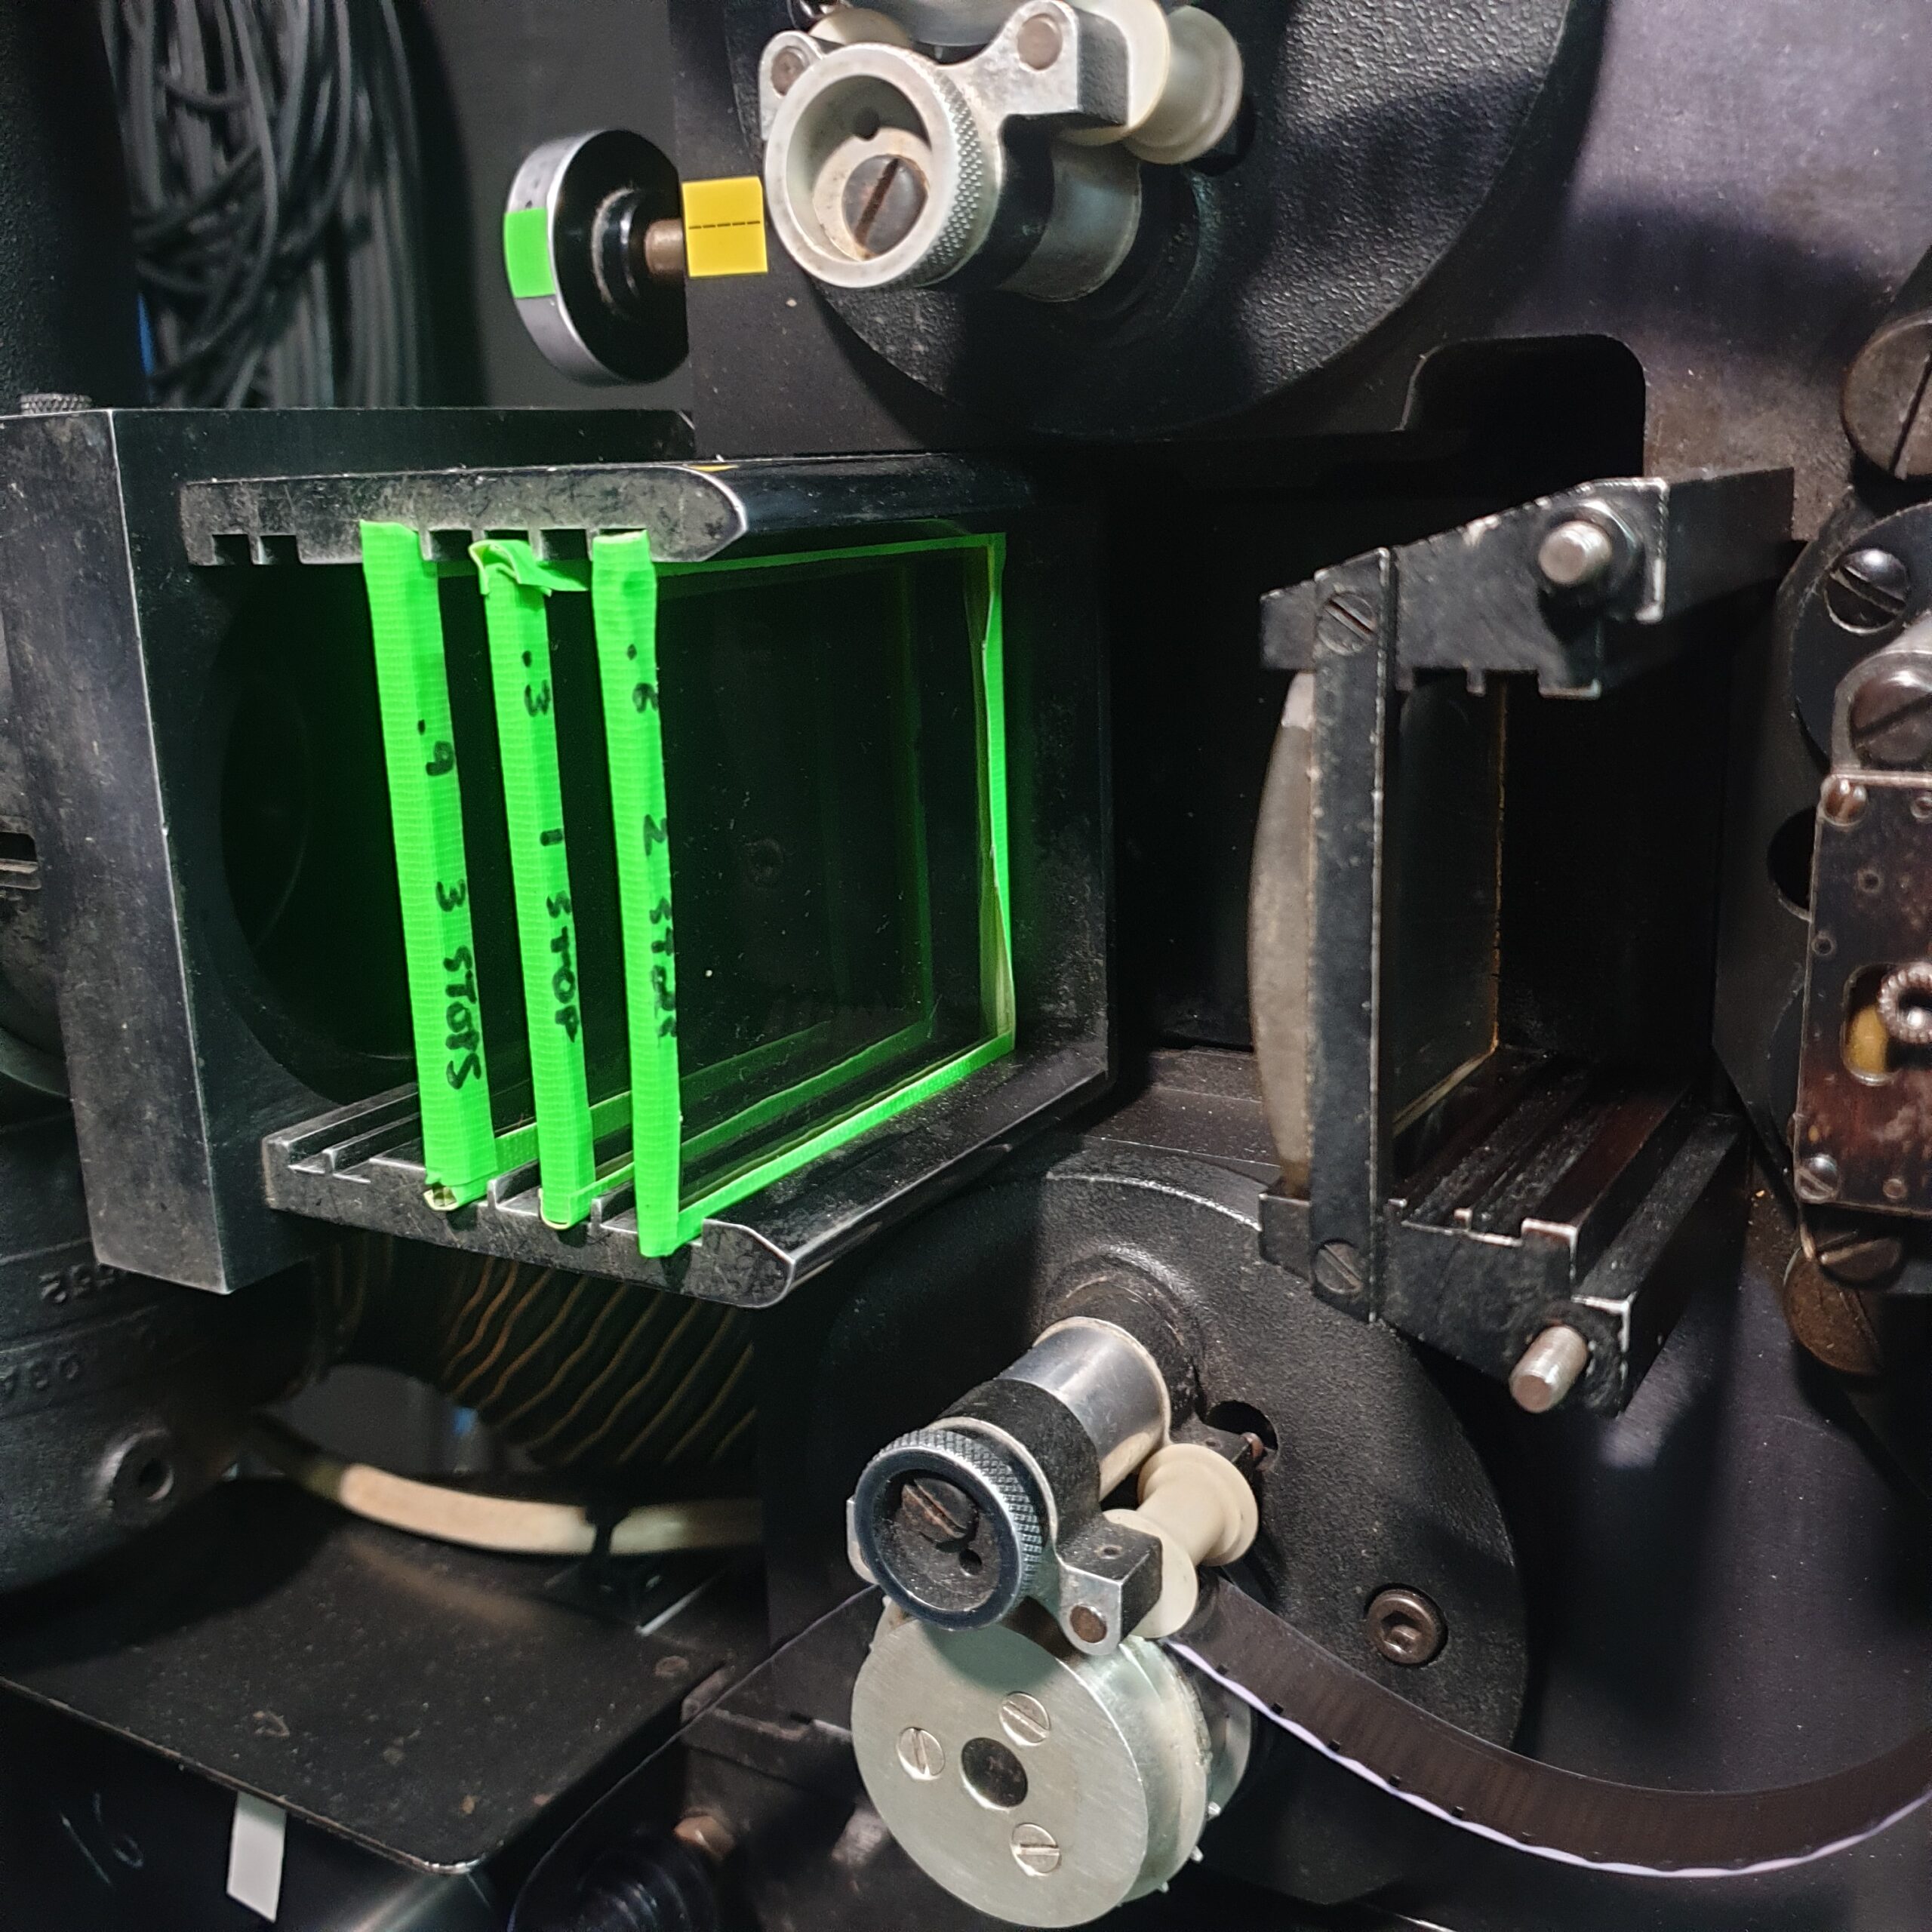
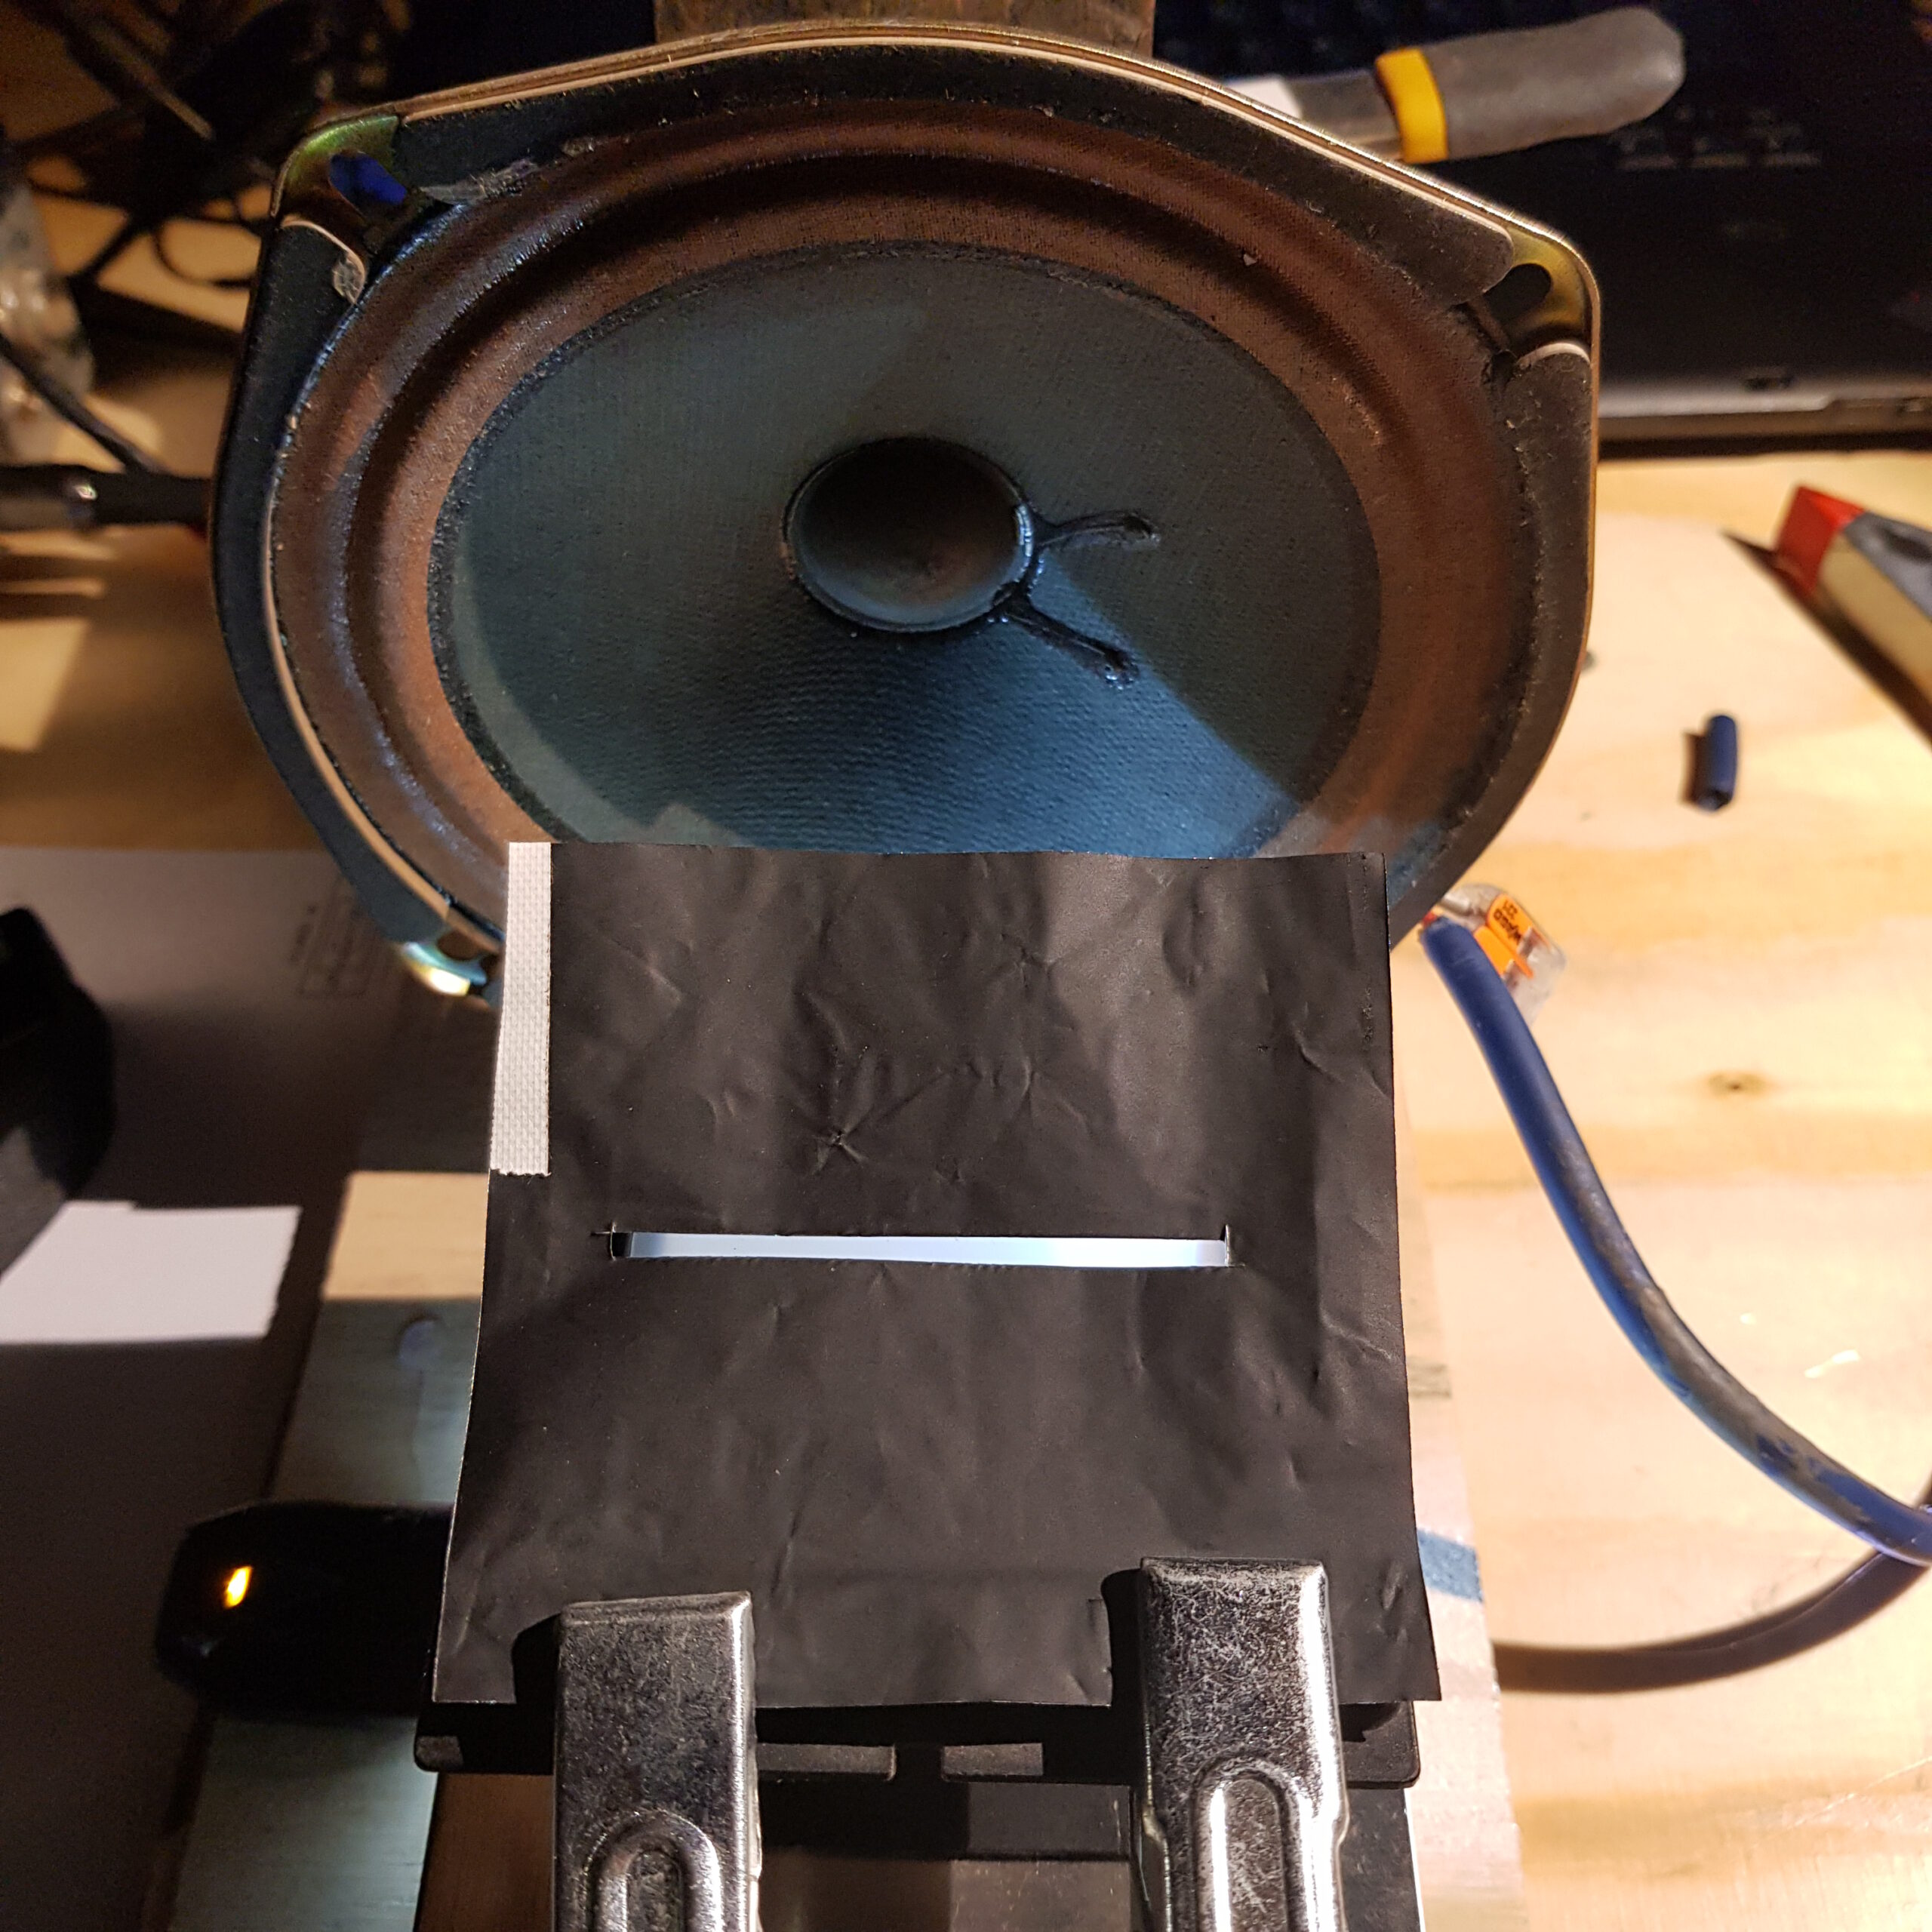
Its amazing how much light you have to stop down to get results in range. I am lacking a decent set of ND filters so am busy making these from glass squares. (lighting gel is fine, dont need expensive camera filters).
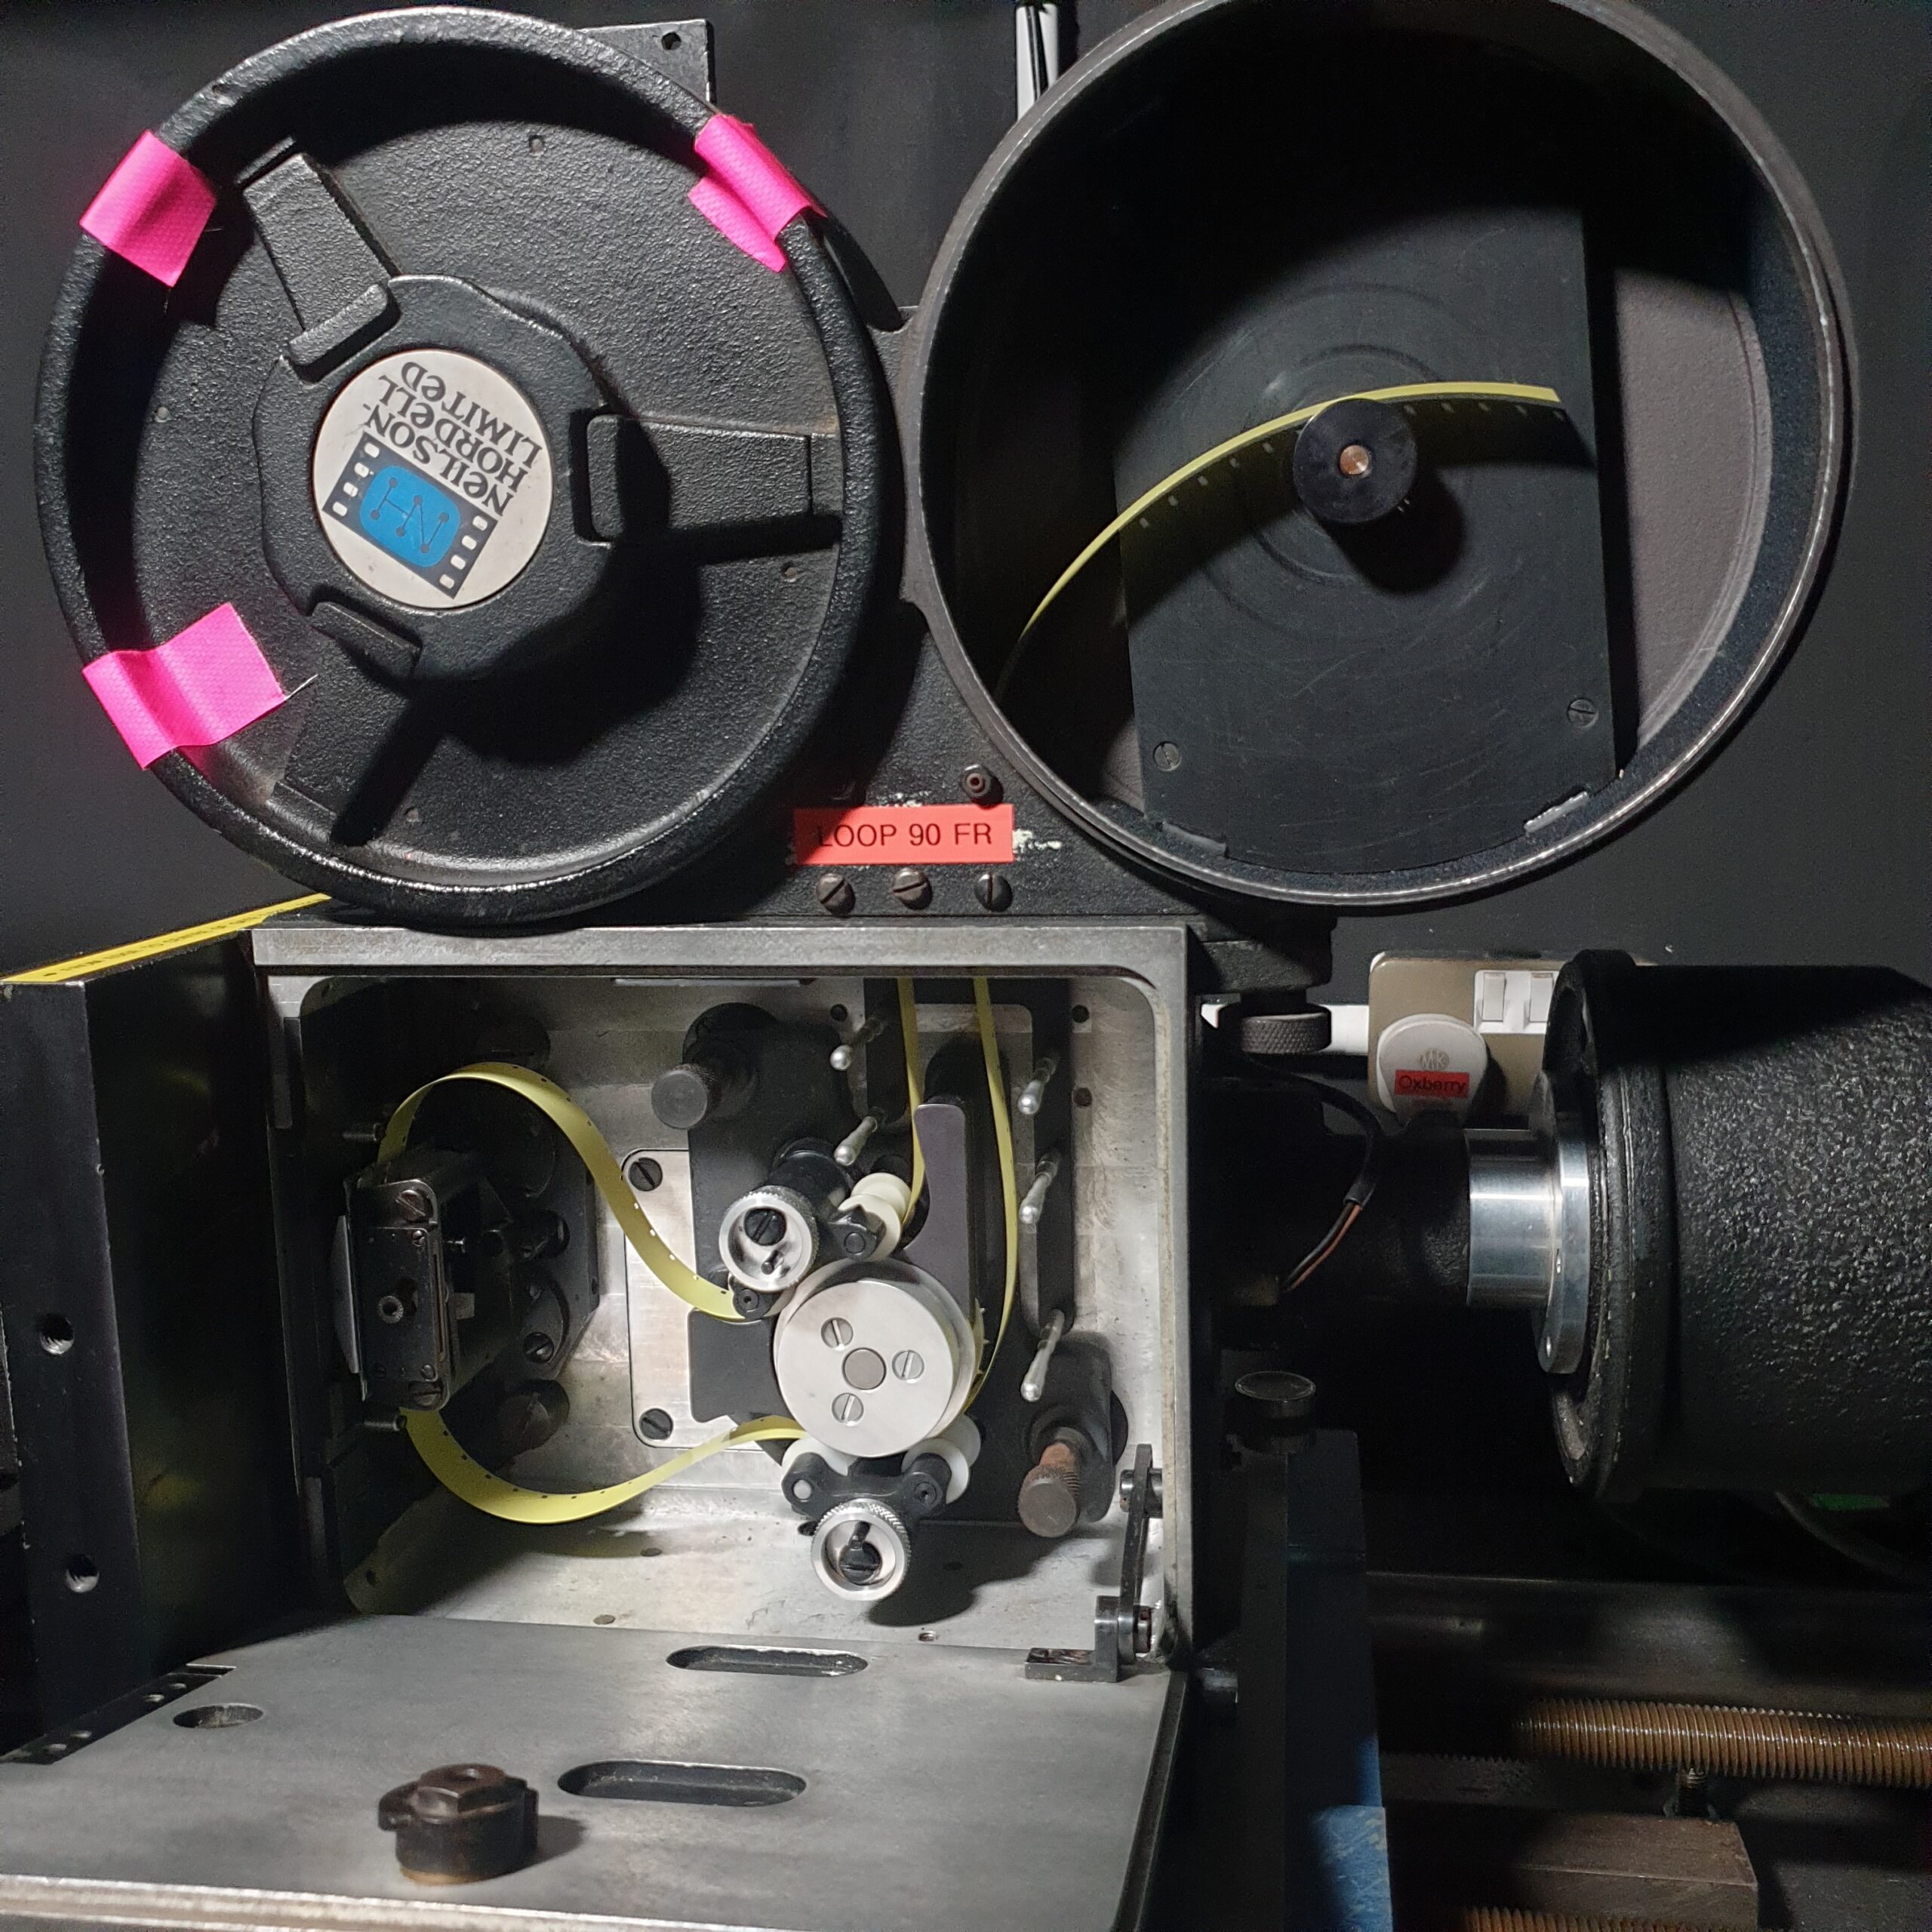
I’ve loaded the camera with 400ft and just snip after the sprockets after each test. That way I can respool, move fogged frames out of the camera and be ready for another test very quickly.
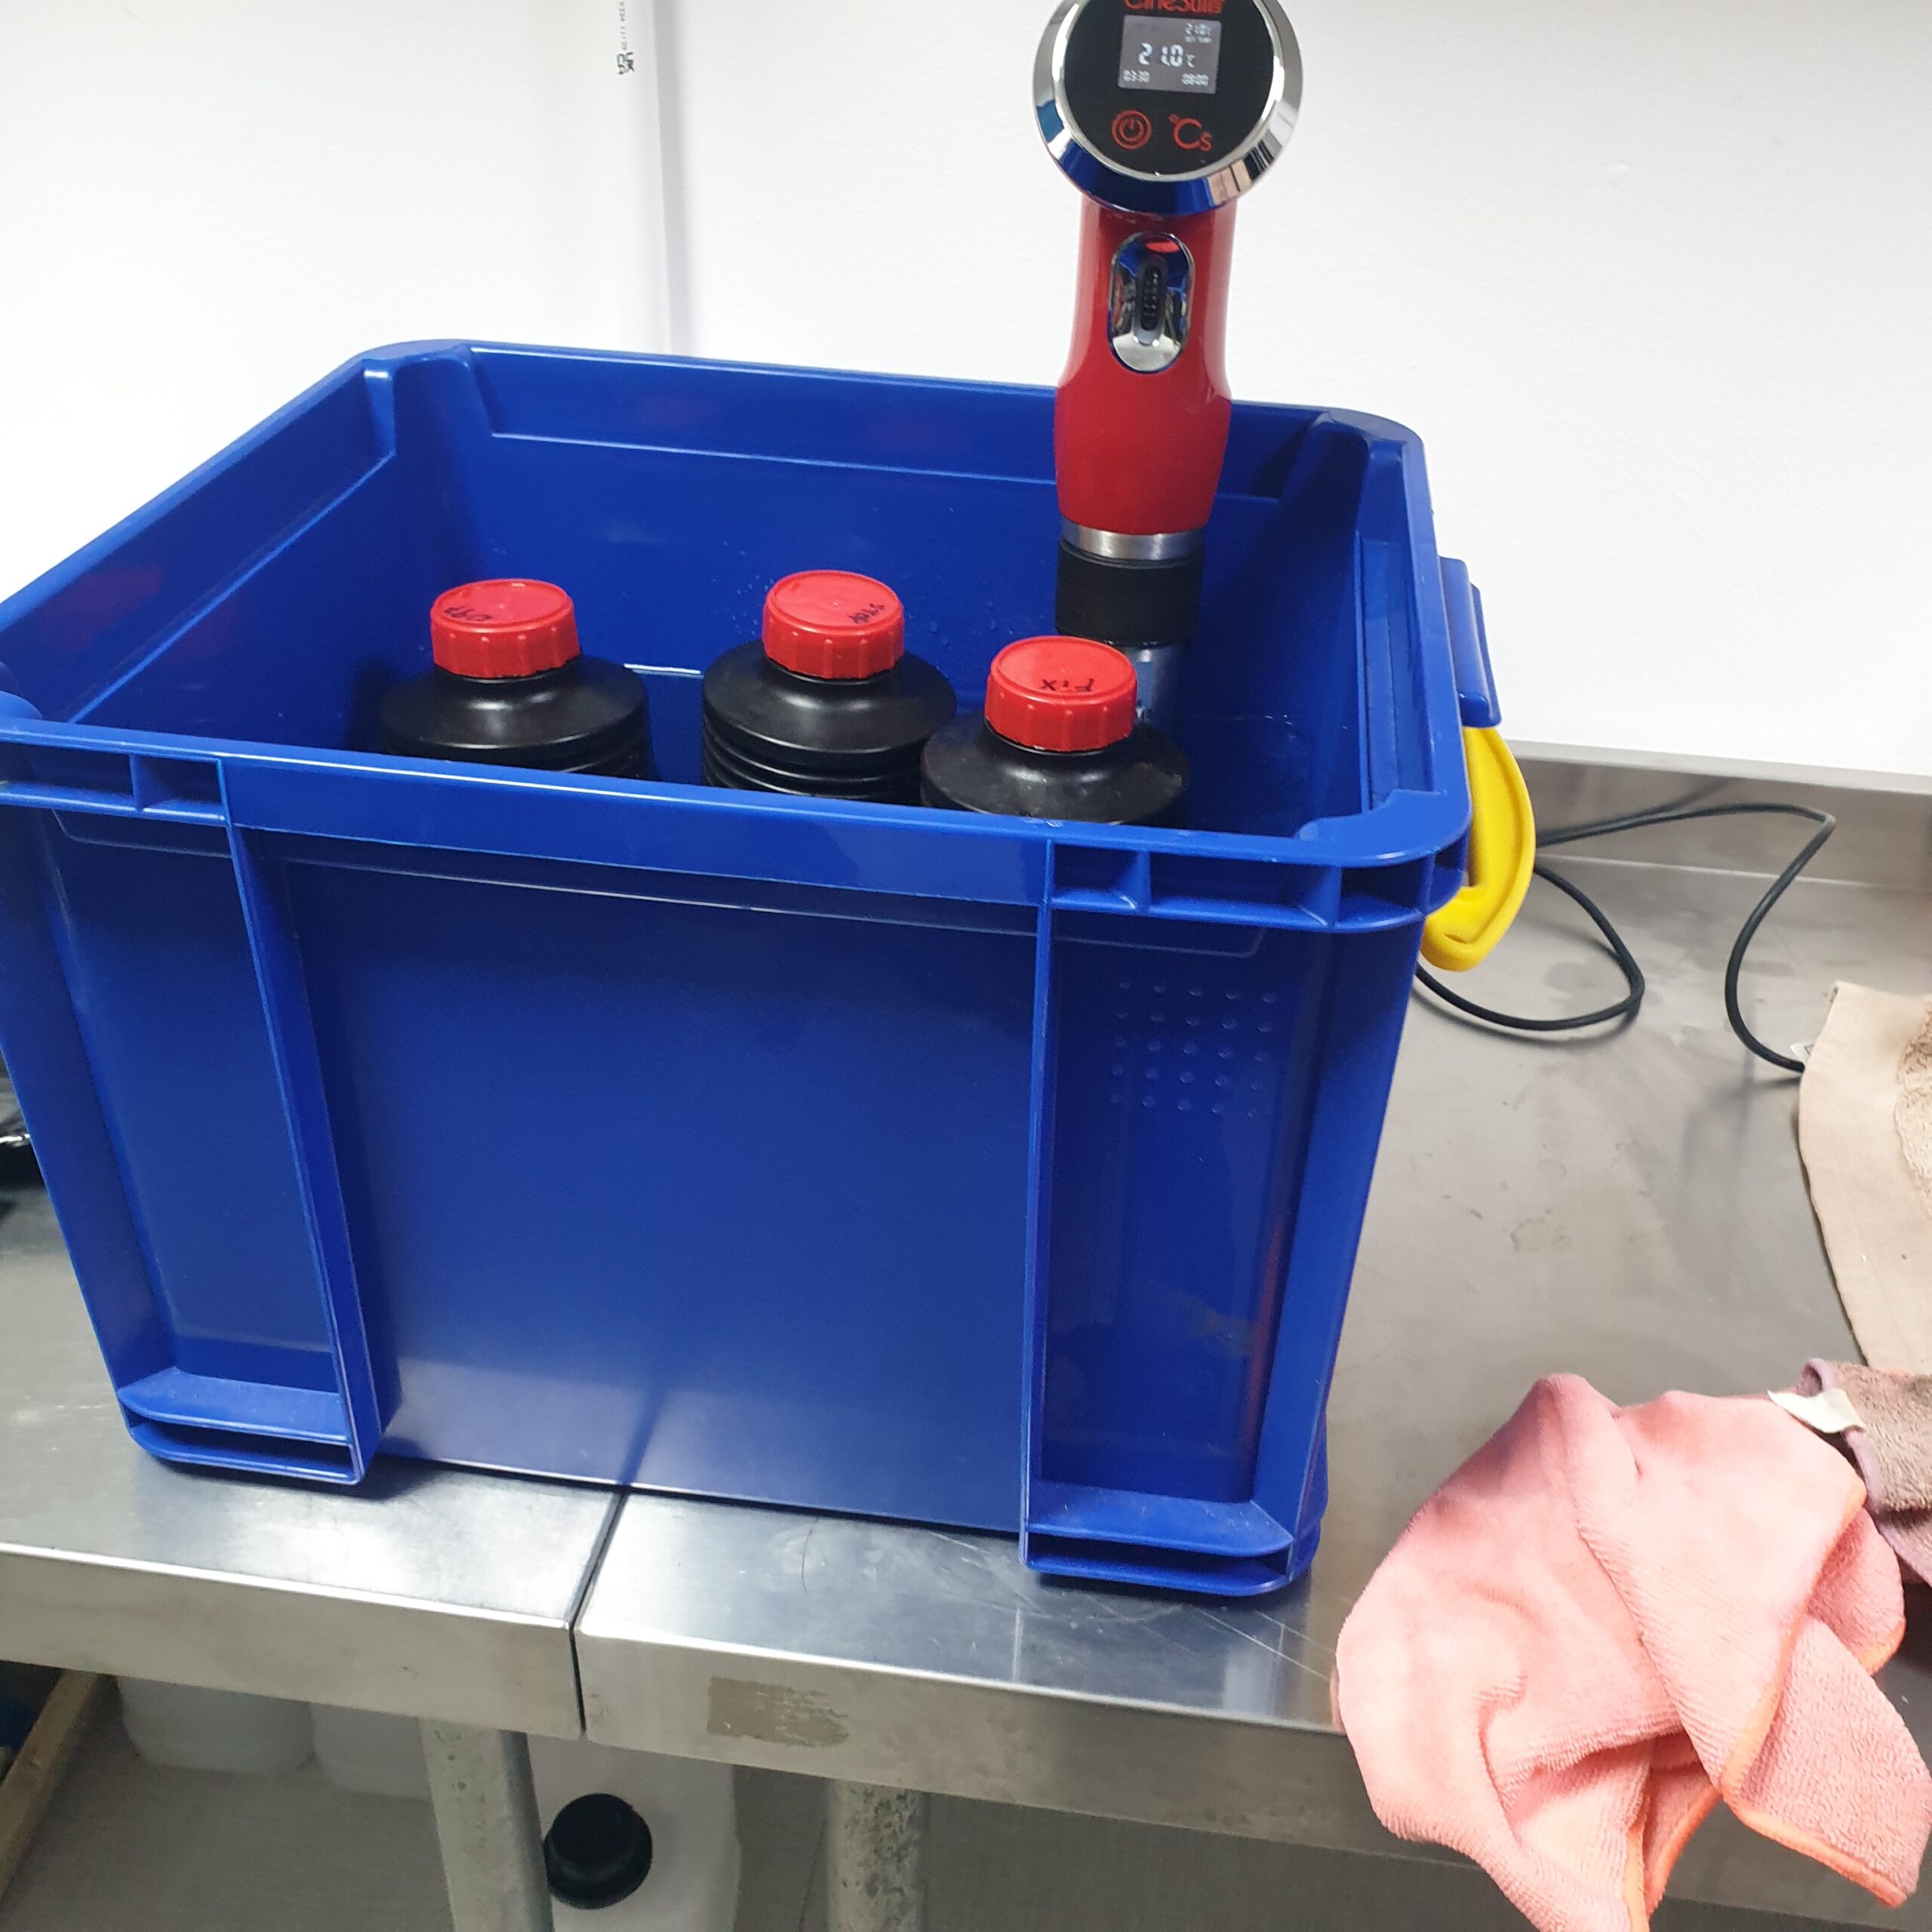
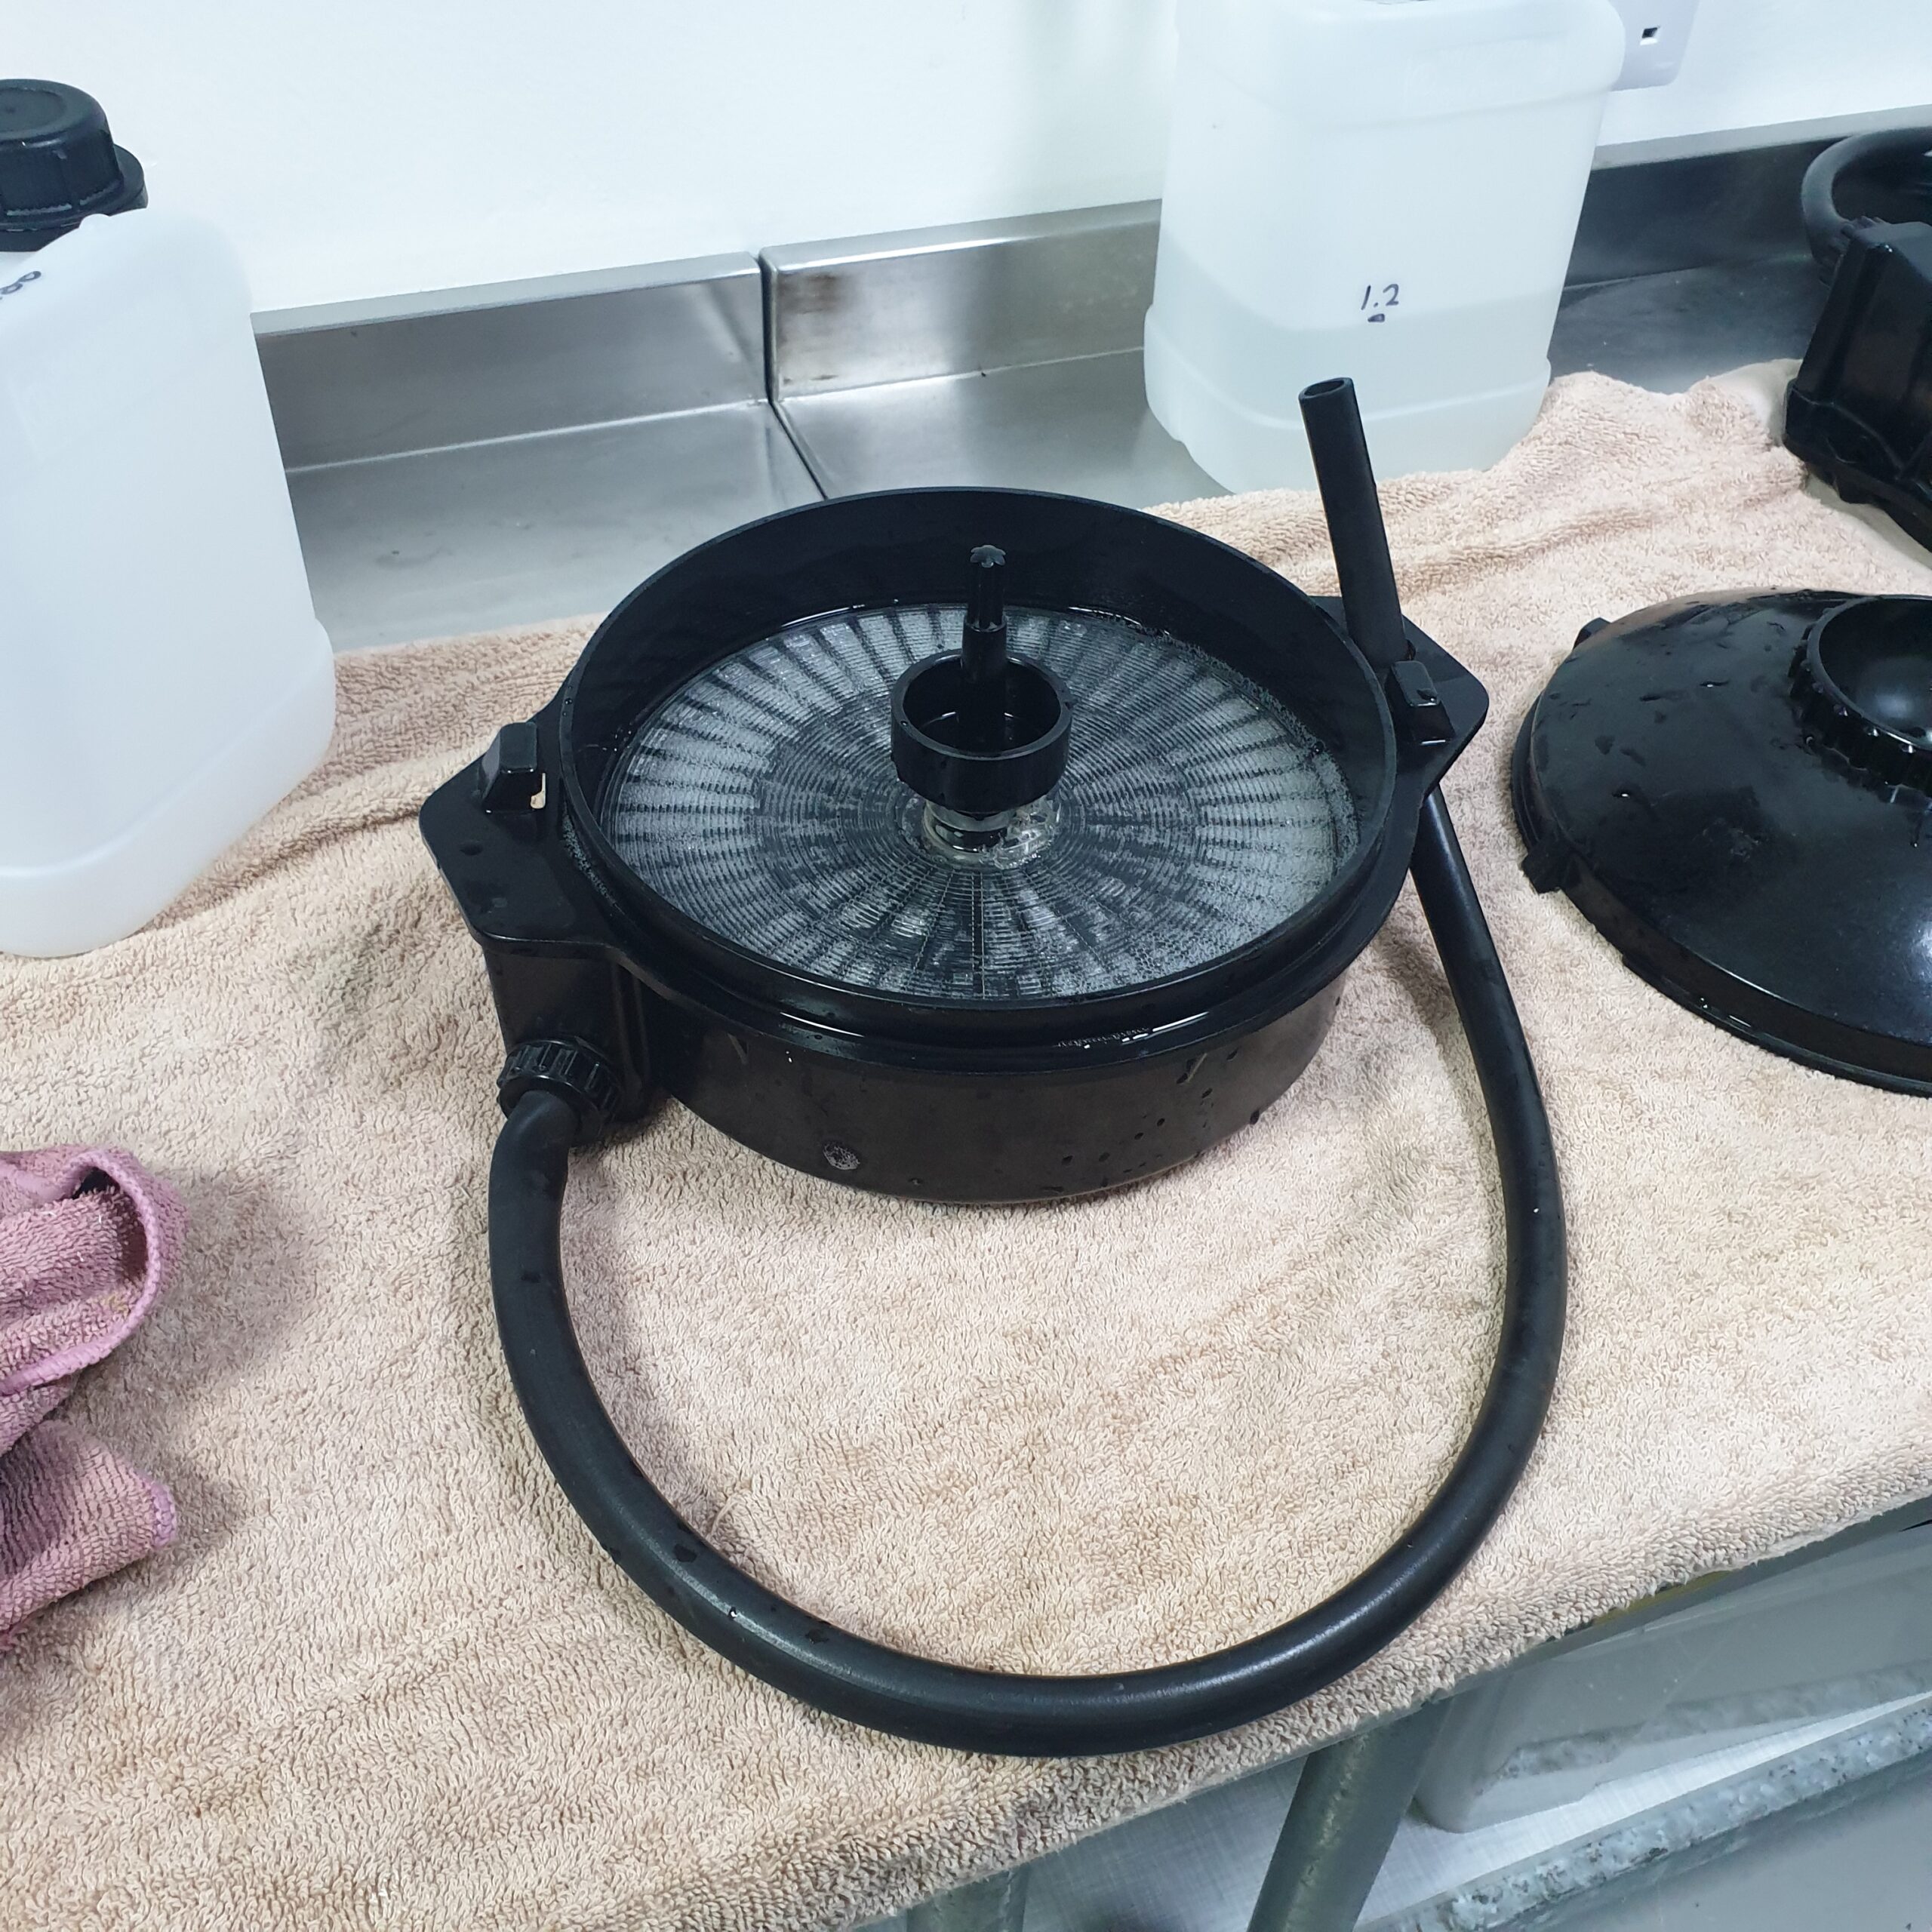
It’s crucial to process D97 accurately and repeatable for tests. Tweaking this stage comes later when chasing specific effects.
Also its super important to log and document each test, what each tests carries out as this info is needed after to determine which factors are responsible for which samples. For instance in one test there was a few flash frames where the image looked good, better even then the tests, but it was somekind of accident as it didn’t follow my test sequence. I dont know what happened so cant repeat it.
Im shooting a single frame Ive chosen for a few reasons. Its not helpful that I am copying a neg that is itself actually on Agfa ST8D, a hi-con sound track stock. The image is sharp, but will not produce a full range of greys. However, Im after a subjectively good looking result so it doesnt matter. Other tests can be done shooting negatives in controlled conditions to generate reference material.
I have of course unconvered some new annoying issues such as the fact that the viewfinder glass does not seem to correspond to the camera gate, which if true is disastous and may need lengthy rectification. On the whole though the whole system is coming on well and for once Im too busy to get around to uploading this blog.
1 : the remains of something broken down or destroyed digging through the storm’s debris in search of survivors sifted through the debris of his flooded house. 2 geology : an accumulation of fragments of rock. 3 : something discarded : rubbish picking up debris after the parade.
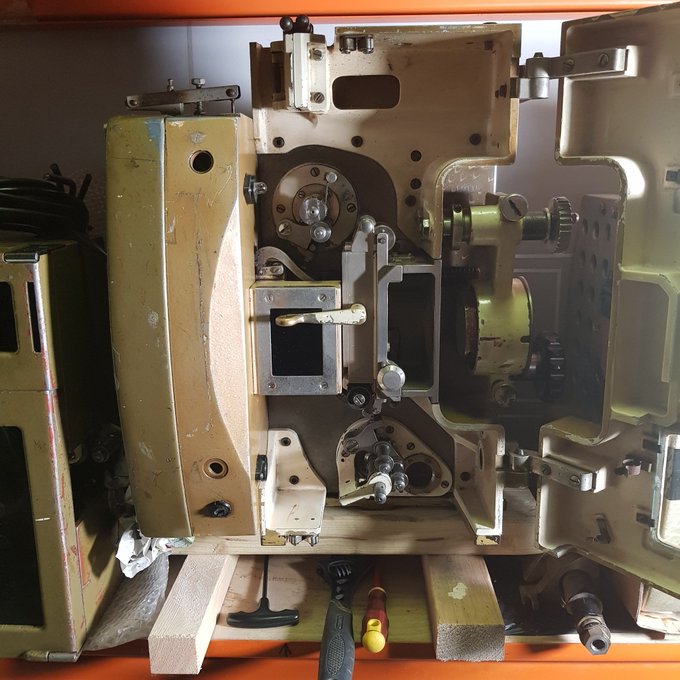
I am hoping to hold an exhibition at my studios next year. It will be a mixture of sculpture, video and installation and will reflect on decades of collecting machinery associated with Cinema.
In marked contrast to Expanded Cinema which largely aims to enlargen conventional applications of projection technologies (albeit in inventive, experimental and innovative ways) my aim is to celebrate the metallic presence of film machines as artifacts, sculptures, bodies.
Through simple and crude reinterpretations and reimaginings of their design, aesthetic, function and mechanical operation, objects will explore the inner space of their own legacy of purpose.
Alongside these sculptural works will be several moving image works including one made using a 3 colour b/w seperation film preservation technique.
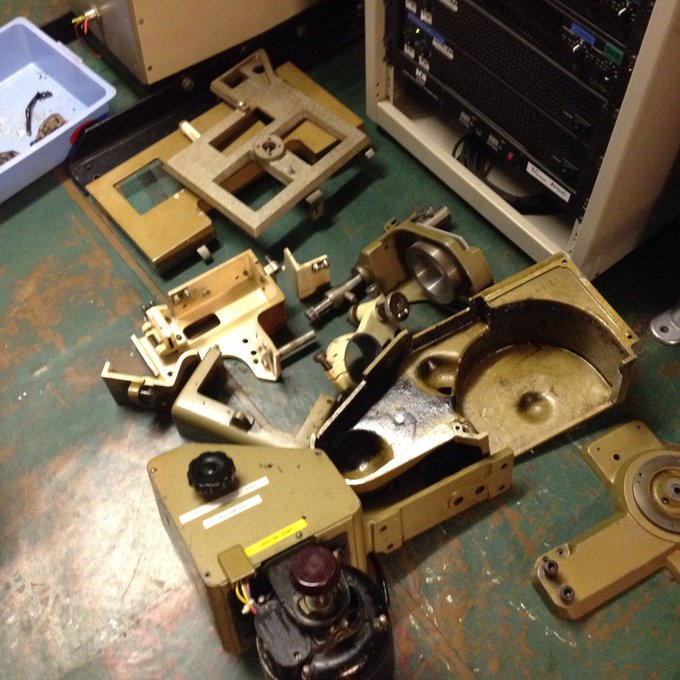
It struck me recently, when unloading a final lorry load of gear that all these strange objects and parts all have their own sculptural presence. And when some are combined they take on new forms that contribute to an extension, an expansion of their lifes, or afterlifes. That is they keep giving, even in advanced redundancy and obsolescence they provide ideas, materials, toolsets, techniques, functions and value, that are far from exhaustion.
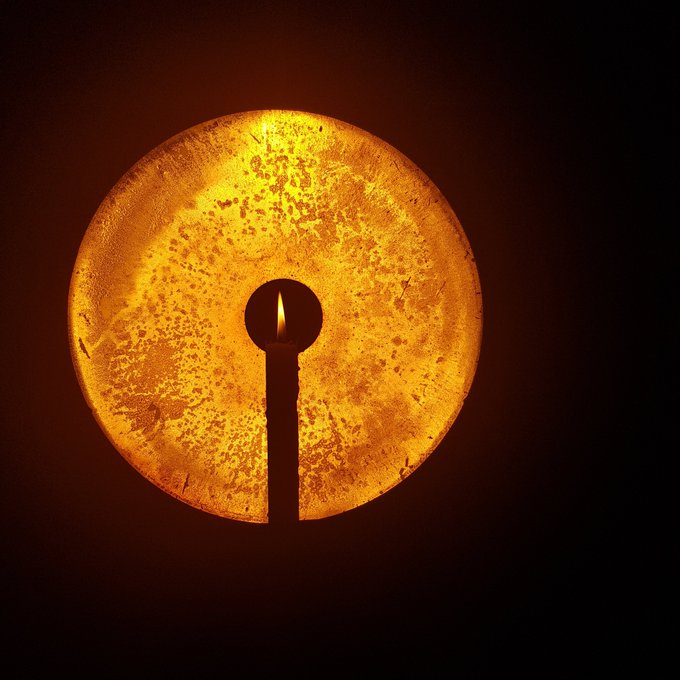
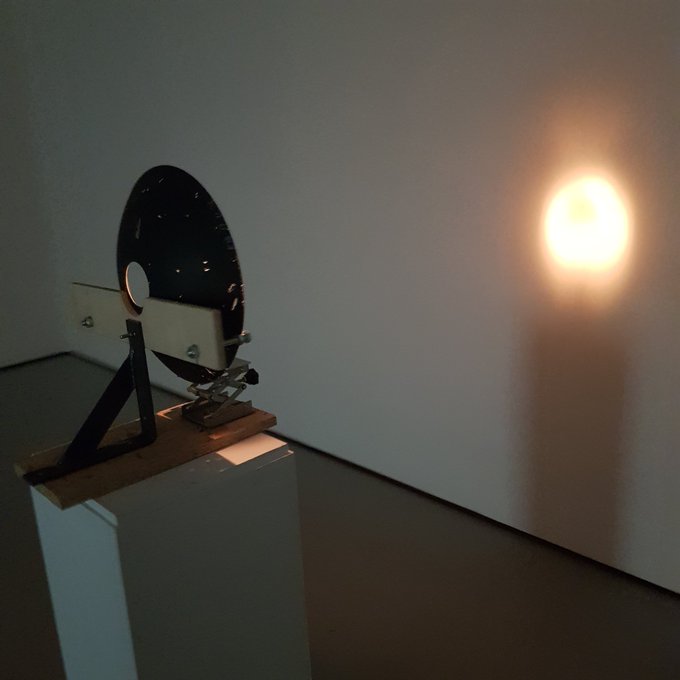
An old carbon arc mirror for instance, used in pre-XENON eera lamp houses finds a calm place when combined with the crudest light source, a candle.
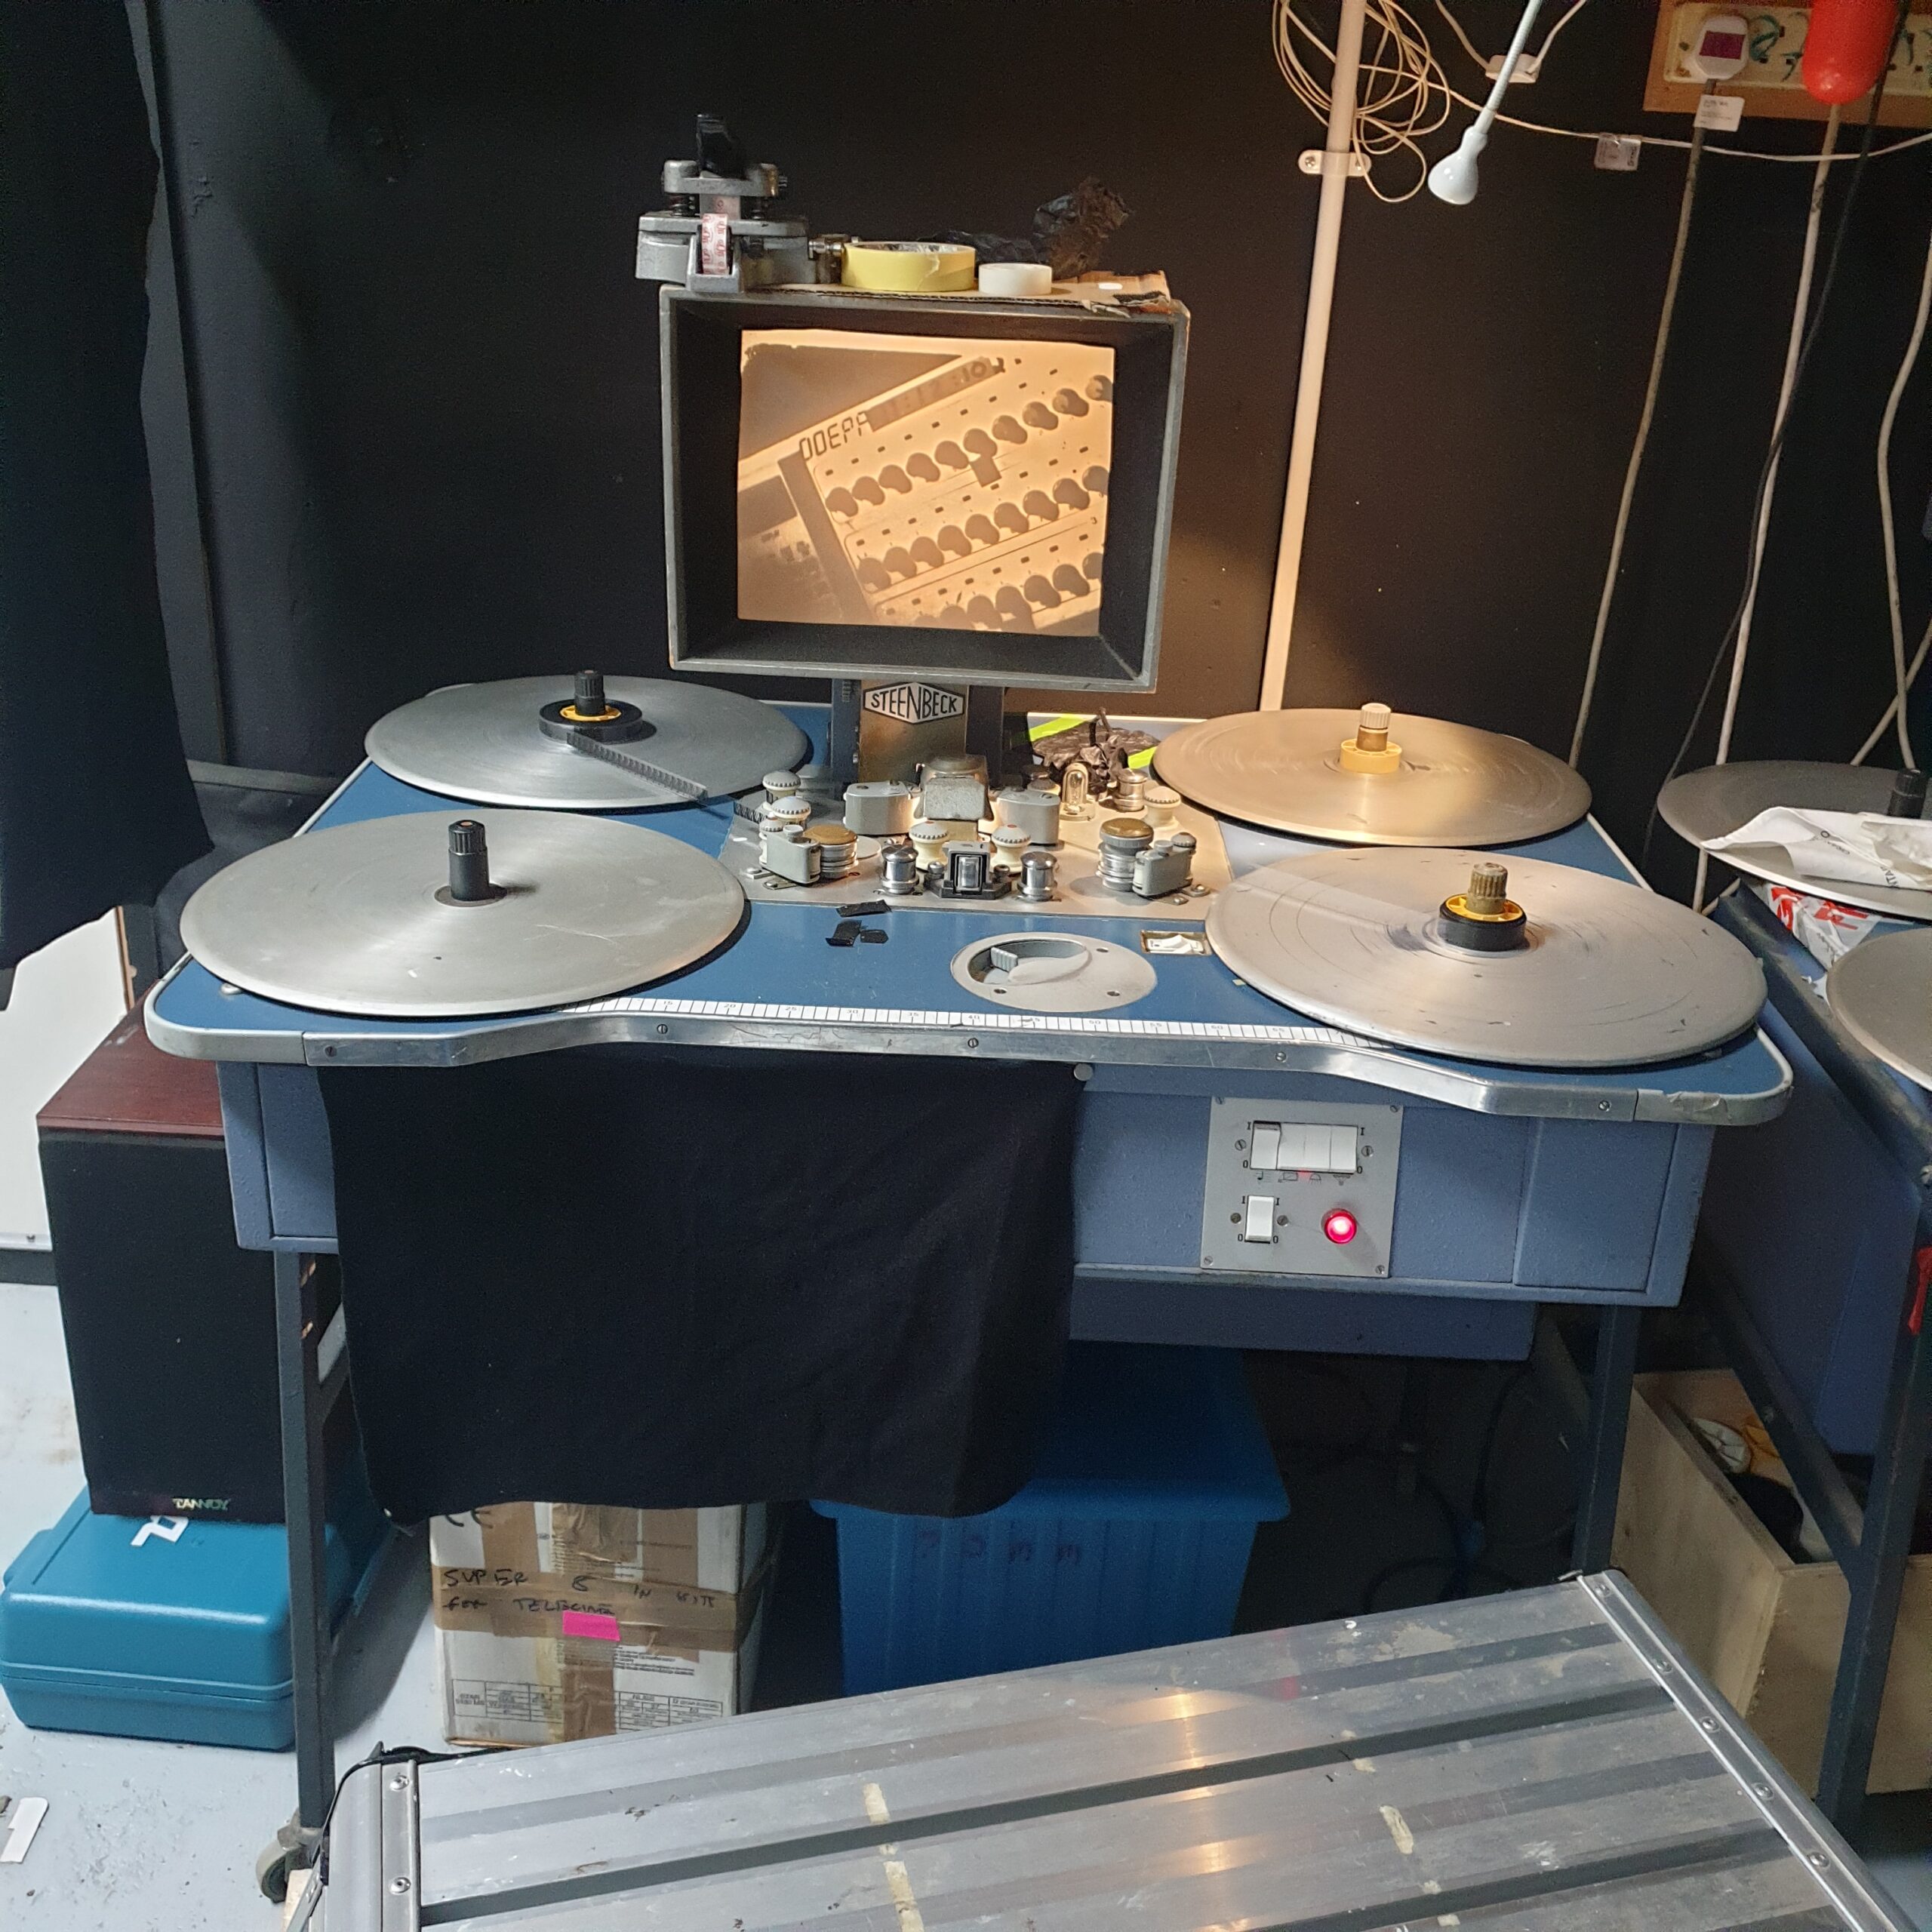
Or here, where a cinema platter table, used to manage 35mm prints in cine-multiplexes combines with a completley stripped down steenbeck frame. Any use value or functional purpose this editing table had in a previous life is now dismantled to reflects it core being, a big metal welded frame that can act as a base for all kinds of projects.
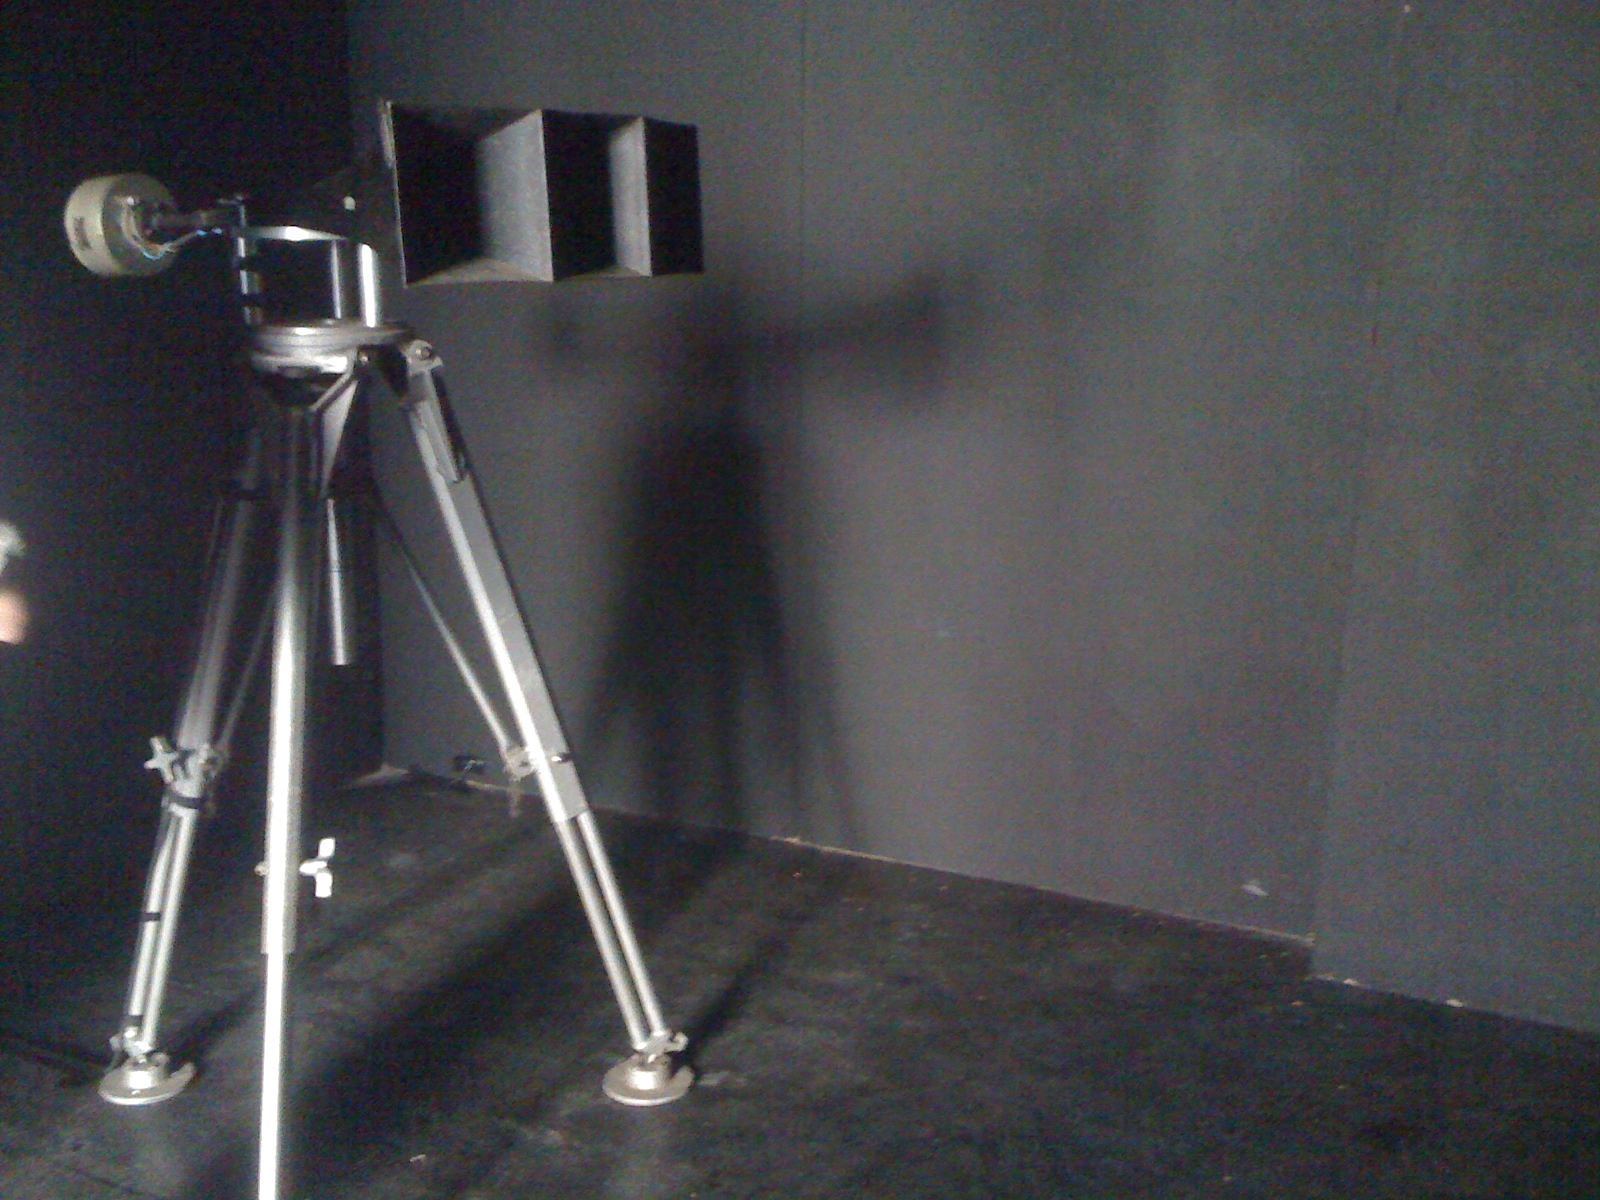
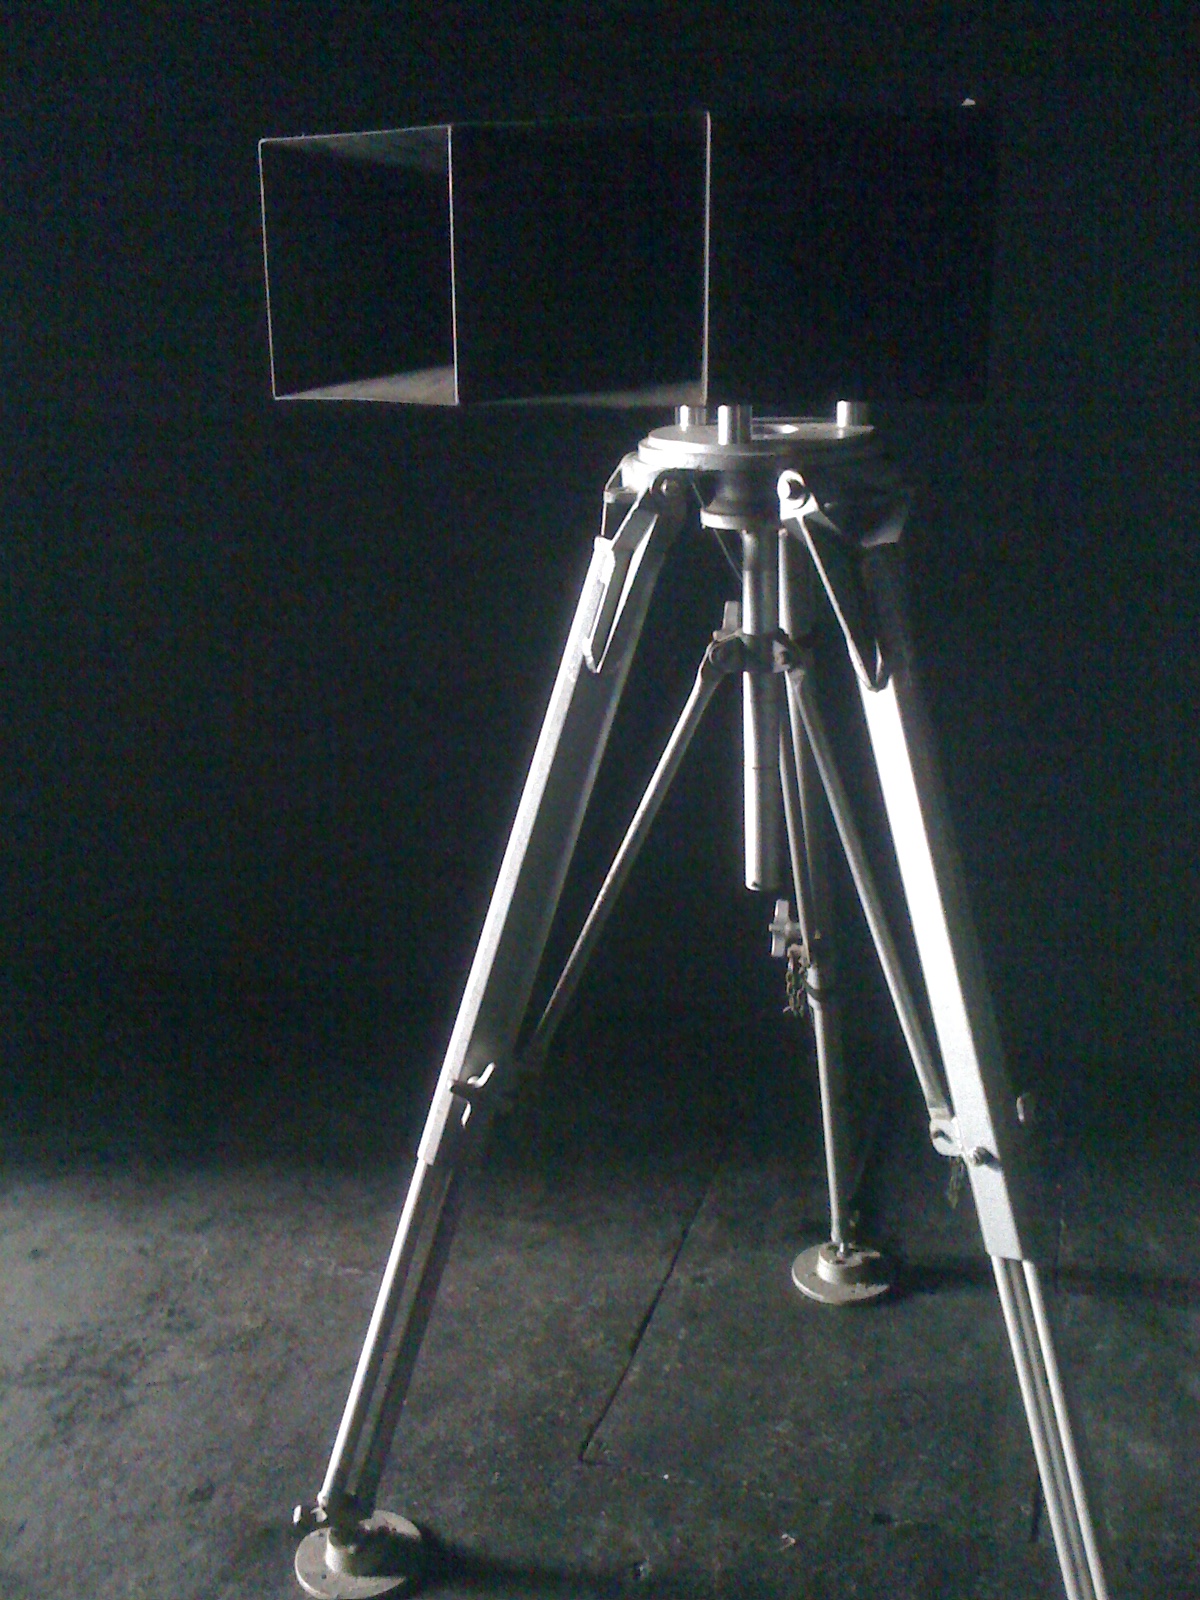
I will construct a new version of this arrangement where a large horn speaker, used as the centre speaker for over 10 years in an old cinema in Bristol is combined with some heavy studio ‘legs’ or tripod which I was gifted by the late Dave Borthwick from Bolex Brothers animation studio.
My old friend, the Kalee 21 (above) that we ran at the Cube Cinema from 1998 to around 31st January 2016 will be placed, like a bust, on a plinth inside which I might try and build a loop holder (like a Kinetoscope). It will sit on some scales as if to weigh its soul.
None of these objects is in fact ‘junk’ in any way. Their reorientation as objects in a gallery show is booked into their diaries. The rest of the time they are all employed in other ways, some reflecting their designed use and sometimes revealing re-purposings.
I have in mind about 10 pieces and am working from now until next year with the exhibition planned for March possibly.
I will use this blog as a diary/note book/sketch book/scrap book as I go along to document the whole process.
This subject has a deep fascination for me both as history and as a practical art. This attempt at a more long form post hopefully works and I will be coming back to it when I can with new research, results of practical experiments and other readings.
Reading Craig Barron and Mark Cotta Vaz’s (1) great book about matte painting has revealed to me the interesting genesis of the optical printer starting with several strands.
Starting with Norman Dawn and going through to Clarence Slifer we see the emergence of the requirement for such a machine out of the relation between the camera and its own optical system under the condition of projection, that is when camera negs are projected with the taking lens. (this process later on came to be called Rotoscoping).
Slifer built a system to composite the matte work in Gone With The Wind (many mattes in that film) and Norman Dawn discovered early the benefits of the registration properties of the Bell and Howell 2709 camera in terms of composite tolerances necessary for the ‘original negative’ matte to work. (A technique he felt he’d invented enough to try and patent it). This process liberated the artist from the labour intensive and location bound ‘glass shots’ which were done in camera.
After Dawn developed the idea of taking the painting control into the studio he effectively required the camera and projector to form some degree of combination or symbiosis or at least altered the projector enough for it to take on some characteristics of the camera, namely single frame registration and light control. So in some ways the optical printer emerges as a specialist function of the projector, a kind of ‘Camerafication’ and this idea is confirmed by Salt, B (2009) below.
In some ways then the location glass shots were an enaction of the camera, being in the moment and the present. Wheras the act of taking into the studio was a way of thinking with the camera. Planning ahead in time knowing certain things and conditions would occur if certain actions were taken in advance.
Another thought is how mattes at this time were always static, wide, establishing shots (not always of course) that formed part of the emergence of film grammar. In that space of solid, framed and held, earthed, locked and perhaps even architectual visual space, the optical printer had its freedom/chance to develop. The foundational bases required for buildings finding another application in the large and heavy metal bases needed for optical printers. In another way the optical printer is a machine linked to the environment! It is rooted upon the ground which it relies on for its operation.
(note: see Katharina Loew’s talk at the DOMITOR 2020 online conference about early cinema split screen effects. https://domitor2020.org/en-ca/split-screen-effects-and-early-cinema/ . Such a good talk and I was thrilled to see so much mention of mise-en-abyme that has been occupying my ideas since writing my MA dissertation. )
Whats interesting then to me is how closely the development of matte painting techniques occurs in parallel with the optical printer. The changes brought about to make matte paintings work better had far reaching effects for all areas of special photographic work.
Also the cost dimension, as in the fine engineering design and fabrication associated with say the 2709, was still effecting results as late as when Pop Day was still using a Debrie to make his own orig’ neg’ matte paintings for Elstree with a young Pete Ellenshaw looking on. (we talking late 1920’s here…) as well as new technologies like fine grain film which came along in time to allow something like King Kong who had the master Linwood G. Dunn doing opticals, the eventual designer (with others) of a kind of standardised optical printer configuration.
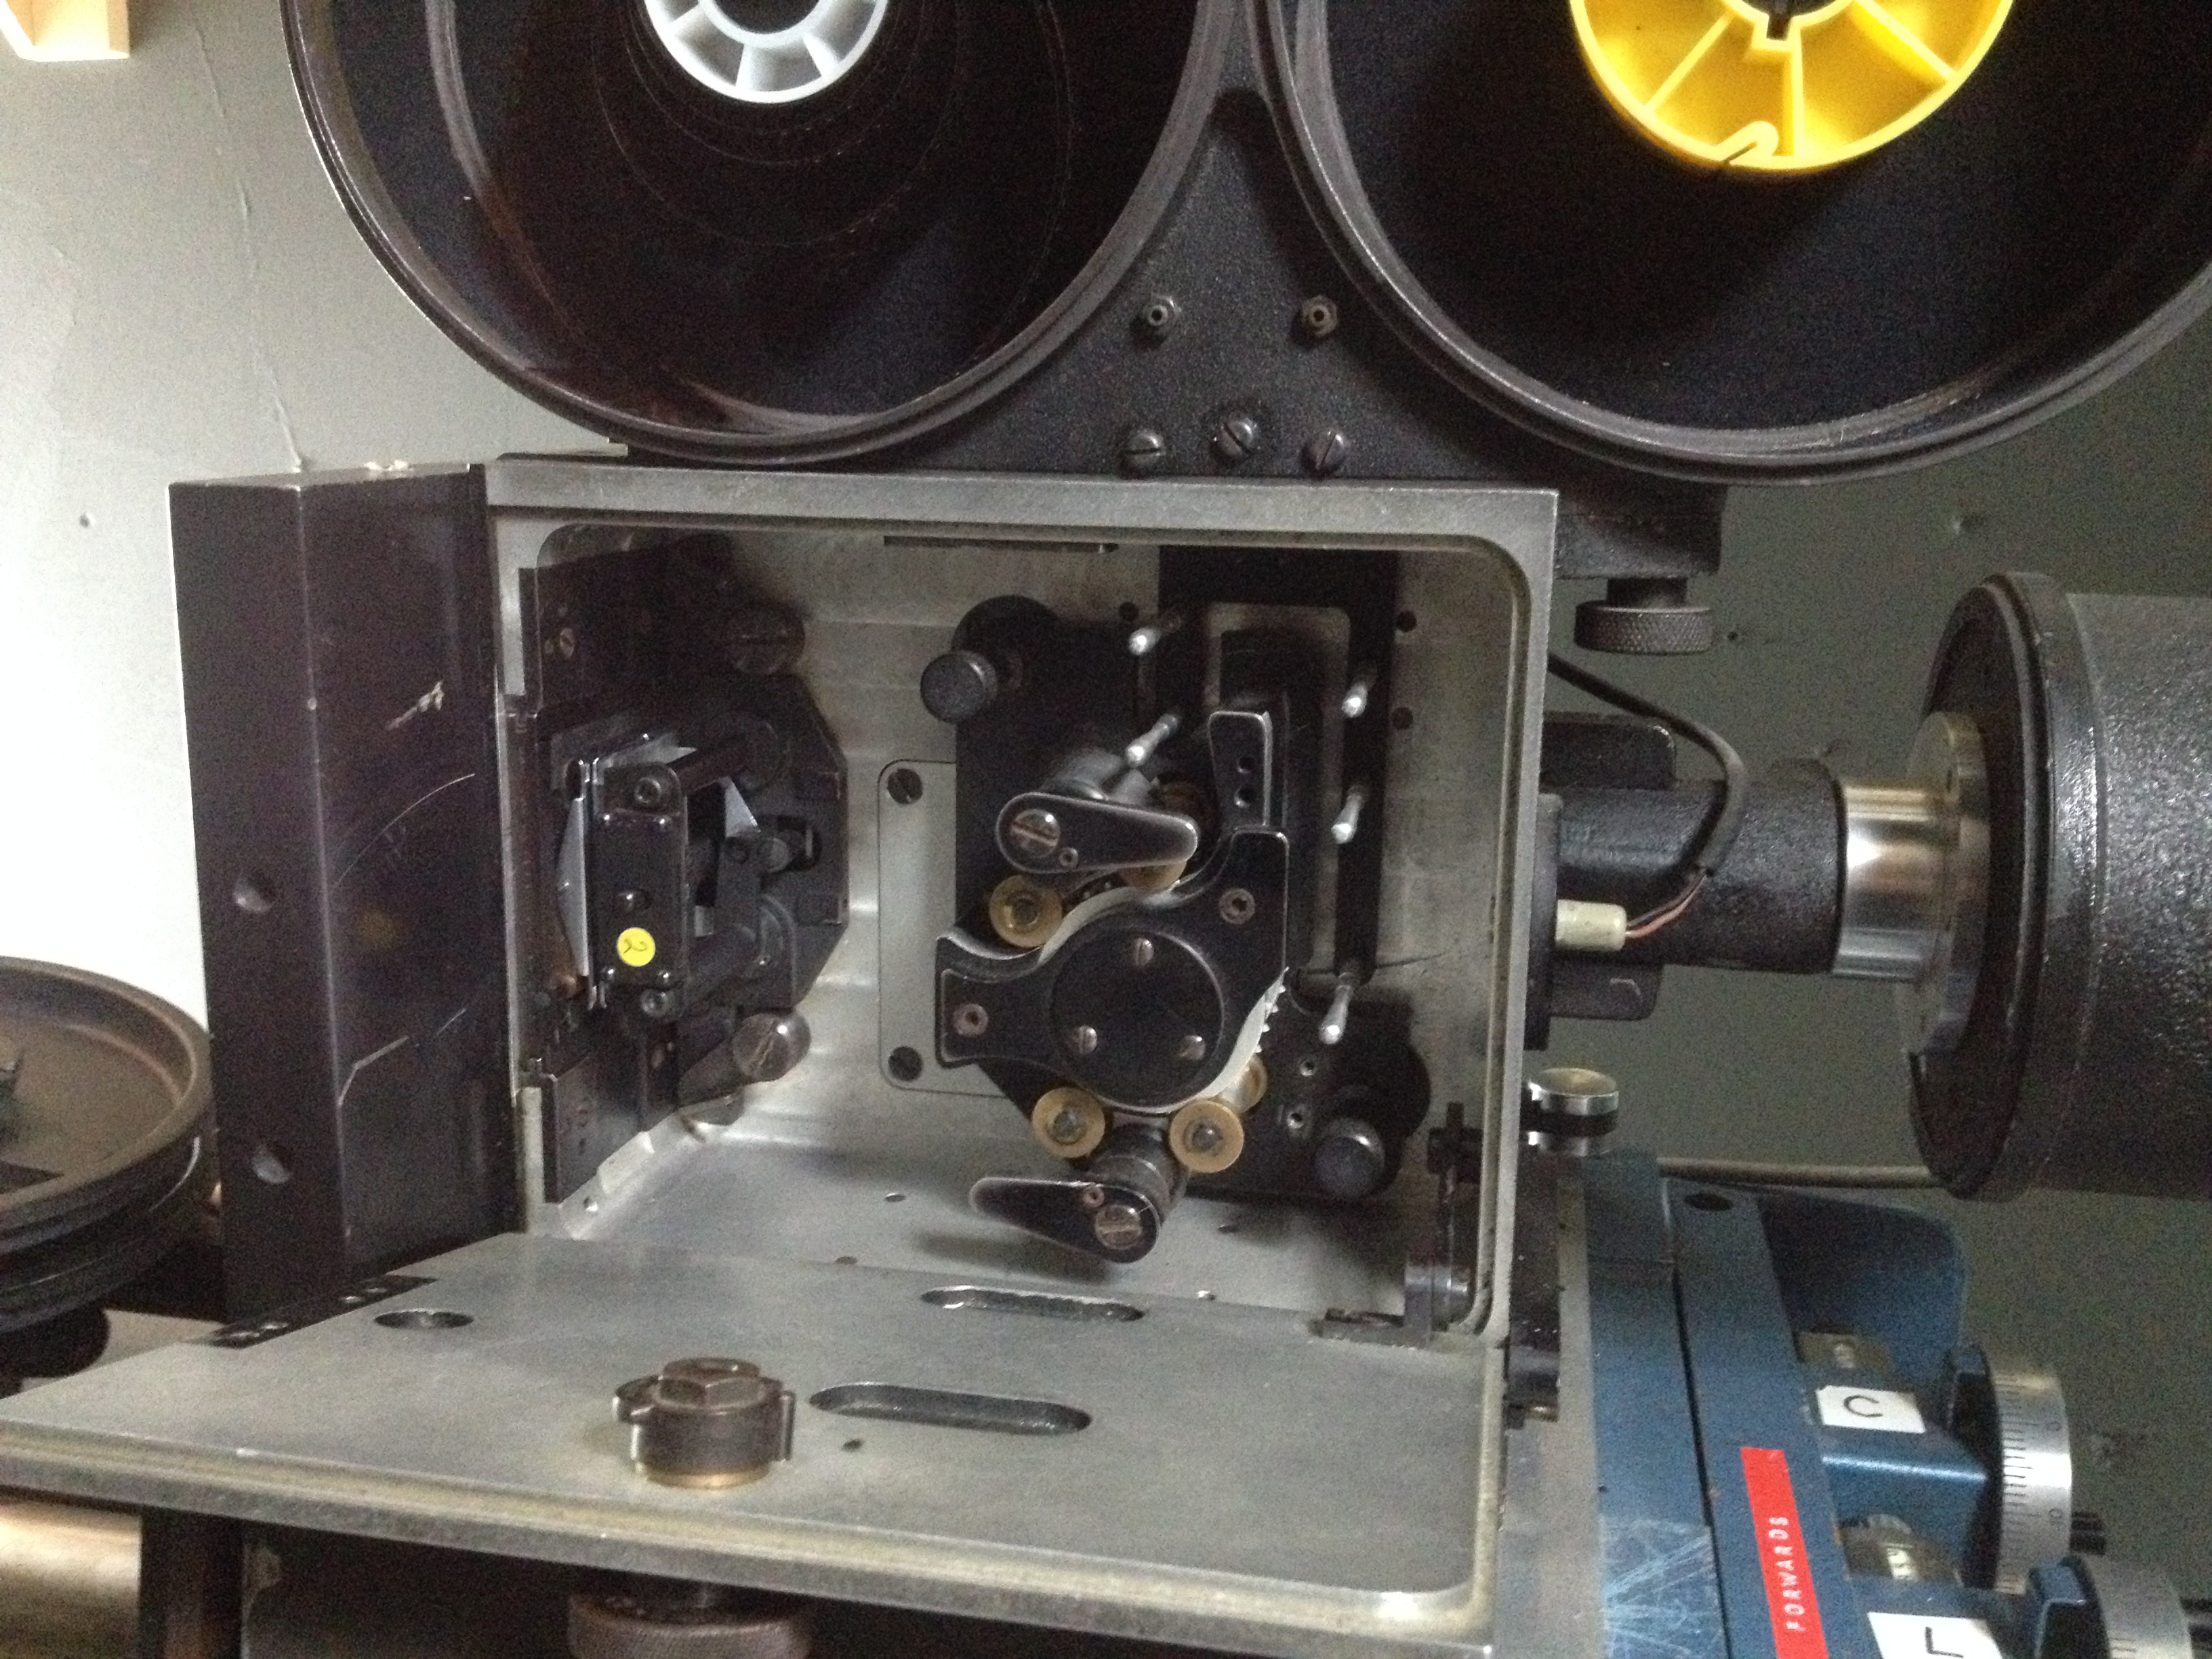
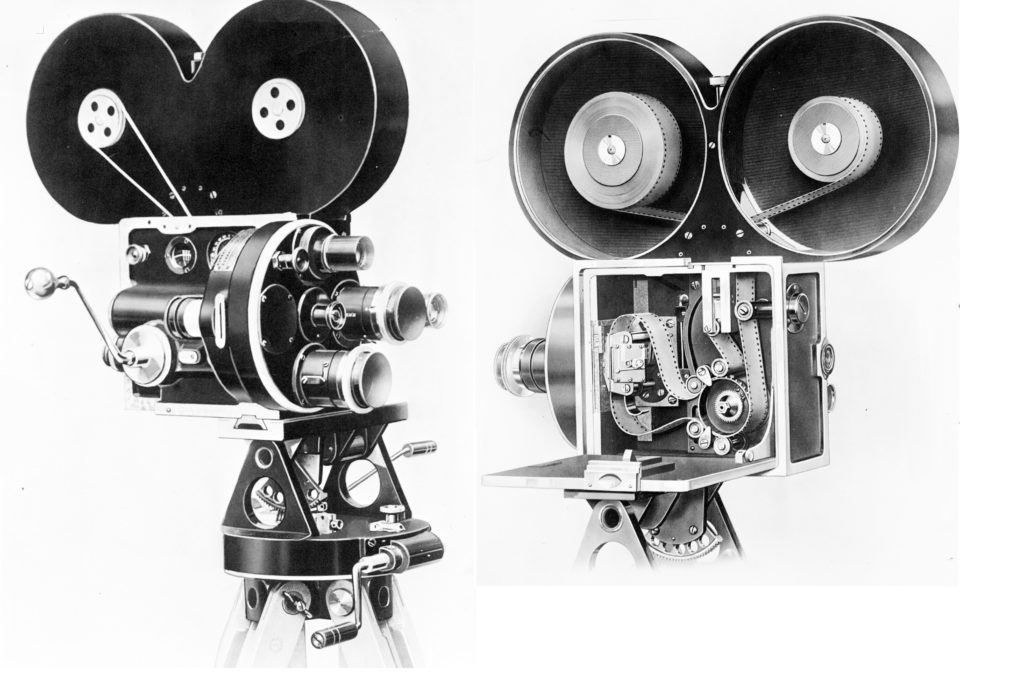
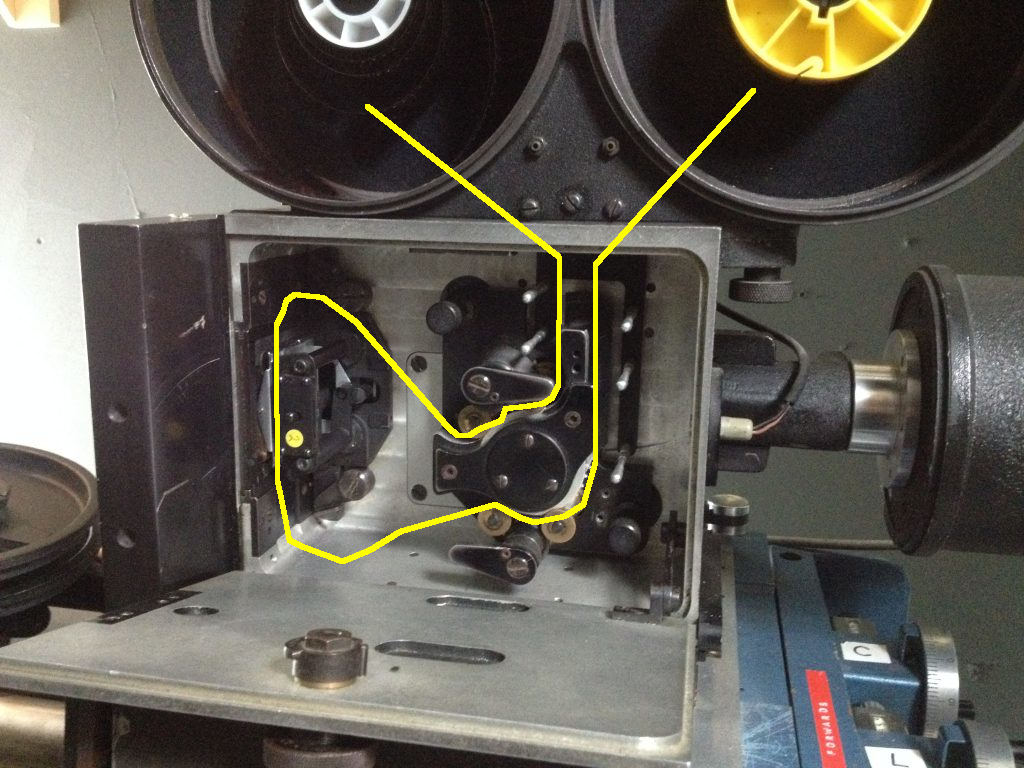
I cant be sure until I have examined a 2709 (2) closely but there is a distinct similarity to the film path in an Oxberry animation camera. I’ve heard this story about Oxberry getting into trouble because they copied the B&H movement. In the 2709 illustration above the gate looks very similar. In the blog linked below by Adam Wilt there are some good photos of the camera being loaded and gate being oiled.
Infact, cinemagear.com list this ‘B&H type’ shuttle for the 2709 (converted to VistaVision) as opposed to Acme type shuttles so perhaps the oxberry gates would fit a 2709?
Its also hard to ascertain how fast you can crank the oxberry, shuttle and fixed pin type gates and my training always stipulated 12fps as a guide plus in its setting on printers or rostrum stands it was always a single frame camera. Having said that, my oxberry, when driven by the Deimos controller in reverse, rewind basically, goes at one heck of a speed. Another factor are modern polyester stocks which you would not want in there at that speed. How brittle was new nitrate stock?
There is much in all this that could guide practical experiments. For instance using a Debrie to make experimental glass and orig’ neg’ matte shots and seeing for myself the ‘jiggle’ and if this property could be put into the service of other ideas, ie non-illusionistic. Also designing a system for projecting processed material (instead of using the cameras) by adapting and machining the two pin & claw type gates that Lew Gardener gave me. These are like half oxberry, half mitchell style shuttles. The registration is done with a fixed pin but the transport is done by a pivoting claw. Theres a 16 and a 35.
Another area or question is ‘which kind of gates was Linwood Dunn using in his designs?’
(1) The Invisible Art. The Legends Of Movie Matte Painting. Craig Barron and Mark Cotta Vaz. 2002, Chronicle Books, San Francisco.
(2). If anyone wants to gift me one of these cameras they have two at cinemagear.com. one for $9000 and one for $6000. Ha ha!
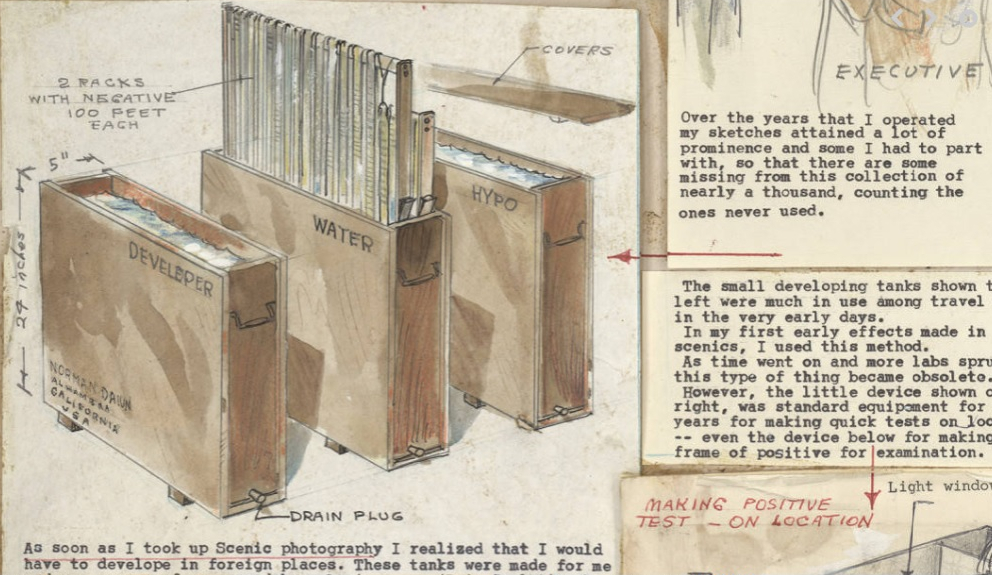
Explore the Norman Dawn collection below. Of main interest is his use of the Debrie (Missions Of California) and the timeline on his move to the B&H, ie what are the records relating to other uses of that camera in Hollywood at that time? His ‘Cards’ at this collection are a real treat and I recommend anyone into film now, artists, film makers and all those hipster analogue youngsters to look at them. Even things like these processing boxes are interesting. I mean if I wanted to make some, did they have plywood then? And all this was being done often out in the hot sun with nitrate stock!! In the card I have enlarged below there is even a tiny test contact printer. (Card 1). This great resource can be found at the Harry Ransom Centre at the University of Texas.
Salt, B mentions (p186) in period 1920 – 1926 leading figures as Irving Knechtal and Max Fleischer. On p51 he mentions the process being called ‘Projection Printing’ although he offers no citations or references for this. Need to look further into this.
Further reading (link to external blog/material. I hope none of these people mind me linking this way. They’re really good blogs. )
Any serious matte fan will already know this blog below and Im posting it here incase you havent discovered it. I’d love to get in touch with with NZpete actually as he seems like a one man treasure island!! Just endlessly incredible research…
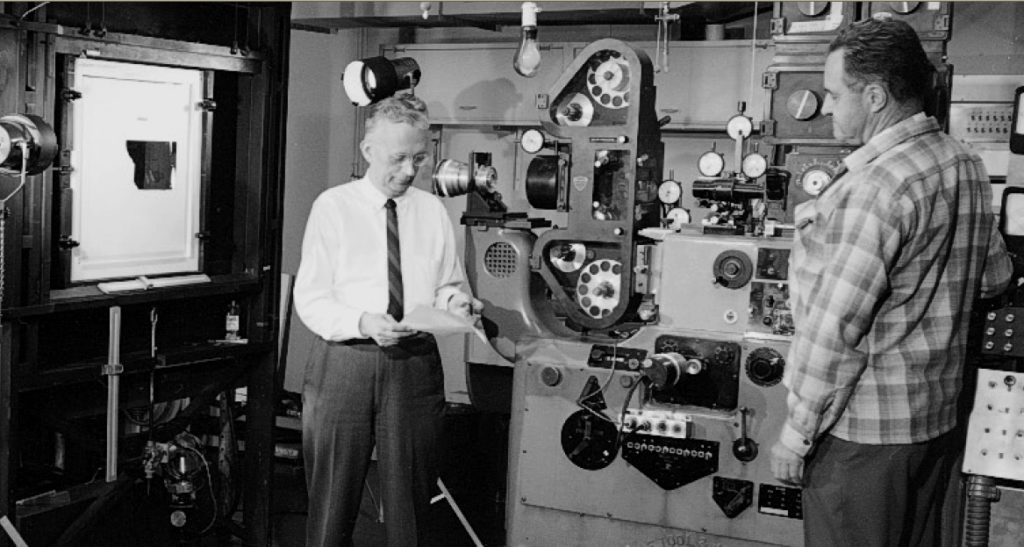
Lastly, Ive copied this photo of Clarence Slifer here (on left) from NZpete’s blog about optical effects because it shows something quite important. Its especially important to me because it might dictate the next stage of my own studio practice. The optical printer in this photo has been arranged so that with a suitable printer head, a further plane, distant from the main printer base can be imaged. This plane is of course here one occupied by a matte painting, the square area on the left lit up. In almost every setting Ive seen optical printers in, they do not allow this as everything re-photographed is considered film based.
This arrangement could theoretically ‘expand’ the functionality of a printer to include flat artworks or even small sets. I’ve experimented a bit with flat art work that is mounted between the projector gate and camera, but here we have a real sense of how the optical printer is more a studio camera than anything else.
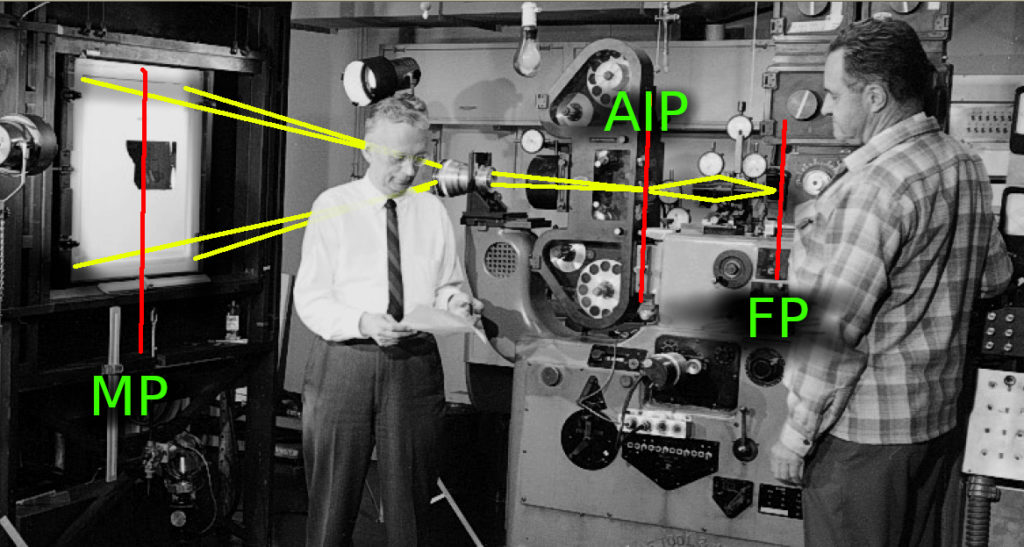
Here is my decoding of what is going on here. MP is a matte plane which is brought to focus by the lens just next to Slifer onto AIP, aerial image plane. The AIP can be checked by inserting a gauze, or ground glass. Additional exposed film elements are threaded into the reels seen above and below the AIP. If one of these film elements is a filmed live action foreground with masked out background, ie black and the MP painting fits this masked area, then they come together at AIP. The MP focussed by the lens, the film element sitting in the same plane. The final film at FP film plane images them both via its lens. This whole thing could be done with another mask in the bi-pack magazine seen behind Slifers assistant Dick Worsfold’s head. This mask could hold back another pass made later of another/different matte painting.
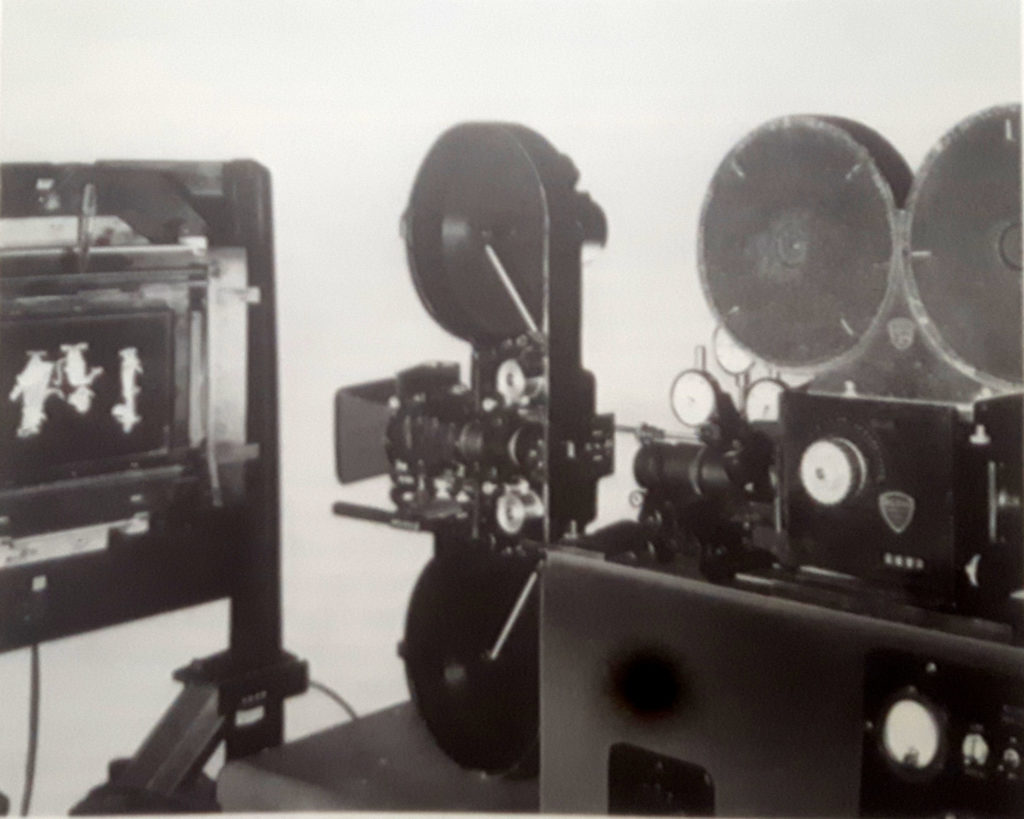
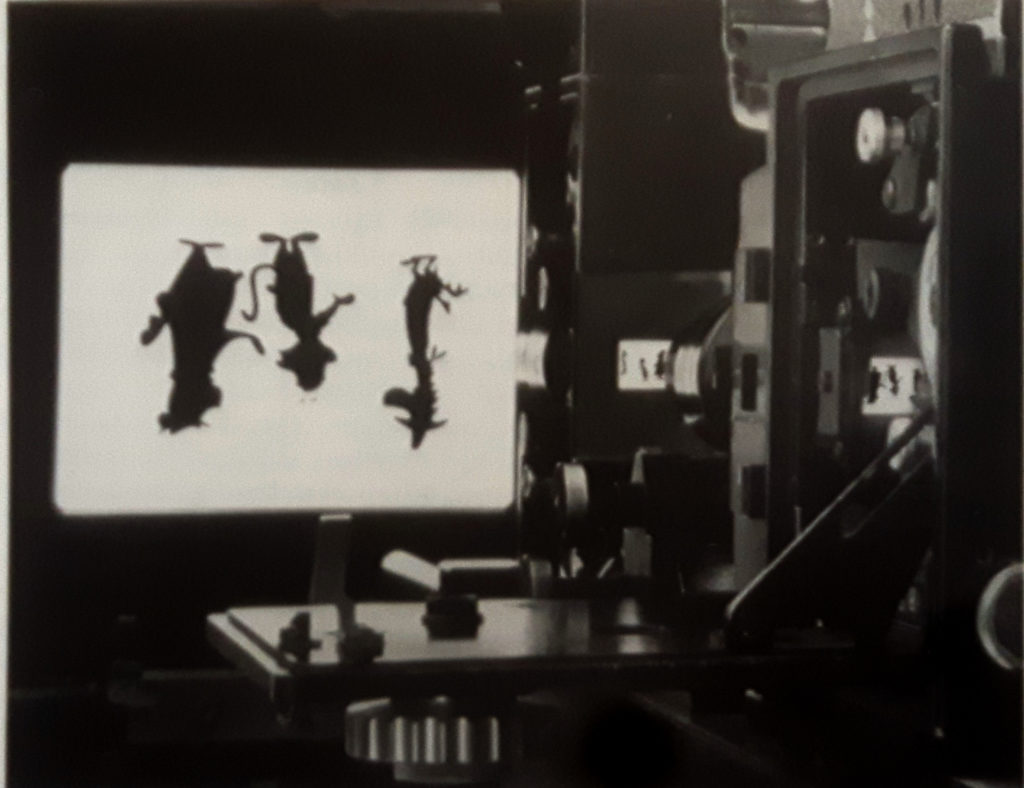
Below is a photo I’ve found in Raymond Fieldings comprehensive focal guide to special effects cinematography. It shows the same type of printer config as above but interestingly Fileding does not mention Slifer anywhere in this book. Below is a further photo showing clearly what happens in the aerial image system as opposed to normal optical printing.
What is apparent then is that an aerial image, although not visible to the eye unless diffusion material occupies the image plane, is, nevertheless, imaged again by the next lens which is the one here in the camera gate. If there is a film (already shot and exposed and developed) in the projector gate, they will combine together, but in what kinds of ways?
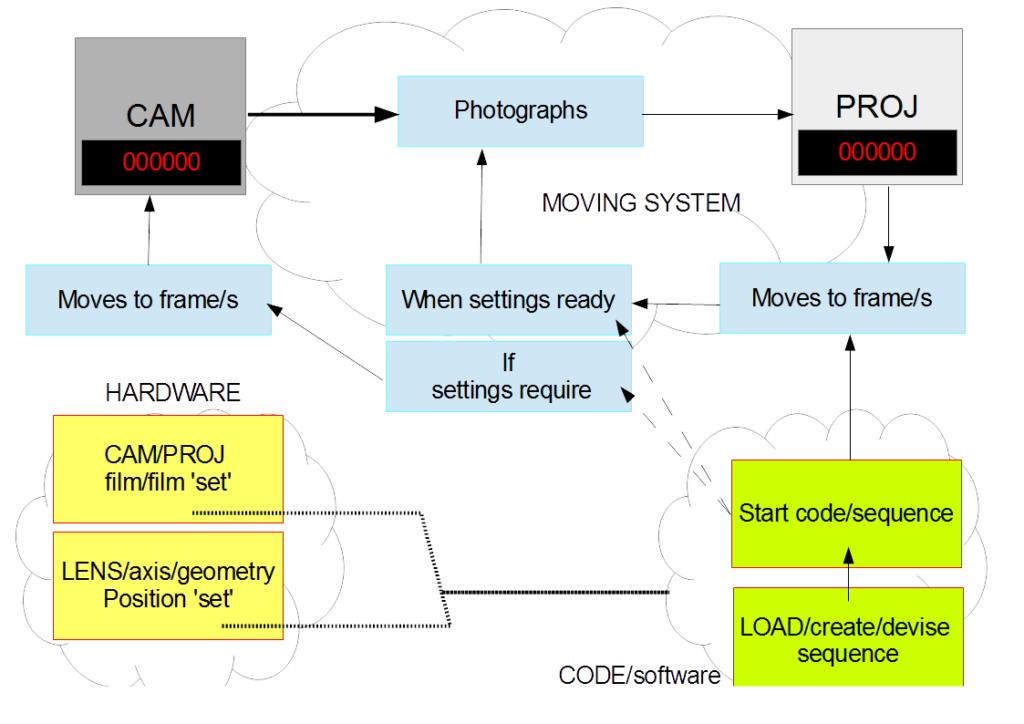
As a guide to my own practice trying to reconfigure and modernise (digital controls) optical/contact printers, here is a state of operation diagram that shows the functioning basis of this machine. There is only one counter for PROJ’ ECTOR because my system is a single head, that is there is only one gate for holding exposed film material to be rephotographed. There is much to be said for modernising these machines mainly because the electrics they were built with are old, unreliable, hard to find parts for, and don’t offer nearly as many functions as modern micro-processors.
Version 1.1
Another area of fruitful research has been ‘patents’ that relate to different technologies and techniques in the printer. For example here is a patent entry from 1977 that goes into detail about using diffused light as opposed to collimated in optical printers. It mentions the possibility that with well set up diffused light and exposure variables, results can be as good, if not better that those achieved in direct contact printing. This detail has significant implications for analogue film restoration let alone production possibilites.
Another direction entirely is the use of optical and contact printers by artists, or film makers that would be better contextualised as not part of commercial narrative cinema. This whole area has not really had any significant work no doubt due to the diverse, unrecorded, adhoc, home-made and personal nature of some machinery but also because commentary or writing on experimental cinema has a tendency to focus on the politics of the image or aesthetics rather than too deep a tangential exmanination of specifc techniques or apparatus.
There maybe good reasons for this however I myself can’t but help be interested in what exactly Yervant Gianikian and Angela Ricci Lucchi’s ‘analytical camera’ looks like or how it works as well as numerous others including Pat O’Neil, Jordan Belson, etc. It would be easy to argue that under the control of artists the optical printer has developed into a different kind of instrument that brings into question problematics in perception and representation that have had far reaching impacts in contemporary moving image culture.
Im trying to devise a way of describing flicker that is mathematically accurate.
Frame rates as we understand them for example 24fps or 18fps are only one aspect of the whole picture delivery system. Firstly, often a frame is delivered twice, or three times so this produces a different phonomemalogical figure, say 48fps. But this figure only counts the light portions of the flicker. If we count the (2 here) dark portions we now get another figure, 96hz, where I am now using hertz as the measure of regular intervals.Secondly frame rates are expressions of a previous event, the capture rate for the camera. So even though the frame rate is 24fps for example, the visual flicker phonomena is more involved.
There are 4 ‘events’ per second , giving the figure 96 worked out thus
1 second equals 24 frames.
each frame projected twice 48
each dark projected twice 48
total events per sec 4 96
OR
total events per second = 4 x fps (24) = 96
But this becomes problematic in silent film where the FPS figure is dynamic, or irregular, ie it changes very subtley over time.
Also early film projection blades are highly experimental. Look at these two examples below.
The top one has a very uneven cycle. If we expressed this blade in terms of percentage of time open and closed it would look like this: (I always start with open on a new frame)
21 : 13 : 8 : 13 : 21 : 24
So open 21%, closed 13%, open 8%, closed 13%, open 21%, closed 24%.
Yes, we could say there are 6 events per second (also per rotation) giving us the figure for example for a silent film hand cranked at about 12FPS of 72hz.
In this blade though (interestingly) the total light and dark ratio is actually 1:1. If you add up the percantages you get 50% open and 50% dark. We know from other experiments I’ve done that modern blades on both 16 and 35mm projectors commonly have ratios of 3:2, light to dark, ie there is more light. This is what we want after all, more light, more image, better picture.
So this blade shows us in its form what the designers and engineers were thinking. They were perhaps stuck with thinking a 1:1 ratio was necessary but they experimented with different sized openings to increase flicker, including a very small light opening portion at step 3 above at 8% or 32 degrees. They also blocked out a large closed portion at 24% to possibly allow for turning of the intermittant. Im not sure as I’m away from the machine presently.
What is remarkable though is how ‘transparent’ this blade appears when you hand crank it and look through. You can see this in the bottom video.
So this descriptive form would be something like this
24 / 3:2 / 96hz
To delve into these problems more precisely Im going to have to learn about angular frequency and things perhaps like Radians and ‘turns’.
Also, I want to bring in the camera blade into this at some point. The camera blade as we find it in early film cameras is a much more sophisticated system than the projector blade. Firstly it is adjustable in real time. It can open and close whilst the camera is running which will change the exposure (say, creating a fade out) and but also the shutter speed resulting in say less or more ‘motion blur’. Early engineers and designers would have know its benefits and uses but this highlights the difference between capture and display.
Another key departure point between the camera and projector is the pull down method. The technique used to advance the film through the gate. 35mm cameras were often designed to run backwards. This feature was afforded by the fact that pins and claws were employed to make the transport happen and these contact points with the film worked well in the opposite direction. With a variable blade and bi-directionality we have a basic visual effect, the lap dissolve. FIlm with a fade out. Rewind film covering lens. Film on same piece of film with a fade in.
The projector however is typically employed in a strong forwards mode. Common 35mm intermittants (all the way upto modern ones) are turning gears which do not work or do not like to works backwards. They pull the film forwards but cant really push it back.
The 16mm transport system that we find in modern portable projectors (EIki/Elfs) however is a claw type mechanism. This method does work in both directions very well as I try to employ to creative and artistic ends with a projector that has been specially modified for me by an engineer.
In some ways, after the advent of the electric motor, we see a kind of ‘lock’ occuring to the visual system. This lock acts both as a standard to afford all of Cinemas producitons but also as a kind of base normaliser, or episteme even?
A reversible projector could be regarded as a different episteme alltogether from the one that underpinned 20th century film/cinema? Creative uses of a reversible projector in turn inform and message what is made with the reversible camera and almost certainly how the optical printer mediates in the centre of this axis.
In the reversible projector we see a different time. We experience an alternative mode of time form the one that is ‘motor’ driven. We still experience it IN TIME, but there now appears a sense of longer, almost timeless moments. A time that reveals hidden experiences that are covered over by the passing of time. Not the frozen image or the death still, revealing a synedoche of a given whole, but a dymamic anti-time that sheds and grows its skin of time during the experience in direct contingency to the time we think we are perceiving.
What is behind this in some way is an attempt to consider cinema from the POV of the electric motor. If we see the axis of mechanical expression as having its first system in cinema in the link between the hand cranked camera and the hand turned projector (not forgetting that electrical machinery must have been employed in the factory to engineer metal parts and machines) we see its end in the employment of the electrical motor as a ‘strictly governed’ device, ie a device that was under a ‘restriction’ to its creative freedoms. Filming speeds have been creatively employed from early on (high speed to stop motion) but projection motorisation has needed to be a standard in order for all other effects and applications to come into realisation. The operation of the projector in expanded cinema (in a modernish sense, ie since the 1960’s) has done much to reverse this bias but its still possible to see the motor as an unquestioned rule that receives very little attenton in itself (exceptions would obviously be Bruce McClure and others).
What also interests me is the relation between the ‘work’ of hand cranking and the ‘work’ that the electrical motor ended up doing for us. For example in a common 16mm projector the motor is 500 watt (.74 HP) which equates to the work an athletic cyclist produces when they pedal.
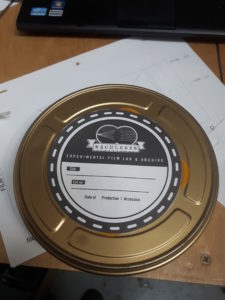
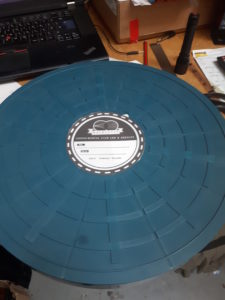
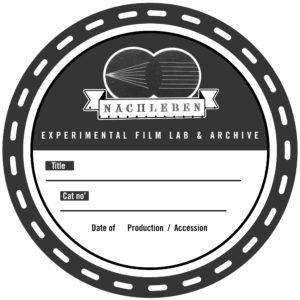
It may seem a trivial or superfluous thing but here is a tin design (V1) for film cans that I am making for the Archive of films I am collecting / making / ?
The lower label allows both an extant record to have its accession date registered OR if it is a work that has been produced then its production date is recorded and you can cross out appropriately.
Of course a important code is a object reference number and this will go in the Cat no’ line although it remains to be decided how these codes will be generated.
Title is self explanatory and might get swapped for Type | Name for apparati that I hold.
There is plenty of scope for the whole label to change character for large subject units like Nitrate material, collections, historical/discontinued’ stocks, etc.
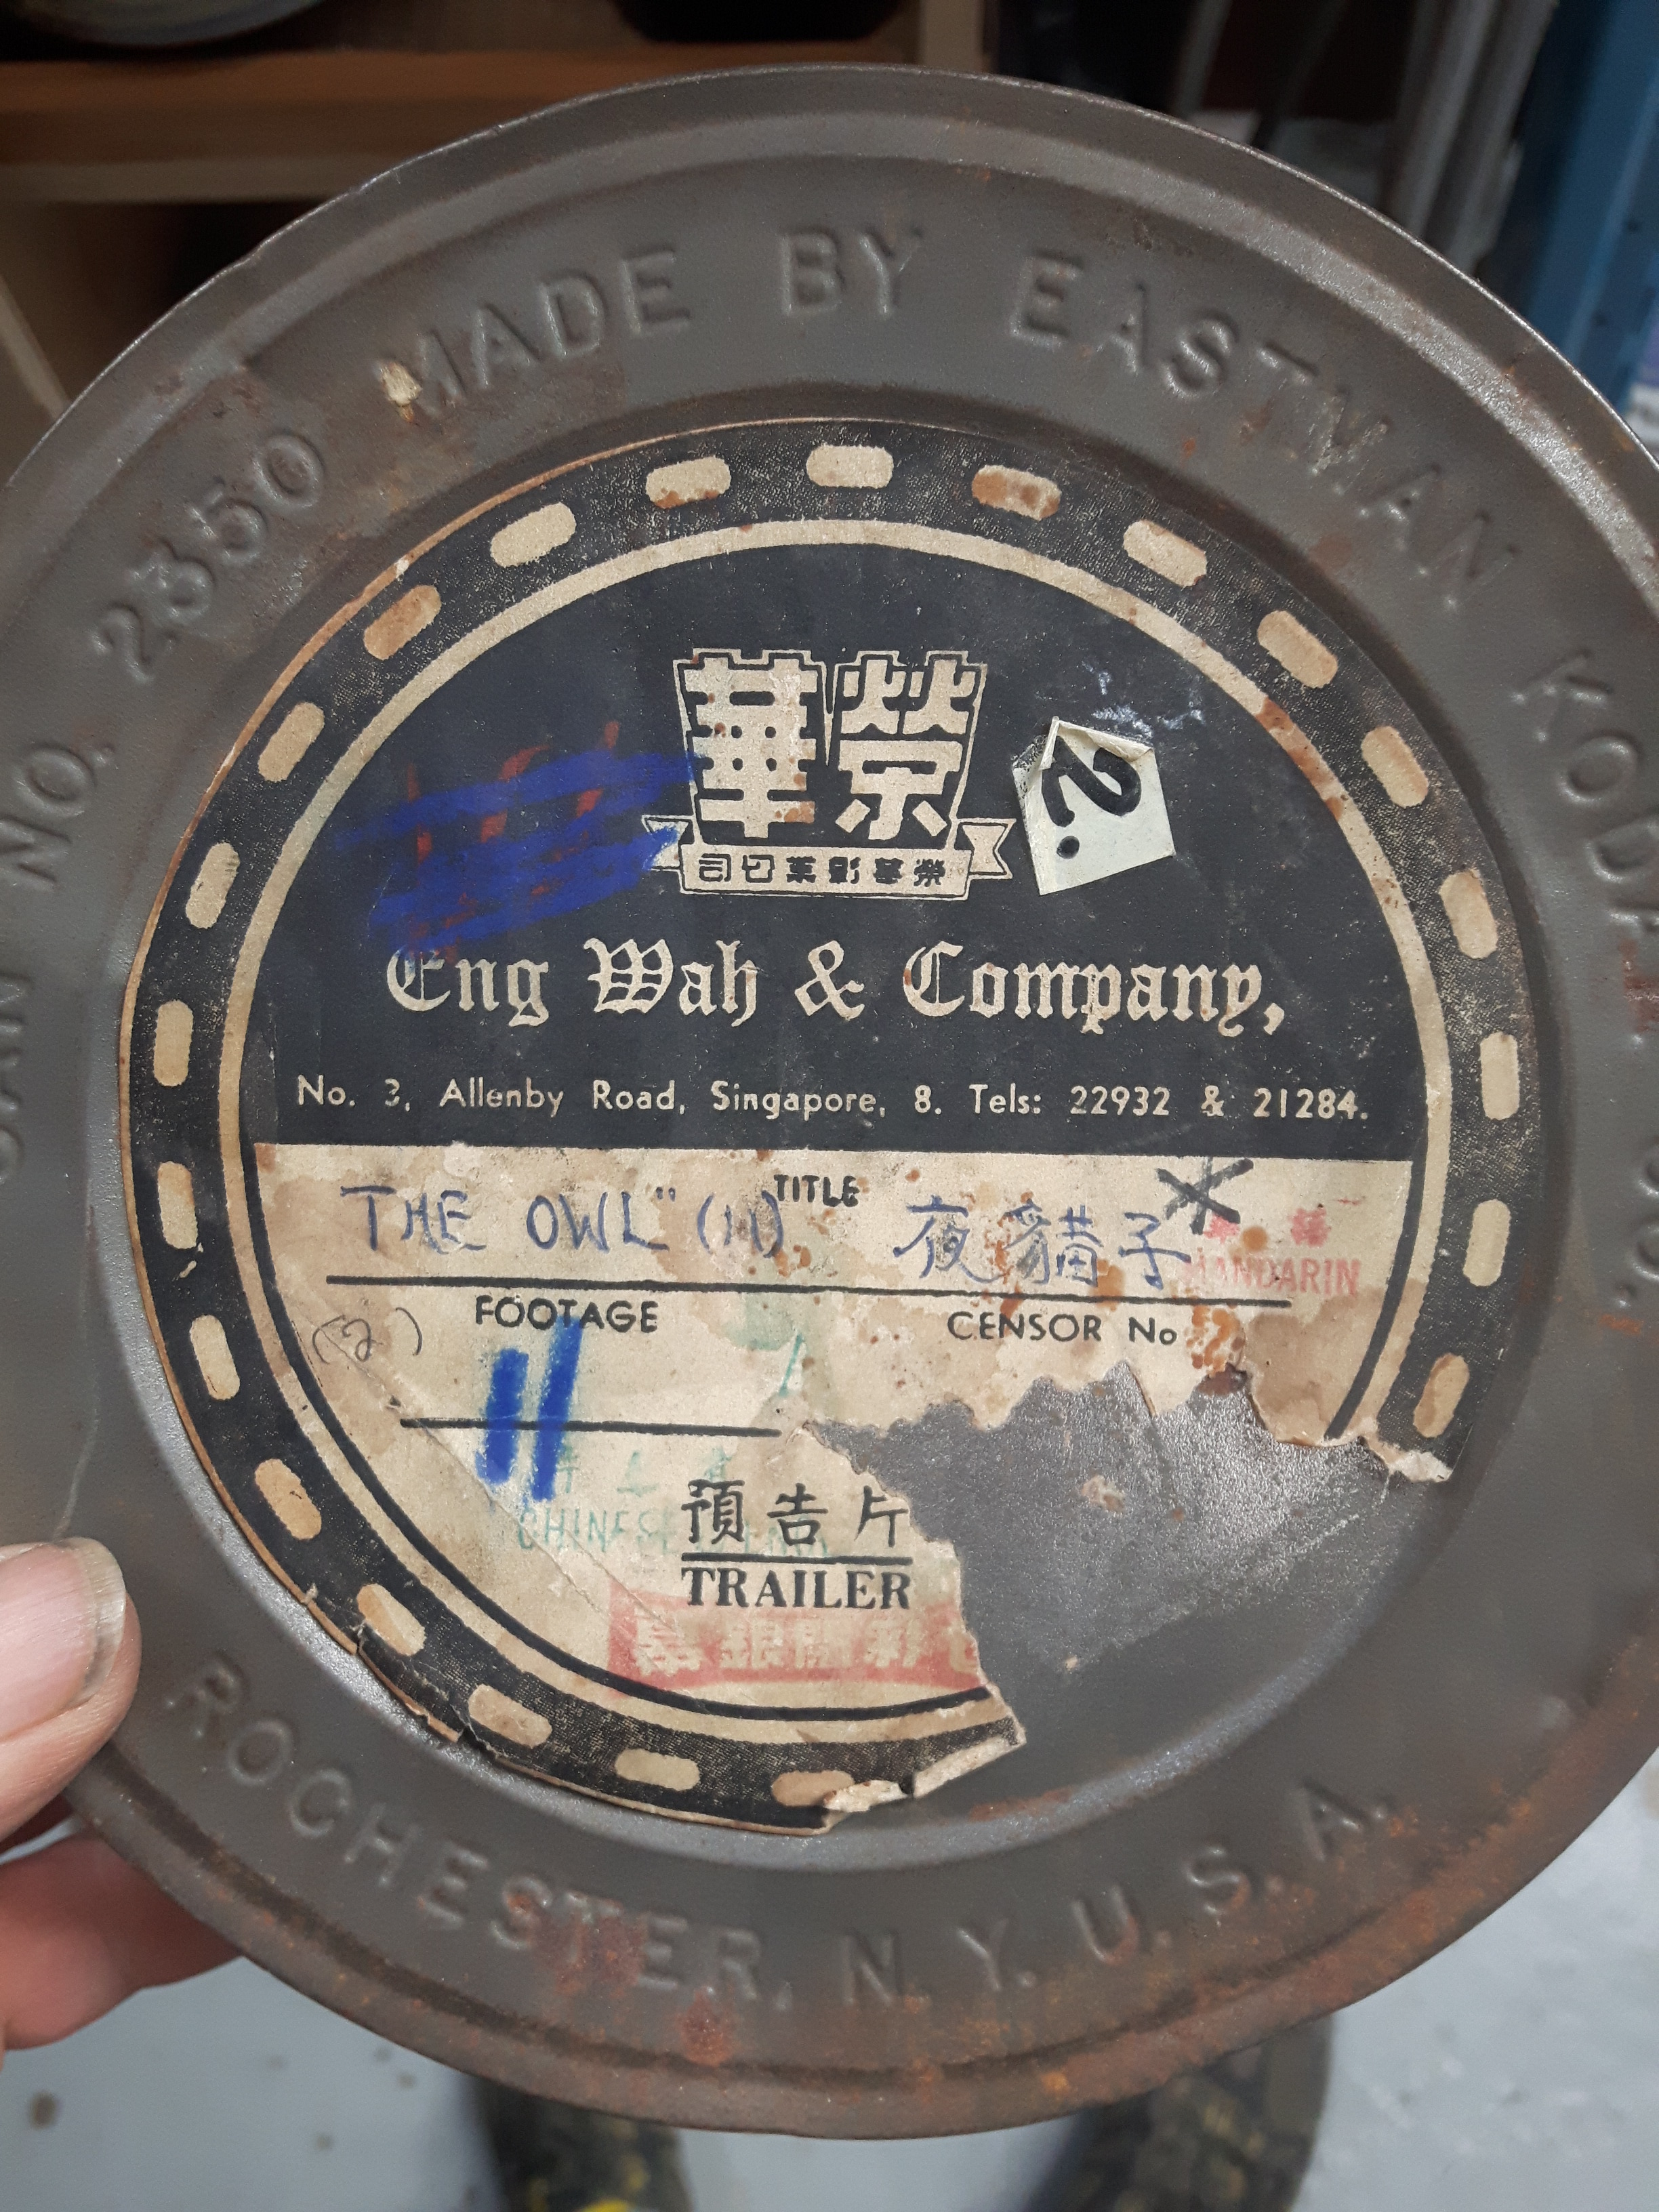
And here they are on some film cans. Ready for action.
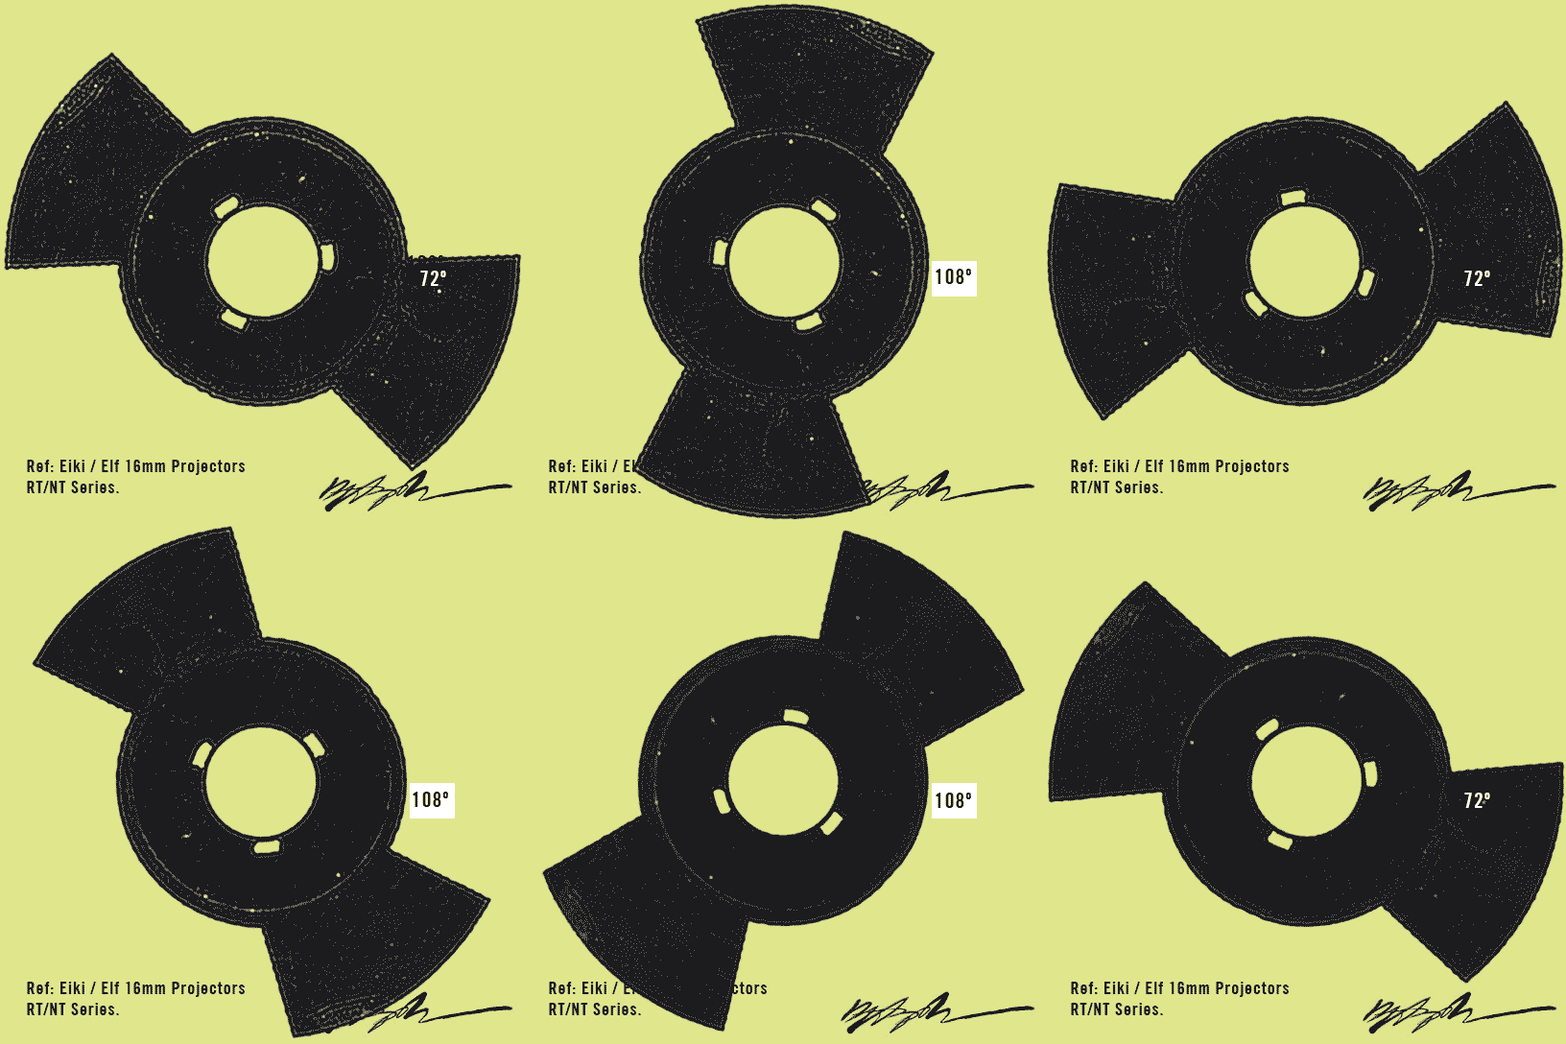
Here are those numbers again in their roles as light and dark. Both 108 and 72 have interesting cultural meanings which you can look up for yourself, my only advice being to tread carefully but open yourself to all kinds of wonder.
So, the magic number building block for the experiment to reinstate a virtual blade into digital versions of films shot on film is
3:2
The ratio of light to dark, as also proven by our filmed 35mm tests is 3 to 2.
60% to 40%. There is 40 per cent more image on screen in a digital version of a silent film.
Just a few frame scans for some short lengths of nitrate film that were found at the Curzon Cinema in Clevedon.
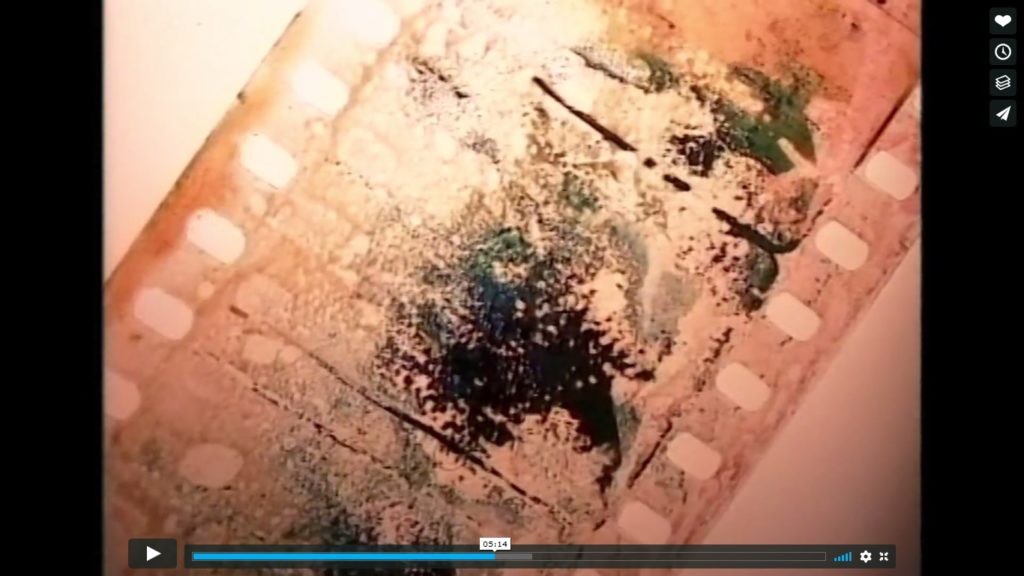
I’ll be doing all the rest of this clip and more over the coming months. I can’t hope to get accurate colour reproduction and these grabs are the best jpgs that the camera can produce. I could still shoot RAW (NEF) and do some tweaking there but I’m really exploring how far I can get with a DIY approach and will be using digital copies of the Billy West material to produce a kind of edit-re-photo list that I will use to do a film –> film variation later, that is a film interpretation of found footage that stays in the film domain.
In the clip below (16fps) you can see a little jump as a damaged frame jumps to the left. This was easy to correct and I’ll post a ‘restored’ one later.
But, there is a simple problem here. When you watch this clip at 16fps are you seeing the image anything like it would have been seen with mechanical film projection? Is it enough to say 16 (or whatever) fps and think that its at the right speed? My answer is no. Its not. If you make this clip output to 1fps, for extreme example sake, what you see is each frame for 1 second, then the next one, instantly, then the next. There is no black or dark period when the film would have been transported in the projector gate. The second video clip below shows this at work. If you watch this clip you should notice that ALL you see is the images following each other. Speed this up to any frame rate you like, it will be the same. The flicker that is present in film projection is a mechanical necessity. Should we ‘mimic’ this in digital versions?
I will be posting some clips with black frames so you can see the difference.
I photographed each frame on an Oxberry (loads of other posts about this elsewhere in this blog) using a Nikon D5300 with bellows and an 80mm lens. The light source is a small LED array. I set the camera to ‘fine’, 6000×4000, RGB, 12bit, etc, basically, the highest quality possible without using NEF.
I use various software, namely ‘Vegas’ and thats because I have a good friend who tutors me who know it very well. But I just discovered ‘Processing’ has a built in movie maker script that lets you aim at a folder and compile a movie at a defined fps, good for testing frame rates.
(NB. I made these scans before getting to the titles so I didn’t know what was left or right. This image should be flipped horizontally)
The clip below frames have been downsized to more like 2k so its quick and easy to load up. Also, this clip (and the frames) have had no post alterations yet like levels, saturation. Its quite hard to get colour balance right mainly because nothing is calibrated, the camera has less than useful controls, etc.
They are tours designed to verbalise what I am doing on several levels. In this regard they are also performances and presentations about ideas, processes, thinking and working collaboratively.
There is an assumed ‘intrigue’ or ‘fascination’ with machines that often forms the basis of inquiries into or explorations of apparatus and historic mechanisms and this is especially true of ‘Cinema’ being principally an art that was an expression of/through/with technical apparatus.
Not in totality of course but a large part of its formations and developments were precisely applications of ‘tools’ that were in themselves defined by their own materiological conditions. Its my conviction that these tools don’t just disappear when Cinema decides to adopt a different toolset (semiconductor based currently) but rather they are free from the over riding economic and industrial restraints of the past and are never exhausted as creative instruments.
But they are also necessary for any future generation to understand the history of their use and their place in the working systems that frame their development as creative tools.
Alexander Horwath recently said, (p27 JPF 96 | 04:2017. FIAF)
“…the actual content of film….is inseparably bound to its writing instruments, its technological basis and material tools. Thus in the future….analogue films will remain fully understandable if analogue film, including its parts of which the film strip is only one, remains accessible as a working system”

 Of course a important code is a object reference number and this will go in the Cat no’ line although it remains to be decided how these codes will be generated.