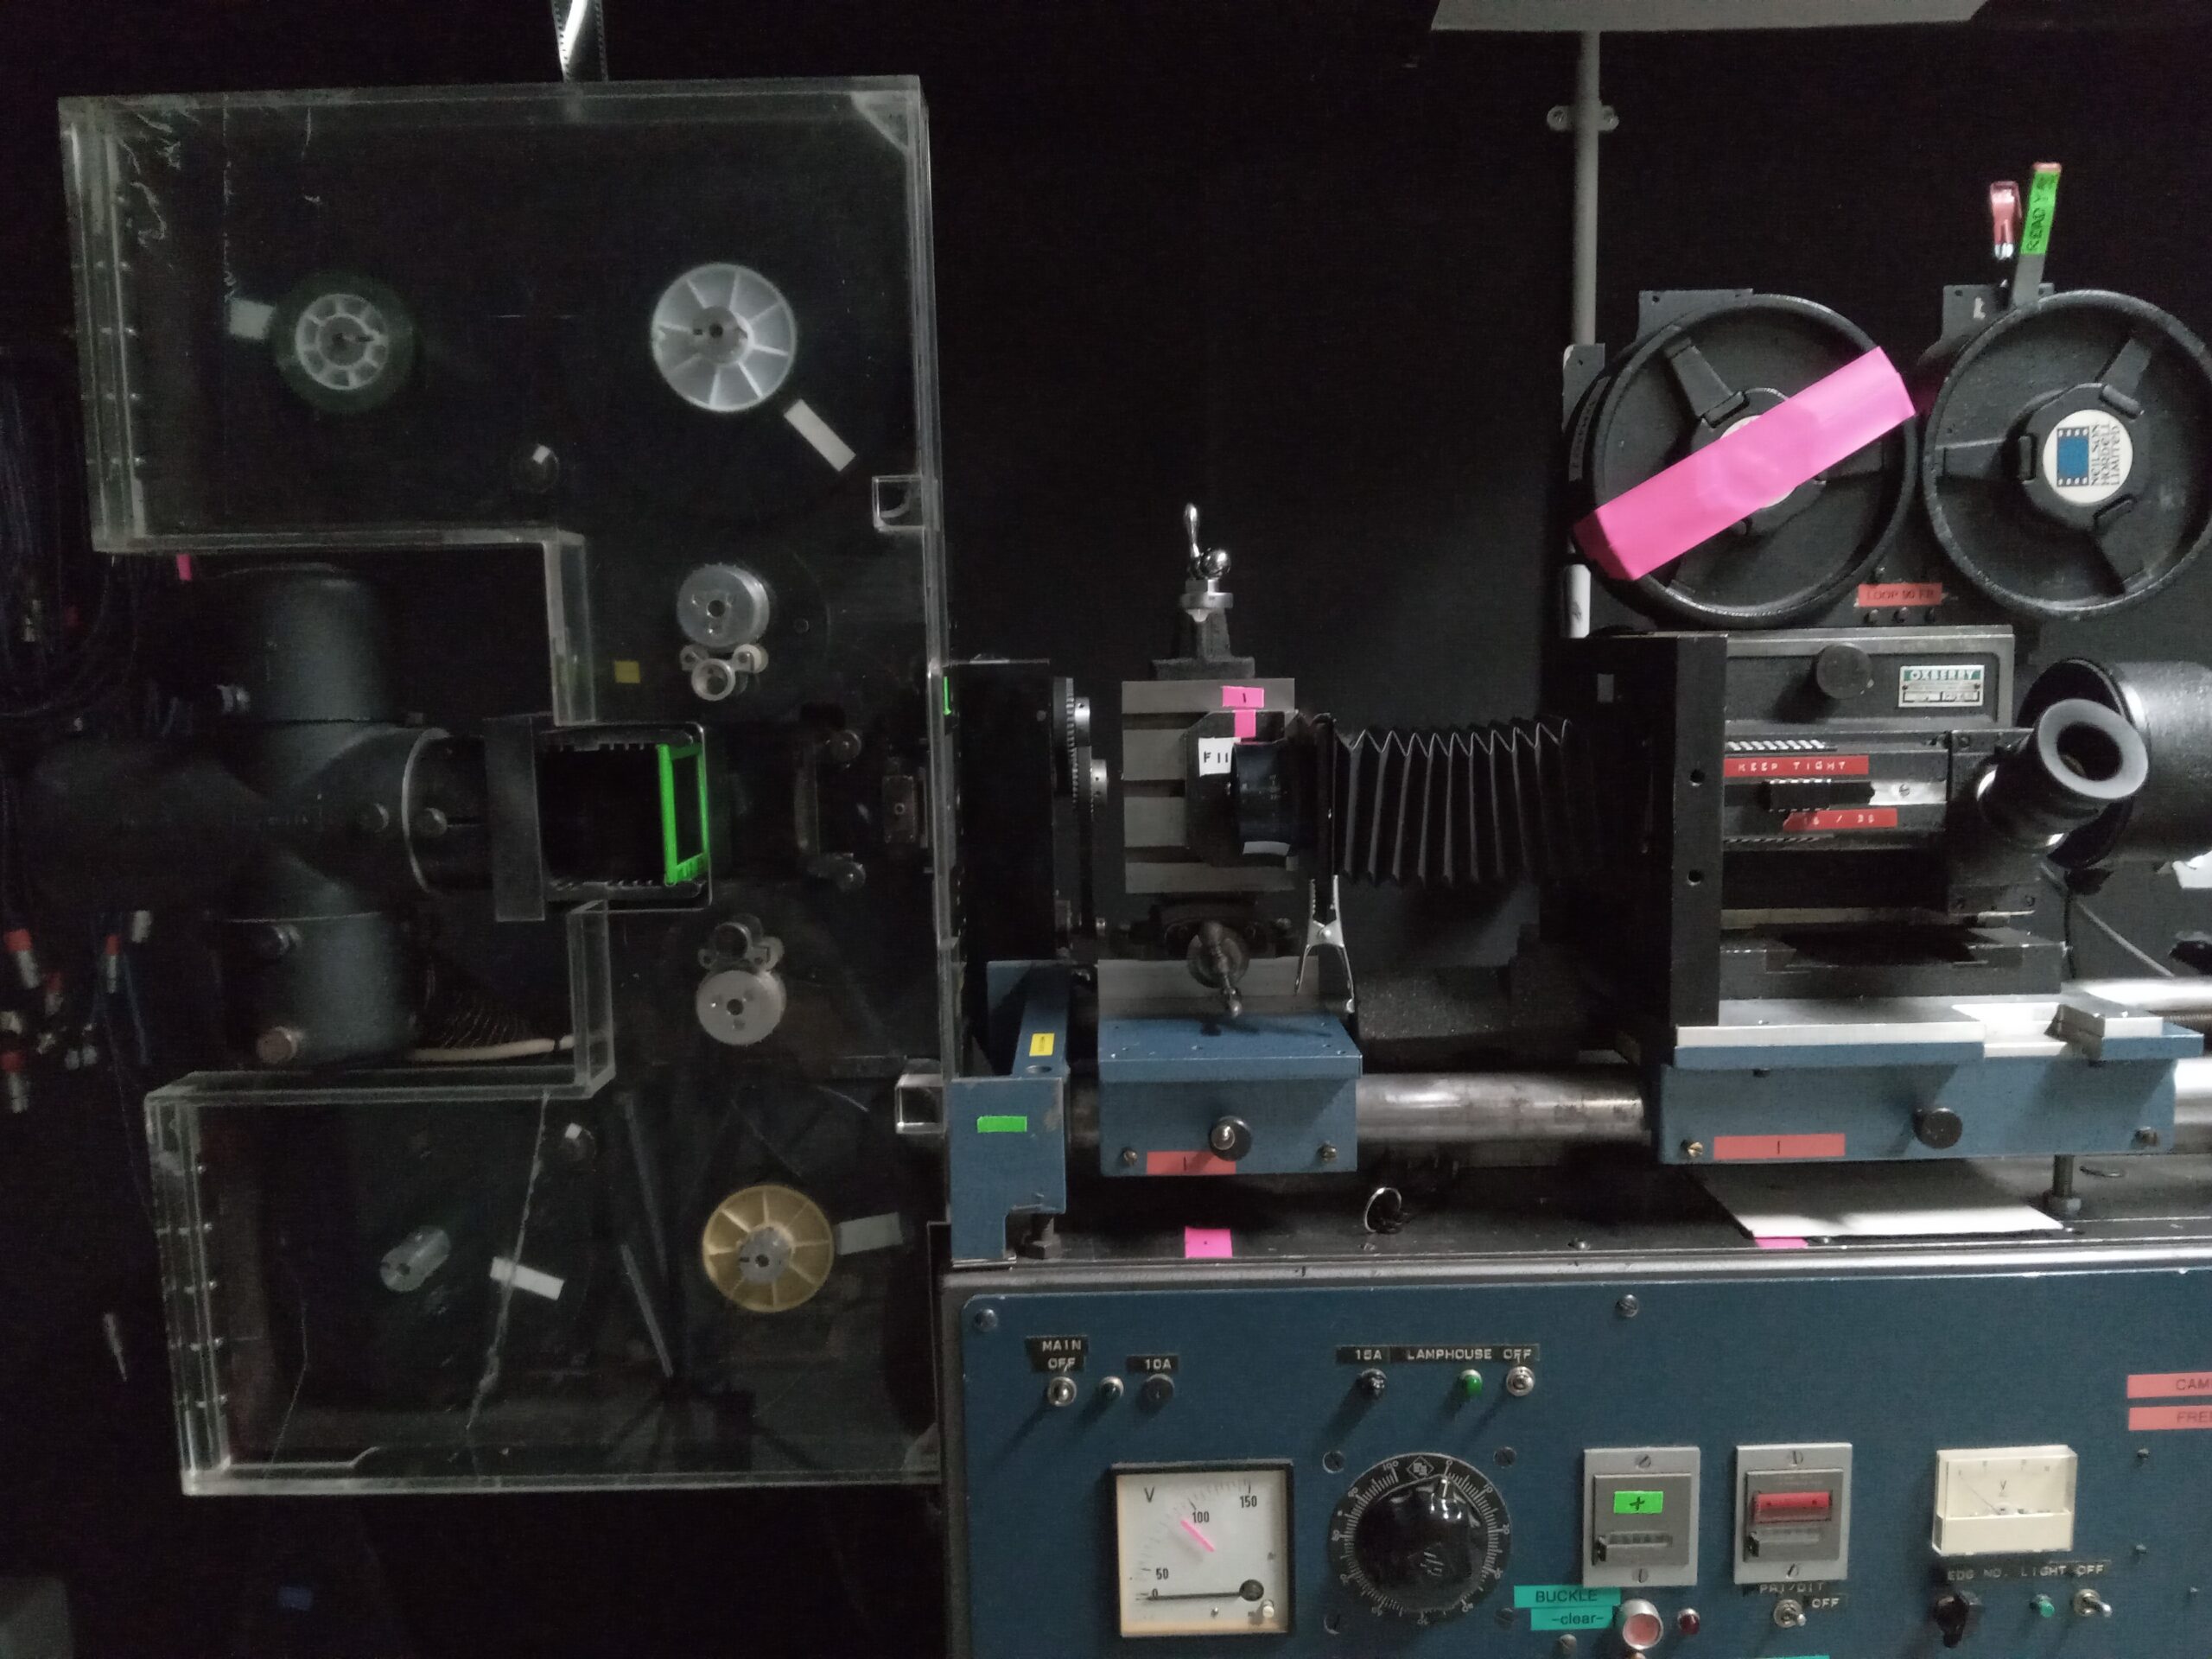
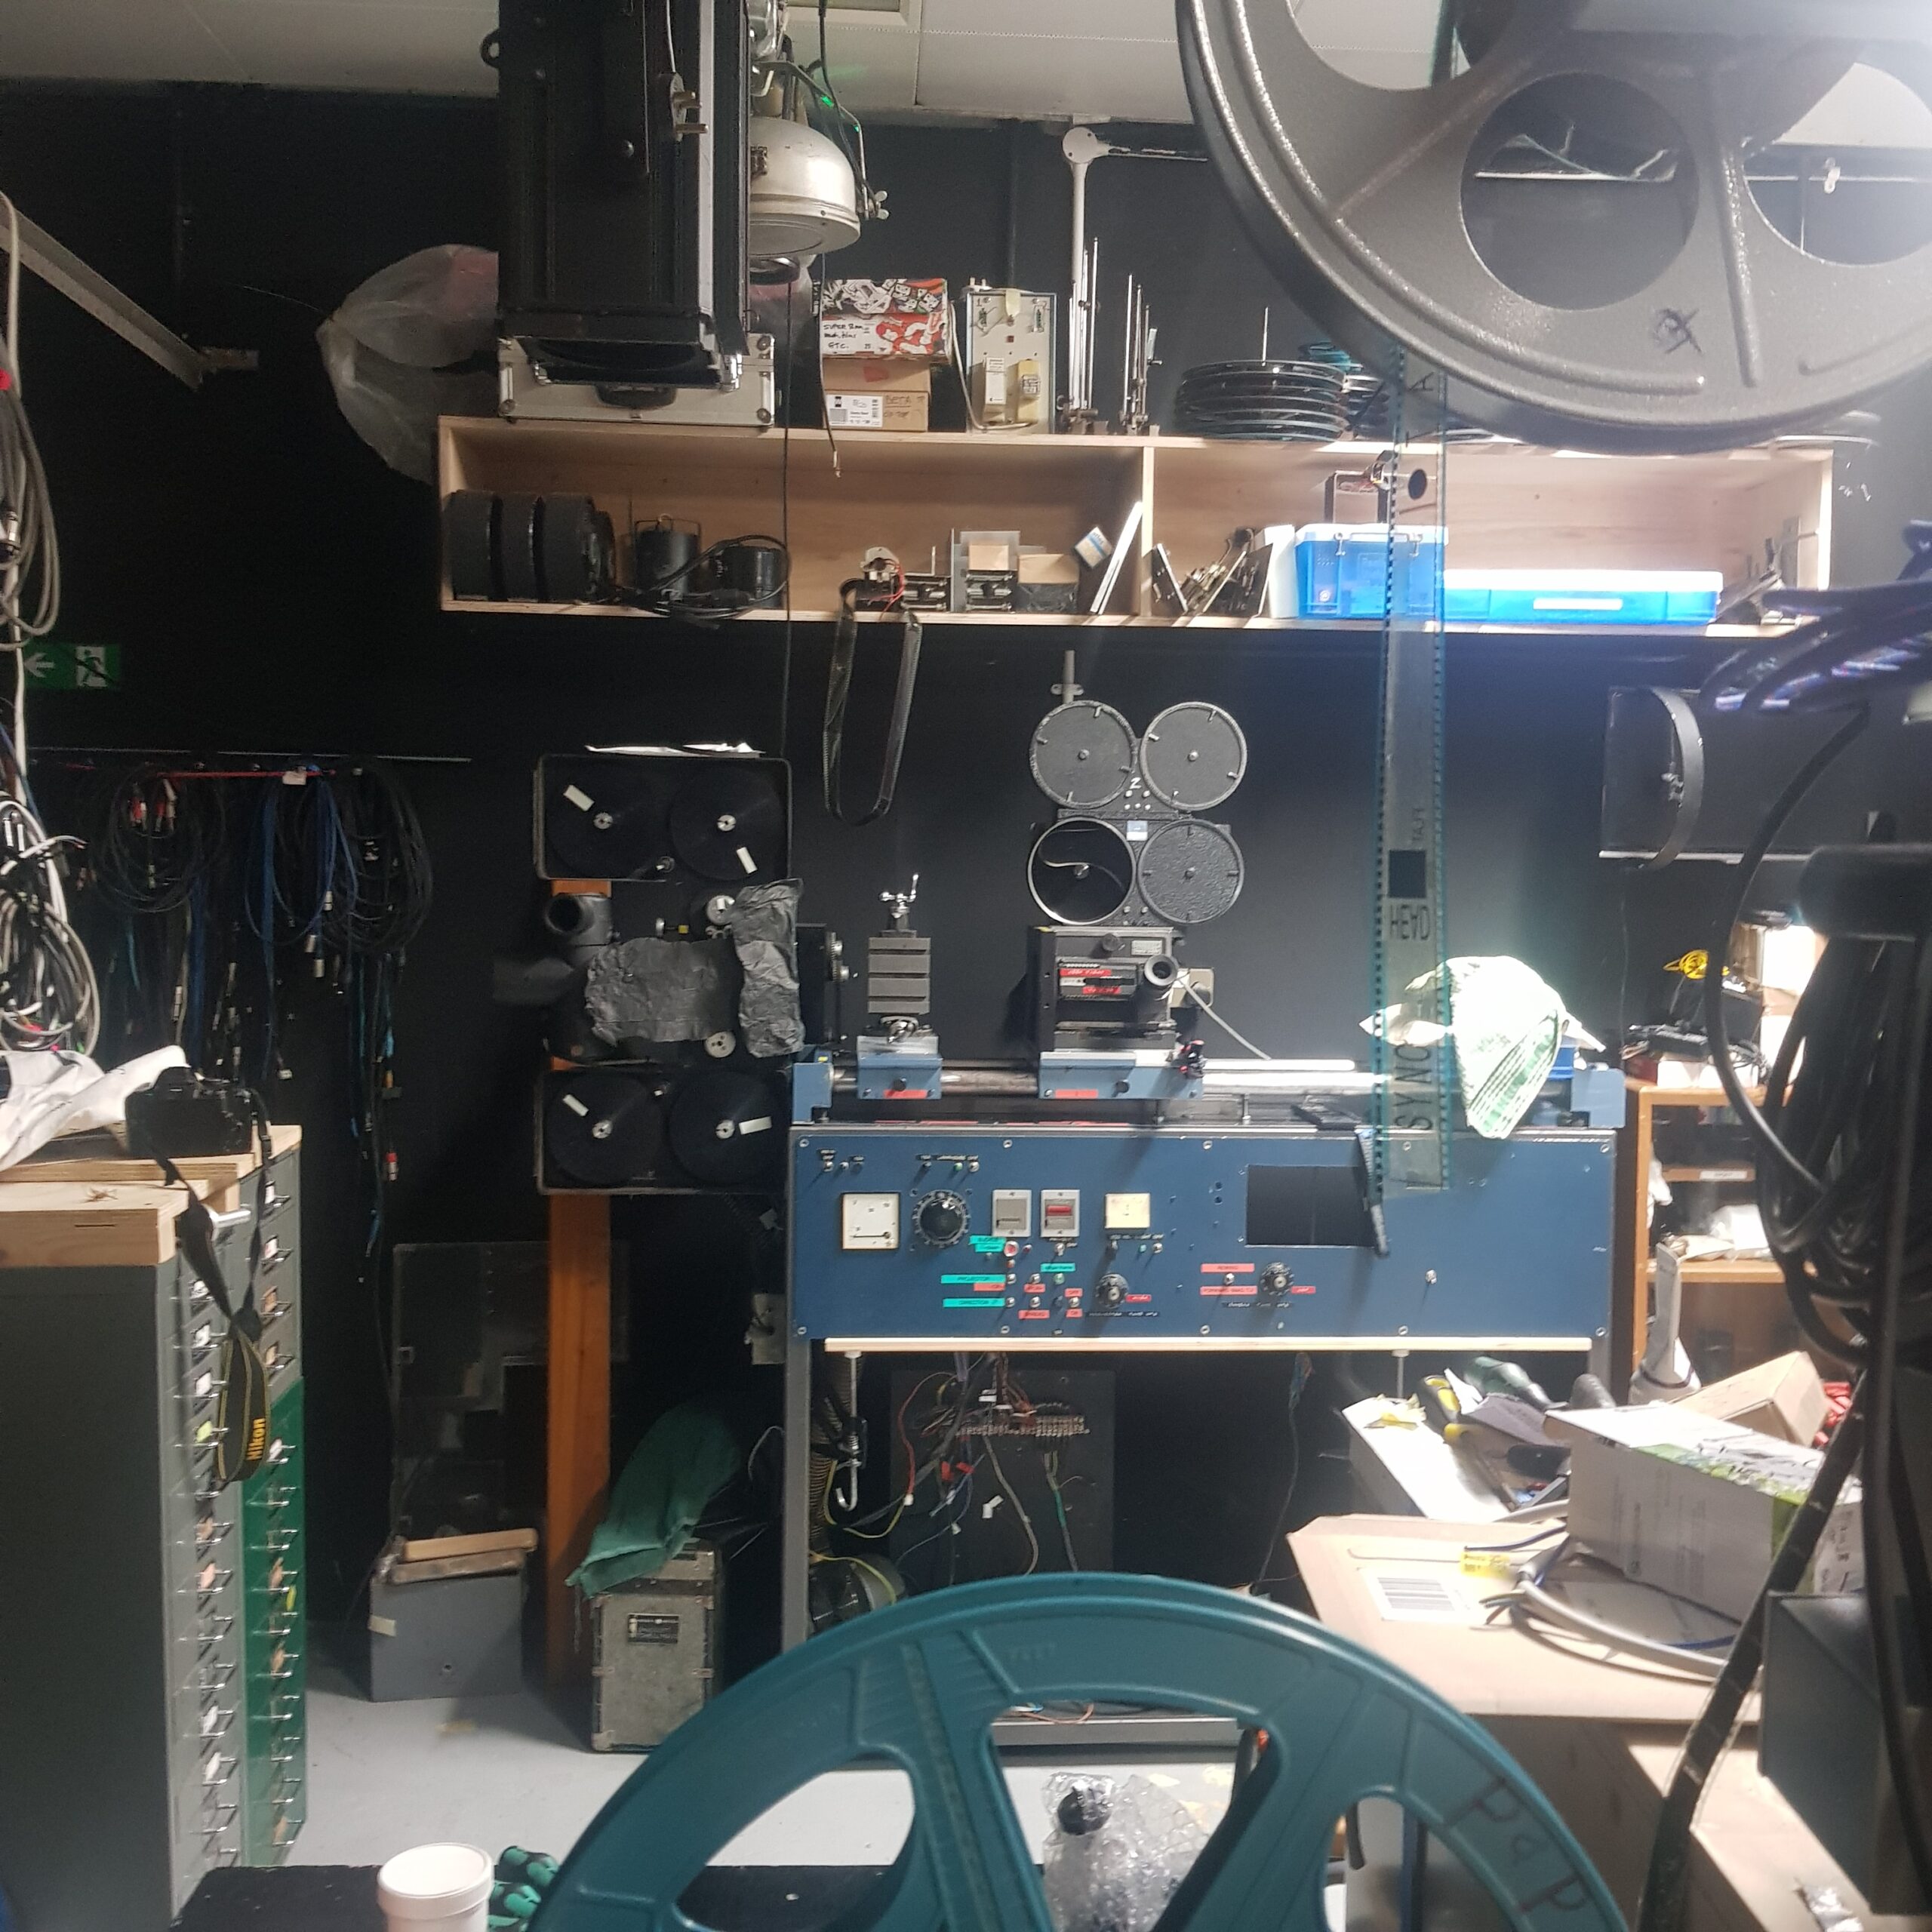
This machine has Oxberry camera and projector head but the rest is cobbled together from Neilson Hordell parts. Gates or shuttles are gauge or format interchangable BUT gates are different within one gauge. A gate designed for the camera is different from one designed for the projector. The camera gates have backing plates to stop halation fog. The projector gates dont have these plates. To all intents and purposes an optical printer is a camera pointed at another piece of film.
OPTICAL PRINTER OPERATIONS:
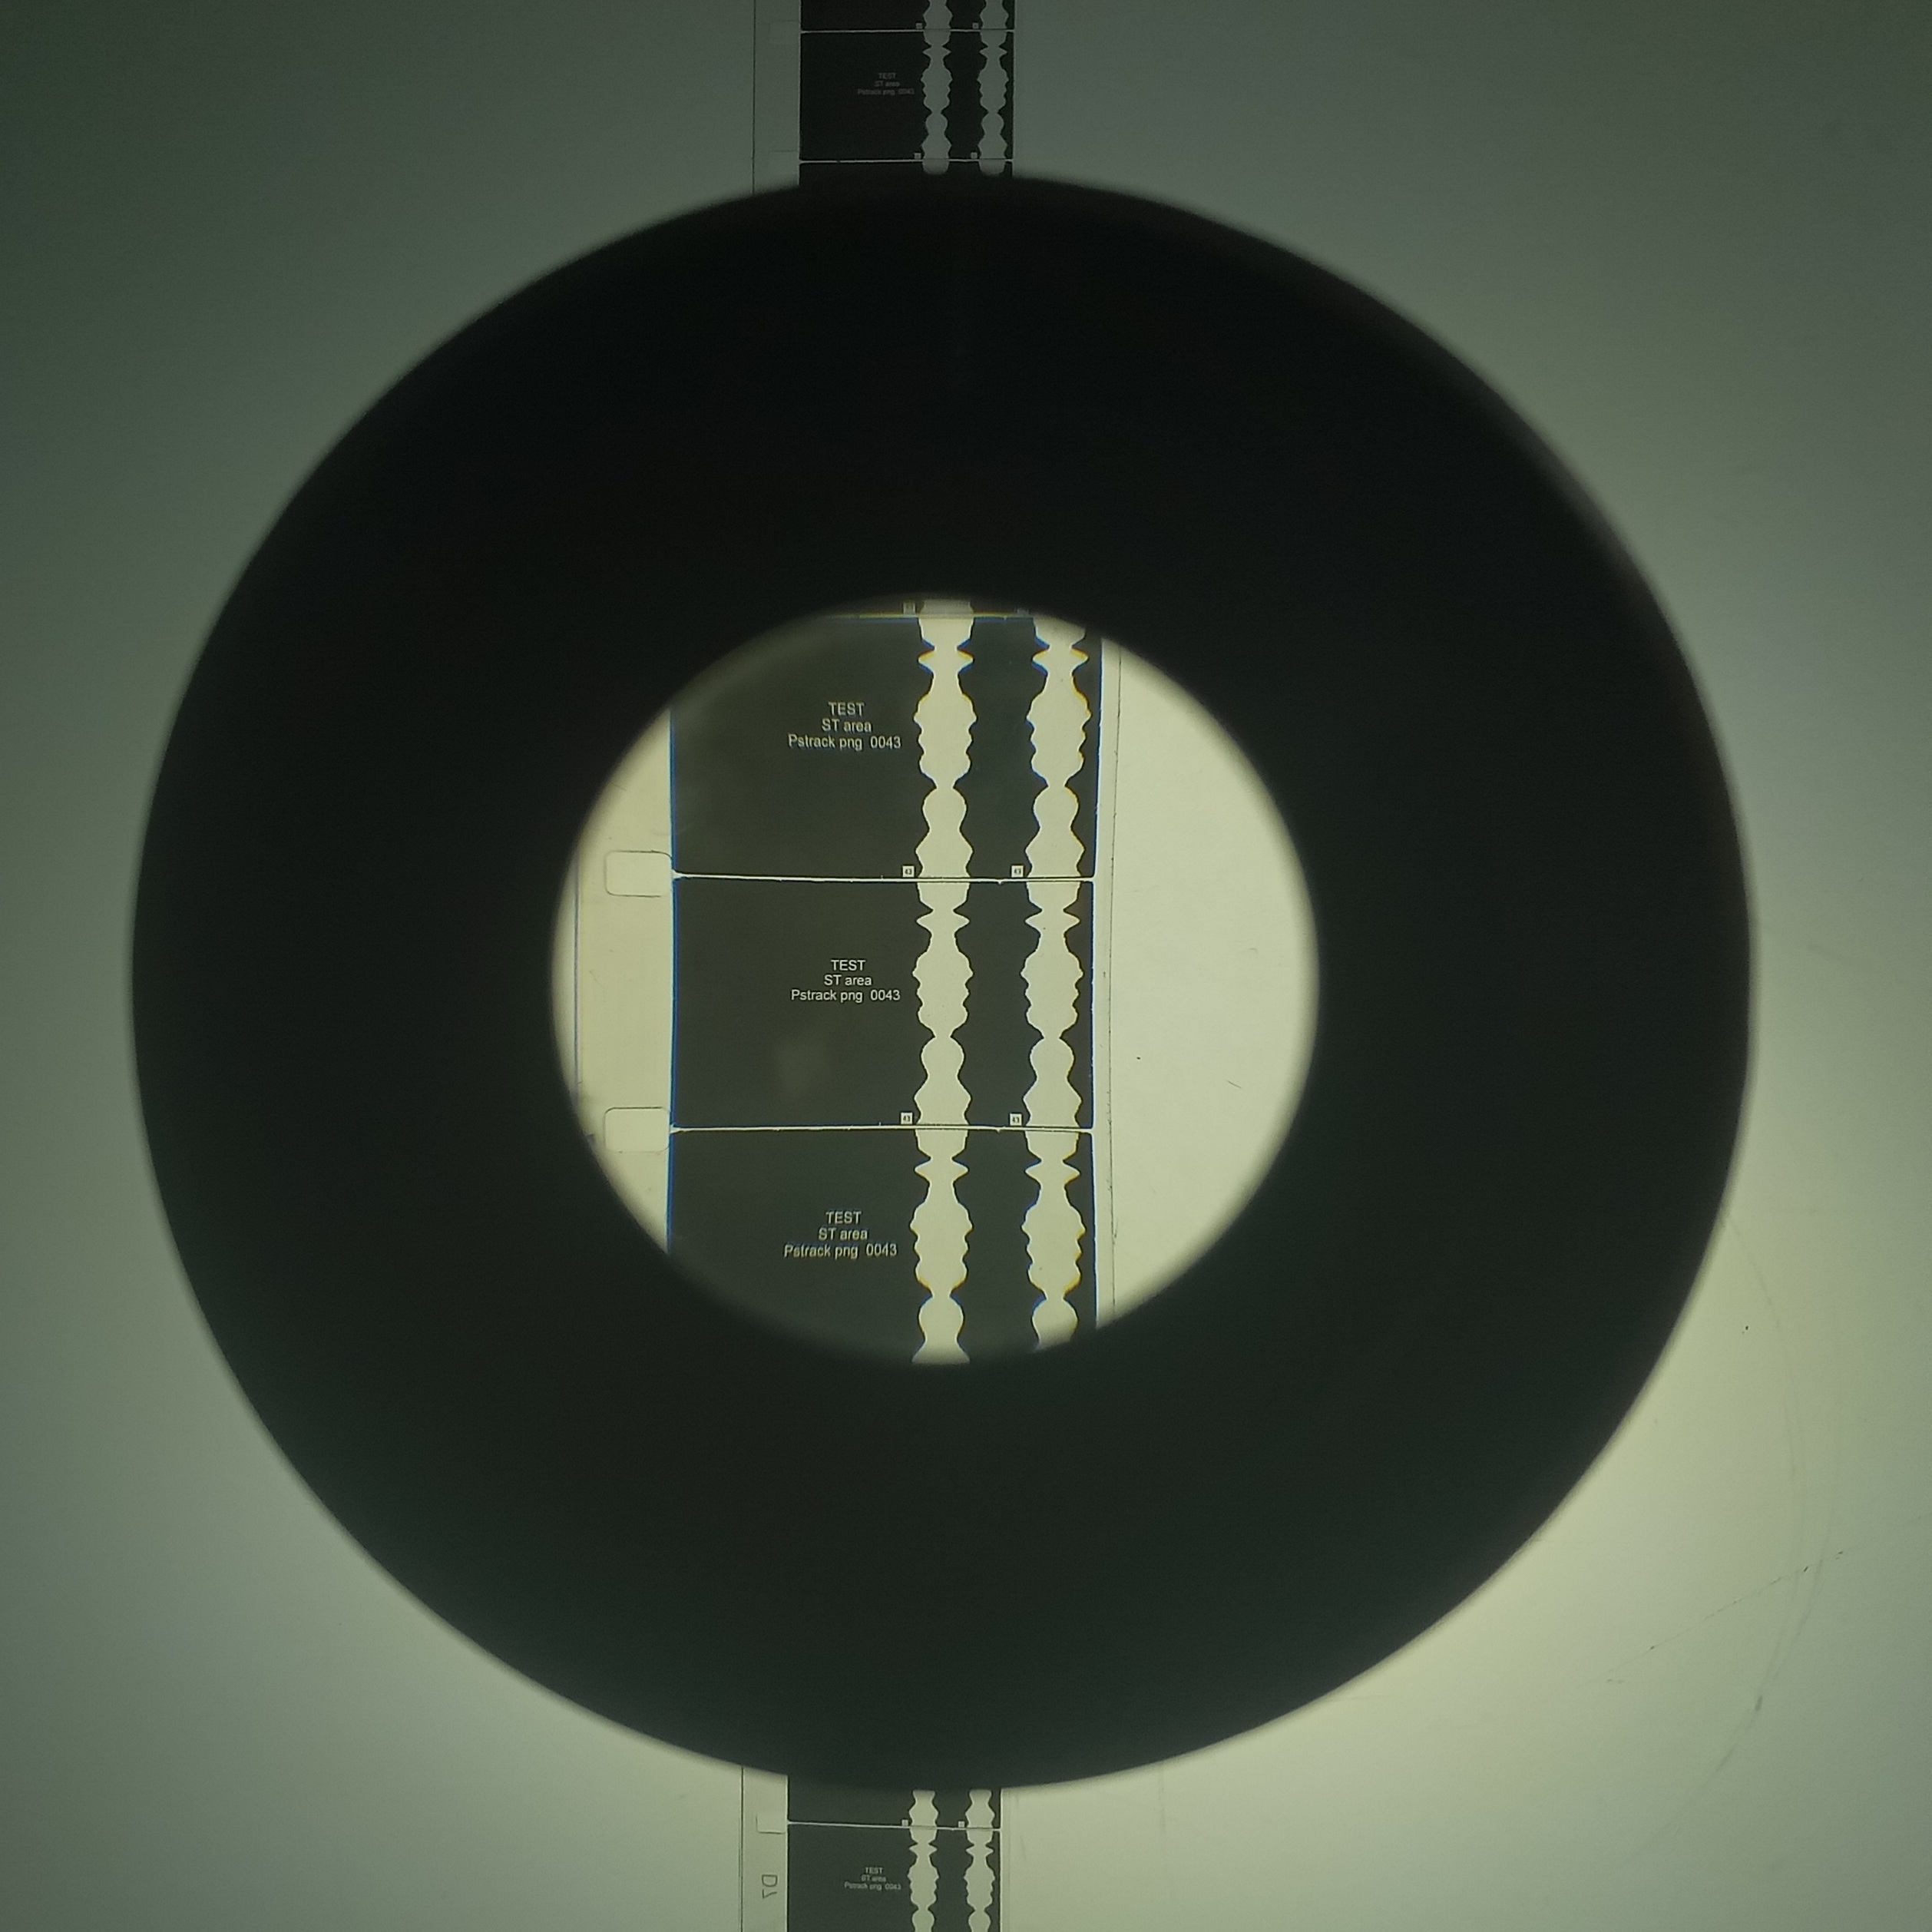
The printer has gates for super 16mm and standard 16mm. Also it has 35mm gates, full gate and masked for VA sound tracks. This means it can be set up for 16mm > 16mm copying, duplicating, positive from negative, 35mm > 16mm reduction copying, duping or printing to positive, 16mm to 35mm copying, duping, internegatives and positive blowups and 35mm > 35mm all of the above. Remember the internegative and interpositive Kodak stocks for conservation work (2234 and 2366) are only available on 35mm (?)
Every bit of work printed would first undergo a wedge test to ascertain exposure. The lamp is always on 90, the lens tends to get left at F11, the shutter is left at 170 degrees. That means we can only adjust exposure by employing ND filters in lamp path. Make a quick test using ND0 through to ND6 or 8, in full stop changes. Shoot a few (6 – 10) frames in each ND value always starting with 0, this is so you know the order of changes on test. Cap the lens between ND changes and shoot 3 frames as separation. Clear last gate exposure into magazine by running off 50 frames. In darkroom light, open rear magazine cover, snip film above entry point, load into bag/tin, then process.
It has a long bed geared travel which means it can reduce a 16mm frame significantly, almost too small to be seen. If you are printing 16 to 16 you could reduce an image to be barely visible! For instance this could be used to composite two 16mm frames into one 16mm frame or better into one 35mm frame. I havent experimented yet with how much it can blow up or magnify an image but seeing as you could take the bellows of and make a cardboard or wooden telescopic bellow, or do away with it alltogether, then place lens as close as possible to film and camera at far end of travel I’d imagine you would be into microscopy territory. Your problem here might be lack of light rather than too much light being attenuated as is normal. This isnt a problem I have encountered yet. As lamp cant go brighter, or shutter more open, the only things left are apeture opening fully and B style shutter durations, all deffo possible if anyone want to zoom in on grains of silver.
You focus with lens apeture wide open. Once you have sized and framed the image, finer focus take place by adjusing the camera, not the lens.
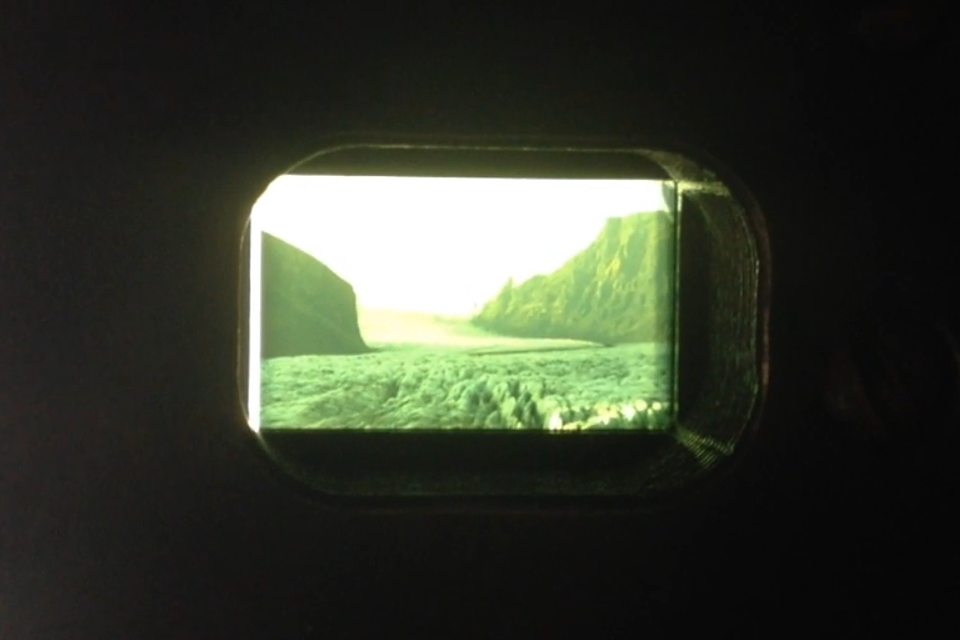
The entire camera ‘RACKS OVER’ into viewfinder mode to frame and compose. Then when you print, you rack it over to film which means you cant observe through the viewfinder when printing. I have often run tests in viewfinder mode!! Schoolboy error.
In optical printers the TARGET, or work in the projector is always the correct way up. (I guess on aerial image rigs the secondary lens requires the target to be upside down?)
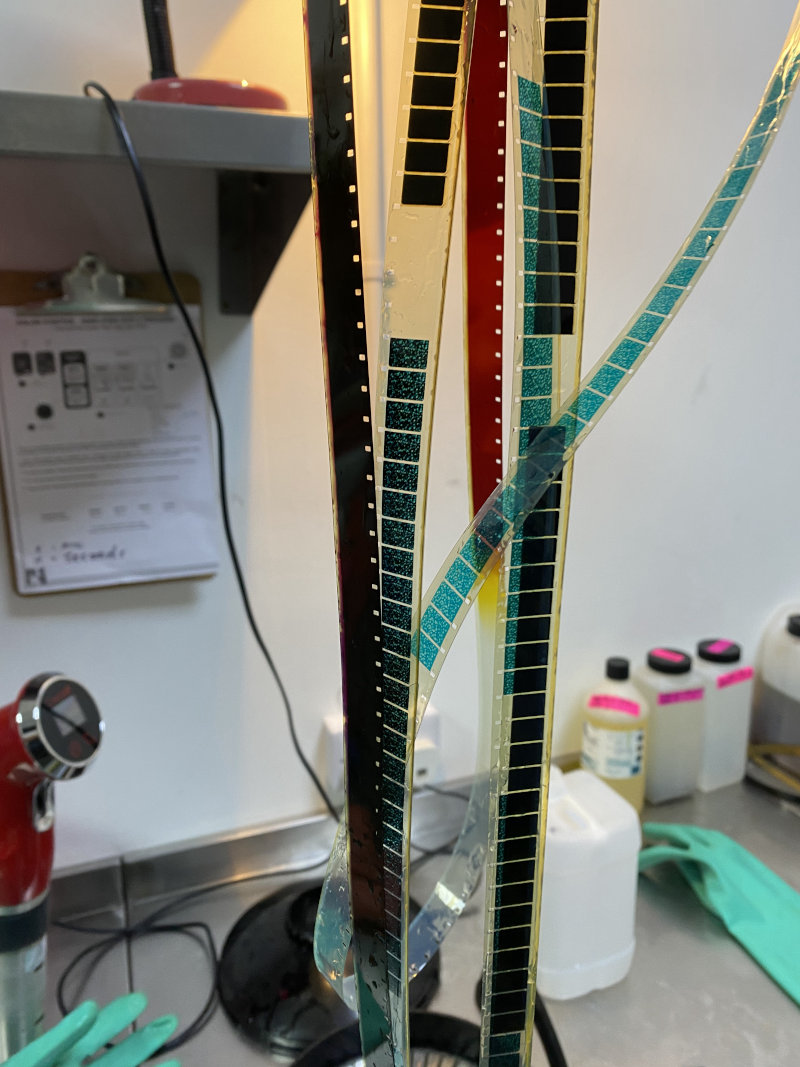
The obvious reason is because the camera receives it after 180 degree rotation that the lens forms. It will need to be to be laced into a projector so this is corect. Also the work is spooled on the lower spools and moves upwards, whilst the flm in camera will be travelling downwards. The picture above shows the take up magazine cover off with loose end after taking the exposed footage out to process. This way means the camera is always laced up and ready to shoot immediately after a test or tests, or more tests. TESTS!
There are counters for projector and camera but you must set them in up or down mode, ie fwds or reverse. The number displayed on projector counter will always be the frame that is loaded in the gate but has also been photographed! This can lead to some confusion. This can be made more confusing if you rewind projector film, which will expose a frame at a different point in the cycle. So, firstly you make your ZERO frame by putting the frame BEFORE frame 1 in the gate and pressing the zero button.
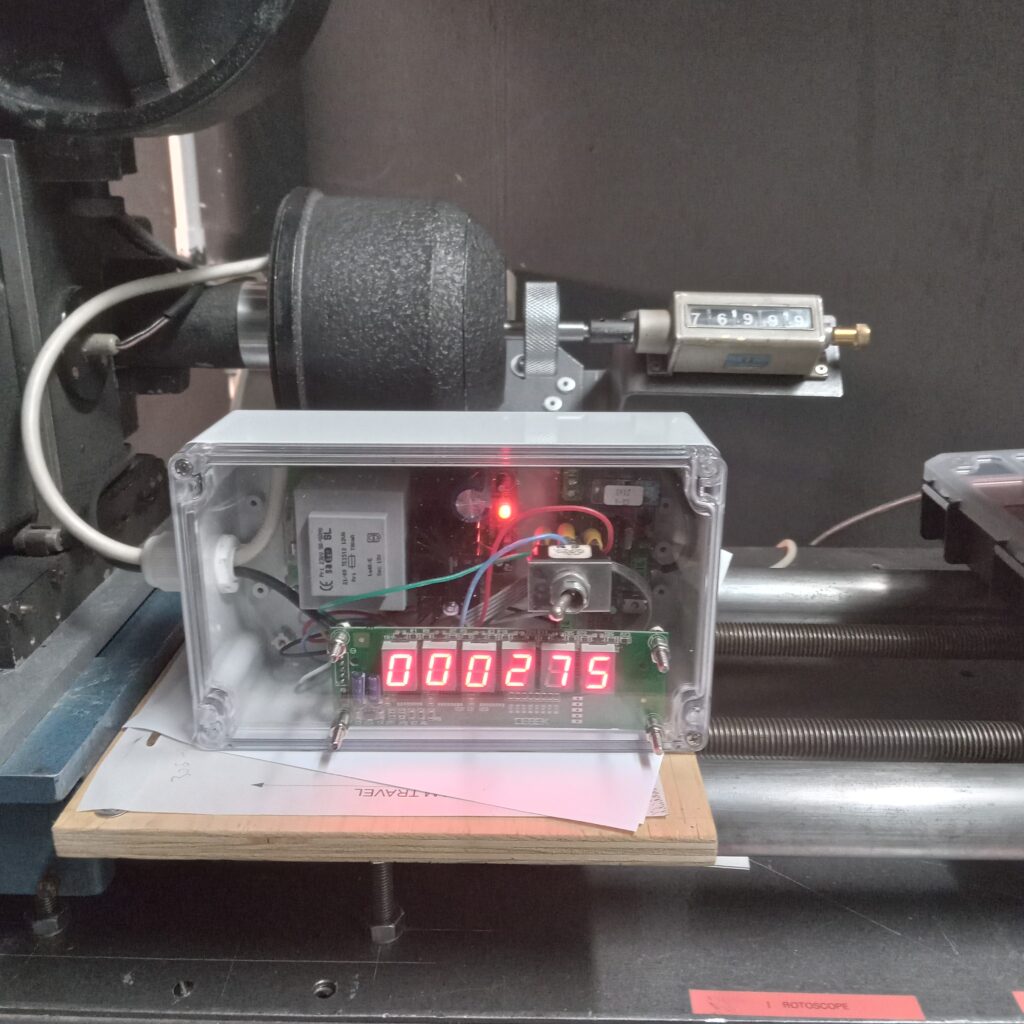
Now, when you press the projector advance (1 frame) button and the machine is synced to camera by another switch the projector loads frame 1, registers it and the camera takes a photo, they both count 1 and both diplays show 1. If you switch the run button this cycle keeps repeating until you switch it off. You could then unsync them, advance projector film til you get to another frame later on (you might have noted its number from the zero frame) , park projector at FRAME BEFORE, then sync again and continue printing. Its exactly lke in camera editing except you are moving past unwanted frames, lets call it IN PRINTER EDITING. So this way you have made a cut or edit in your final print with no splice or joining marks, cool right. You can change ANY parameter in this way during printing. I have not wired this machine to perform skip/repeat functions like print every X frame, or print each frame X times. Does anyone actually want to do this??? If you do you can do it manually. The electronics need a bit of customising to allow this process to be automated.
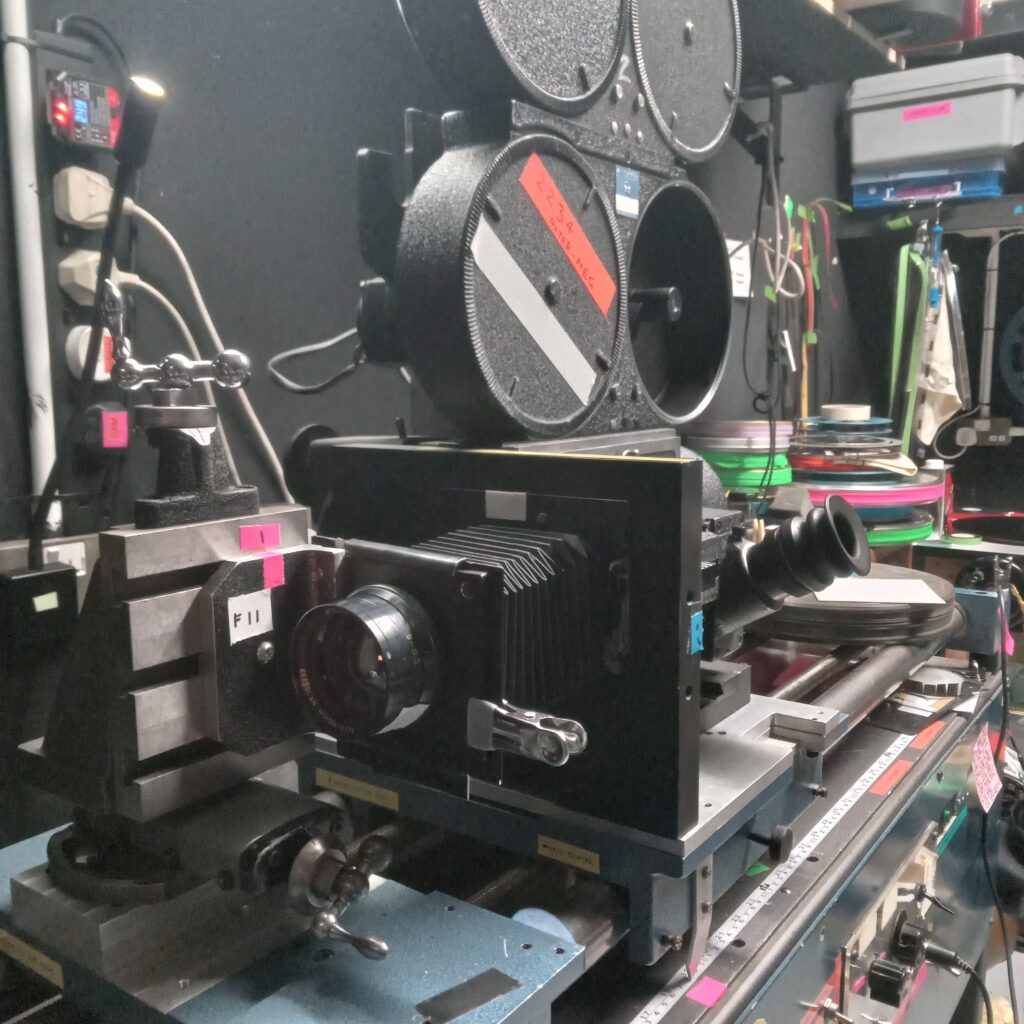
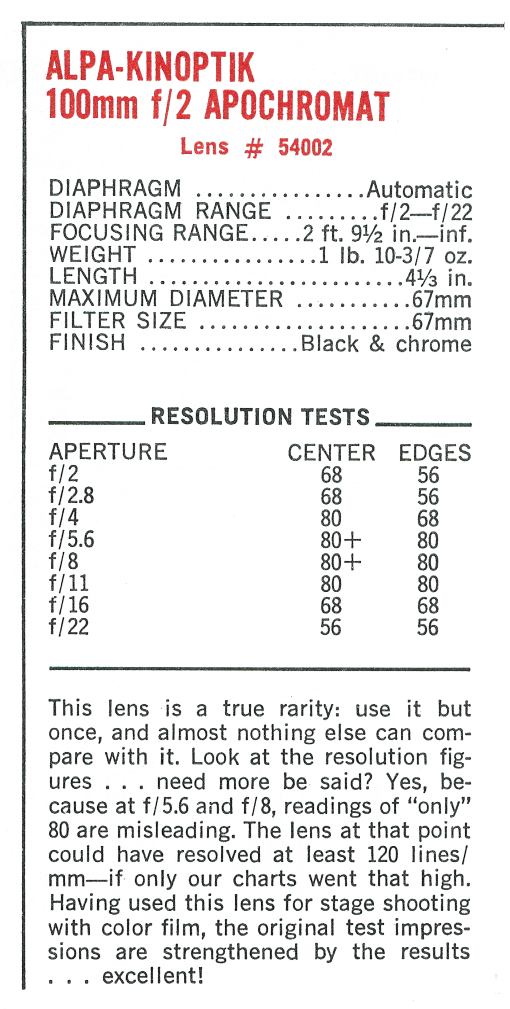
The lens is a Kinoptik Apochromat 1/2 F=100mm (sn 1000288) which is extremely sharp and has a high lp/mm of about 80+ at F8. The chart below doesnt have any specific provenance but I am looking into this. However its so sharp I usually cry with joy when tests come out. I could make some resolution tests maybe but proper calibrated charts are quite expensive. I ask if anyone knwos where reticlesa are made. Well I did my own research and found a company in the uk who make these kinds of things for scientific intruments. The expensive bit is the original master artwork. It would cost about £1500. But after that individual glass parts are only about £400 each.
I also have a plate mount for Nikon F lenses of which I have a few, so special uses can be made of these types of lens.
Success has been achieved using coloured gels. Kodak CC filters, to correct colour negative to colour positive on 16mm!
I have 400ft and 1000ft magazine for 16 and 35.
I aso have a bi-pack magazine for producing hi-contrast pairs and special FX if anyone wants to explore these types of operations. Its a 35mm magazine and I am adapting it for 16mm as well.