Techniscope from 4 perf

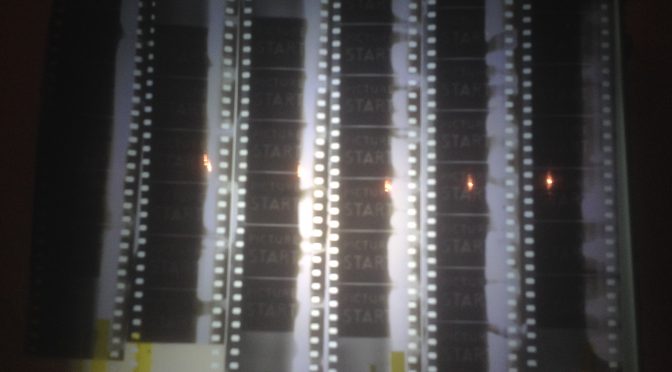
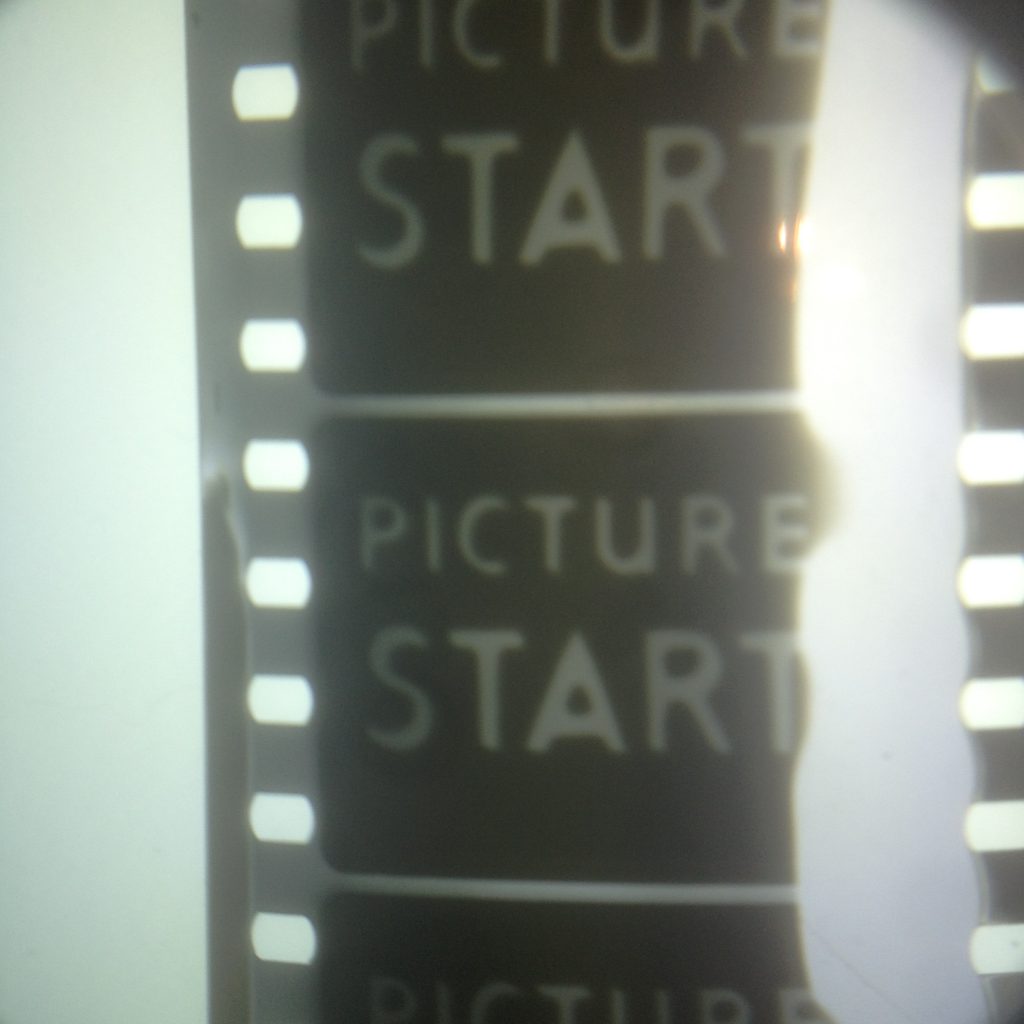
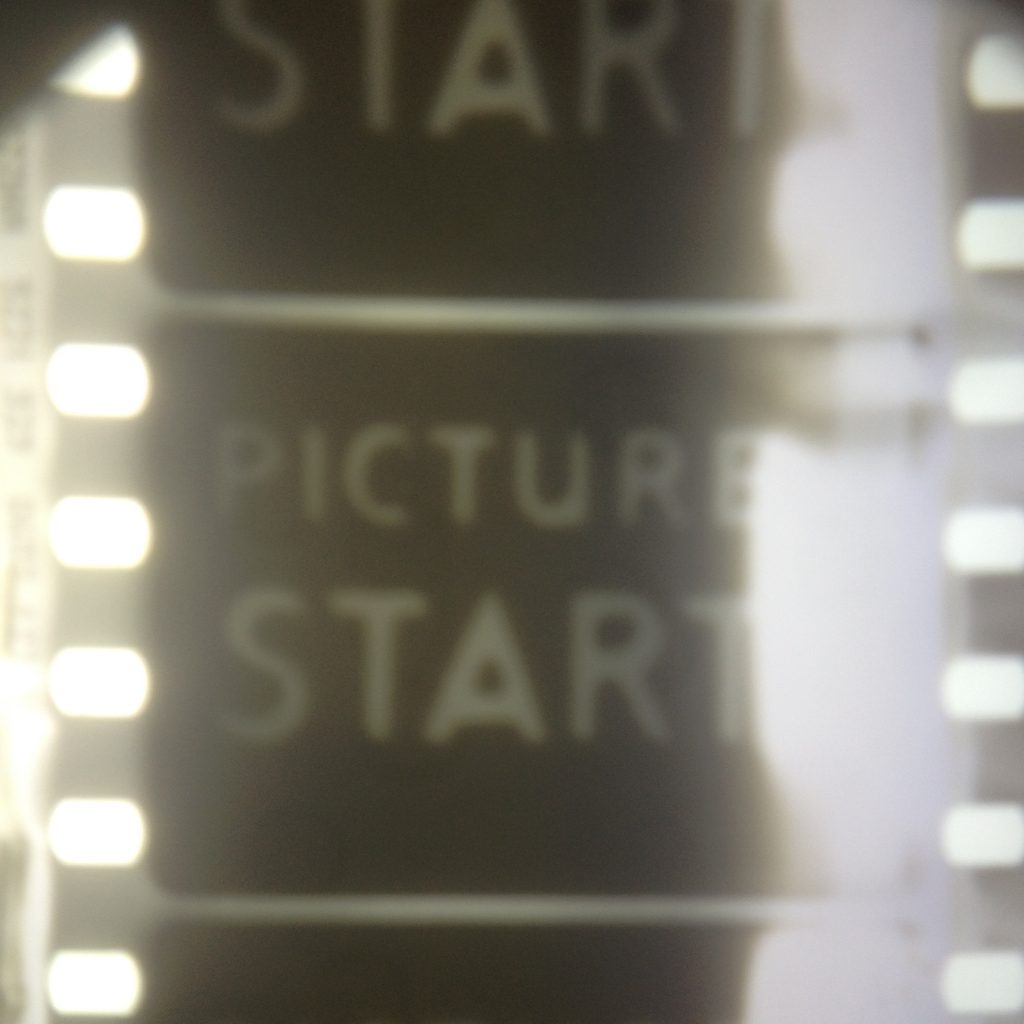
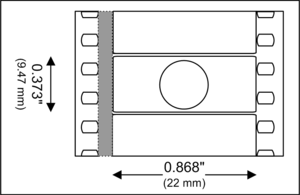
I am slightly obsessed with Vista Vision (above) and Techniscope. The former of course ran horizontally and took up 8 perforations. ILM revisited the format for Star Wars to enable a larger, non-animorphic negative to pull off their effects.  But Techniscope goes the other way. Developed by the Technicolour Labs in Rome, Italy, it takes up 2 perforations. The effect of this 2-perf high frame but full width is a widescreen (scope-ish) image that doesnt require animorphic lenses, any normal spherical lens can now be used to shoot (effective) Cinemascope. This isn’t all though. It also doubles the stocks running time. A  10 minute reel becomes 20!

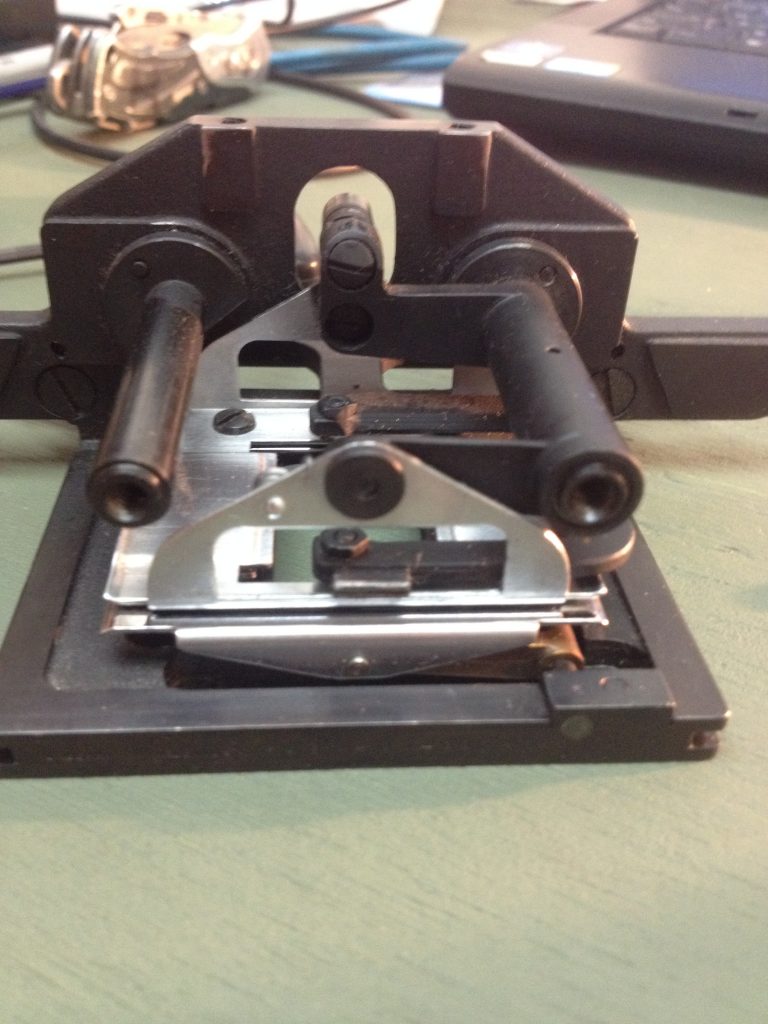
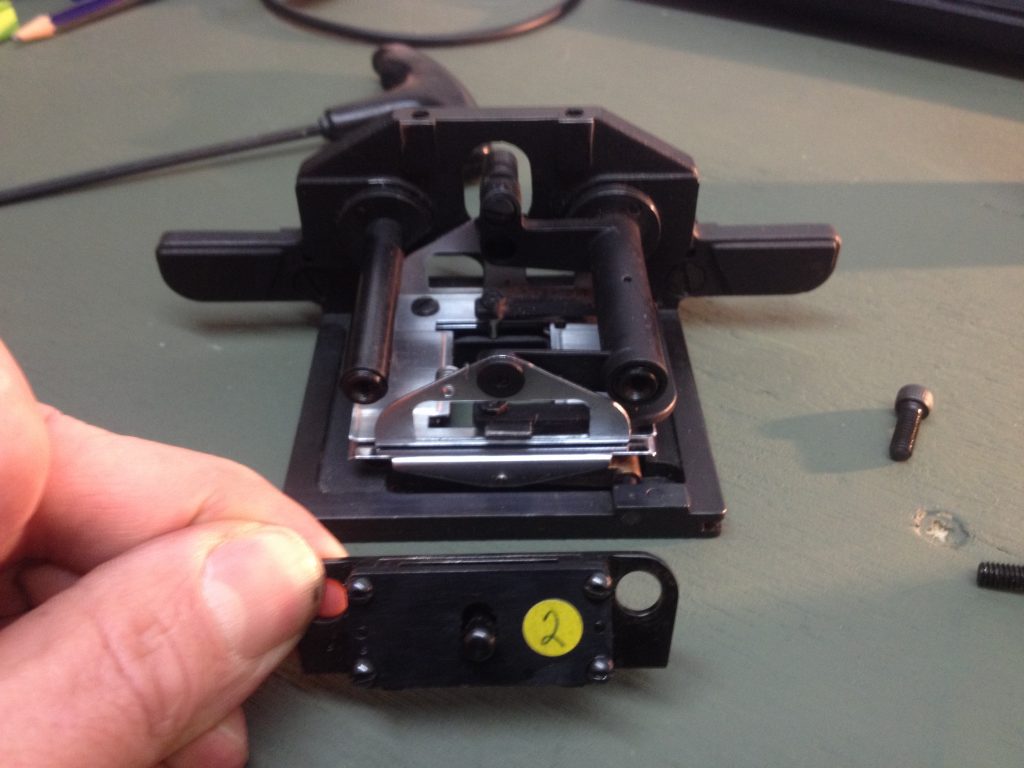
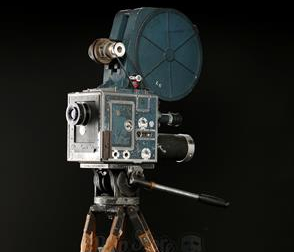
Now 2 perf adapted 35mm cameras are rare. But, thinking this through I realised I can shoot Techniscope on my 4 perf Mitchell! First I make a 2-perf apeture plate that sits in the gate of the camera. This will crop the neg exposure area down to the techniscope AR. Then frame and shoot 2 perf FRAMES, but move the film 4 perf. This would leave a huge gap on the neg if we developed it. Next, I rewind the film (close the shutter and cap lens!)  and via a registration notch in the film I then lace it 1 frame out of sync. This would expose now into the gap! Then in the printer a similar process is used to print alternate frames restoring the sequences. This WILL, work, its theoretical now, but there is every reason to believe it will work.

Lastly, if we don’t observe leaving space for the soundtrack and expose using the full width of 35mm then the aspect ratio becomes a healthy 2.62:1!! I would consider this for the UFO/psychic/dream-horror film being planned about the Rendlesham incident as this is planned as a fully SILENT film.  AR graphic below.
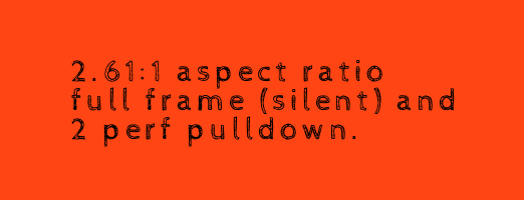
 

‘Super’–Techniscope with a 4 perf camera!!

Here is a  stunning, well researched document about all the various RAMA Vista Vision cameras that ILM used.
 

The workflow of analogue

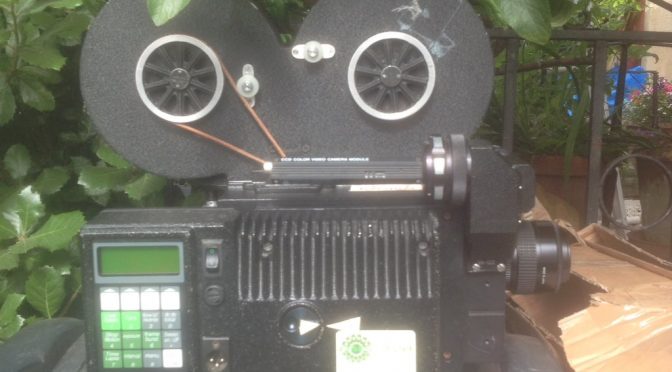
From now on all my production projects for the Archive Film Series will be made using this camera, the oxberry and small developing tanks.

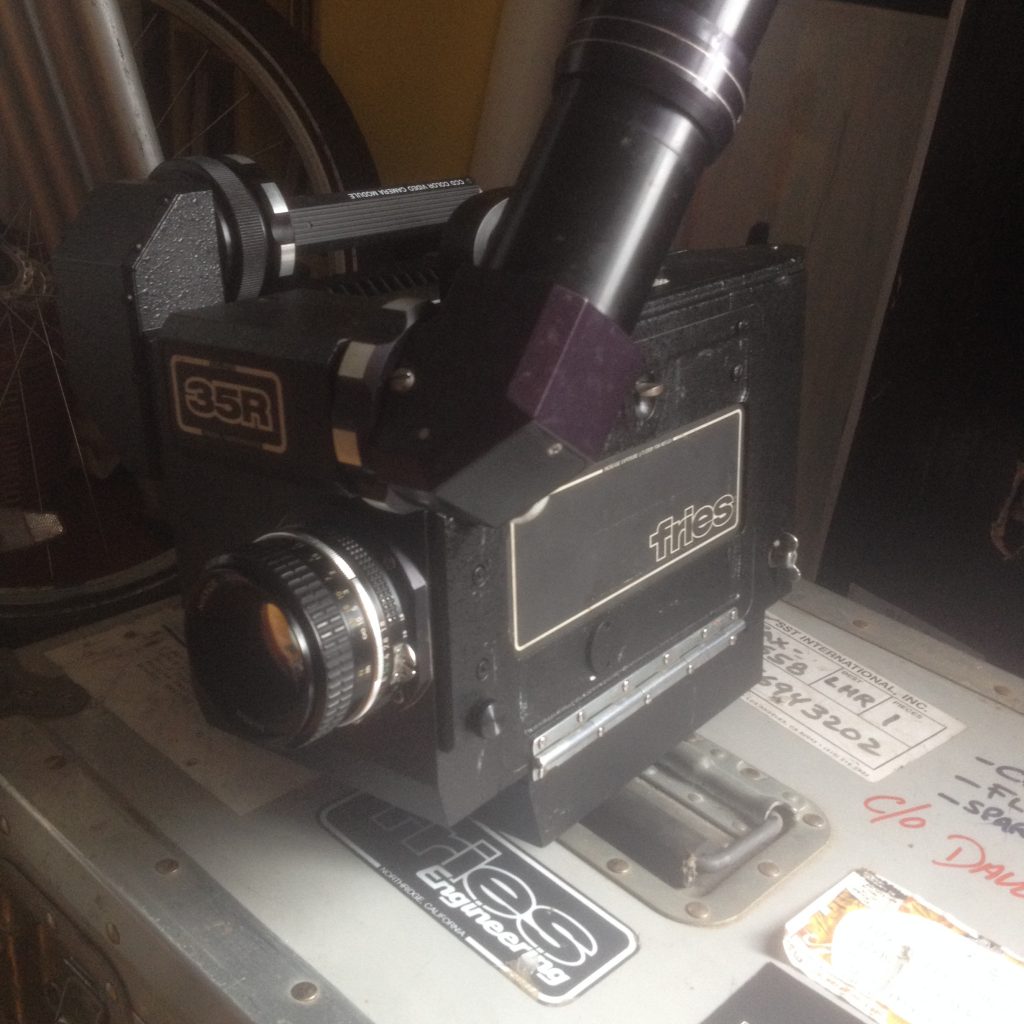
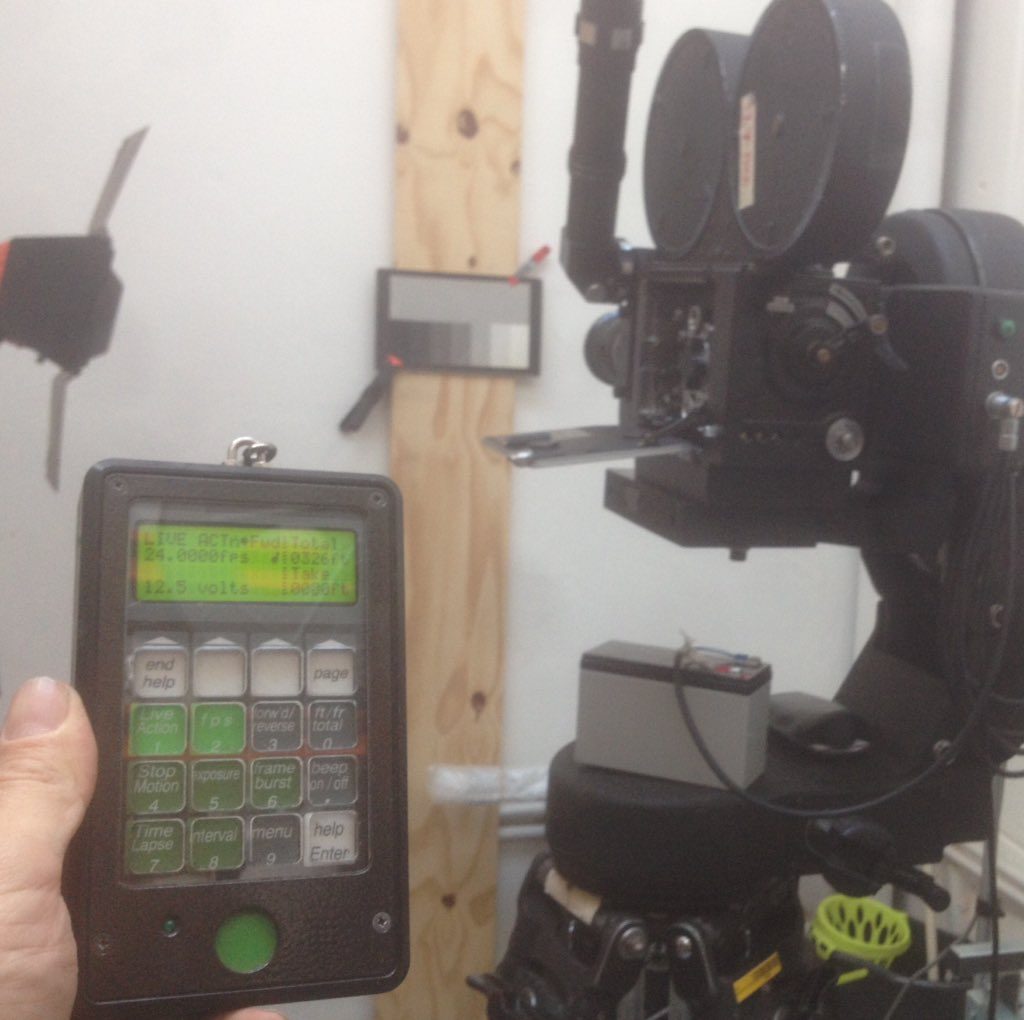
The specification on this Fries/Mitchell 35R camera is unbelievable. The remote controller in the picture lets you program so many ways. It can shoot 1 – 120 FPS (all at crystal locked speeds), it can shoot single frame with programmed bursts with exposures in standard fractions or long exposures ranging from 1 to hundreds of seconds. It currently takes Nikon F Mount lenses, handy! It can shoot forwards and back always to exact frame count. You can programme runs with feet/meters or frames. The shutter does the usual 170 degrees to closed over range.  Checking if it can be bi-packed. Also I got it running on 12VDC so I can take it into the field.

My plan is to produce all my Archive series films for my research projects practical components with this camera and make positives with either the steenbeck contact printer or the Oxberry. Also for using existing (found and collected) positive footage I plan to copy to 35mm using an internegative stock, then print back down to 16mm via the oxberry where I will have a chance to make frame stops and permutations of frames and copies. etc.

Having this degree of control over (mostly studio based) film ideas is a massive boost to the ambition and scope of ideas, especially the series based around bulk pass exposures.

The camera is a little heavy and unwieldy. Not as much as you might think though. Thanks to Aardmans for lending me an airhead mo-co to let me mount it and pan-tilt in tiny increments.

However a Mitchell geared head is really what I need when I take it outside. If anyone reading has got access to one of these and is happy to lend it please let me know.

I am eternally indebted to the late Bolex Brothers animation studio for this acquisition.


test city

Good results from tests with oxberry, single image in gate, 35>35, halogen lamp. etc

Did loads of Lux measurements in gate but there’s no real guide to EV levels that are required and also the shutter speeds are not really calibrated, or even known.  Also the image is sharp closed down (as you would expect) BUT super soft, un focused almost, at larger T stops. A T-stop ramp test is required.

Was using Kodak Eastman 5231 in D96, etc. All results are in log book. Dev temp 23. Dev time 5.5 min / stop 50 seconds / Fix 2 min / wash between ALL /

Many things learnt from this test.

  1.  Prepare more accurate frame counter and test set up.
  2. Don’t use slowest vary speed, low torque and not reliable.
  3. Top up D96 to 1.5 Litres (you can see the dev level mark).
  4. Use T-stop ramp on best exposure.
  5. There’s not much difference between the numbered settings on vary speed.

A fluke, but afterwards I laid the original over the neg and its a perfect 1:1 match. Ie the image is an exact copy size wise, a perfect accident.

studio tours are a kind of spoken word gestural performance


I’ll be doing these studio tours during the Cinema Rediscovered Film Festival in late July at watershed (mainly).

They are tours designed to verbalise what I am doing on several levels. In this regard they are also performances and presentations about ideas, processes, thinking and working collaboratively.

There is an assumed ‘intrigue’ or ‘fascination’ with machines that often forms the basis of inquiries into or explorations of apparatus and historic mechanisms and this is especially true of  ‘Cinema’ being principally an art that was an expression of/through/with technical apparatus.

Not in totality of course but a large part of its formations and developments were precisely applications of ‘tools’ that were in themselves defined by their own materiological conditions.    Its my conviction that these tools don’t just disappear when Cinema decides to adopt a different toolset (semiconductor based currently) but rather they are free from the  over riding economic and industrial restraints of the past and are never exhausted as creative instruments.

But they are also necessary for any future generation to understand the history of their use and their place in the working systems that frame their development as creative tools.

Alexander Horwath recently said, (p27 JPF 96 | 04:2017. FIAF)

“…the actual content of film….is inseparably bound to its writing instruments, its technological basis and material tools. Thus in the future….analogue films will remain fully understandable if analogue film, including its parts of which the film strip is only one, remains accessible as a working system” 


waiting in the activity of the decade

Been spending a lot of time on the Oxberry making the digital scanning set up work better.

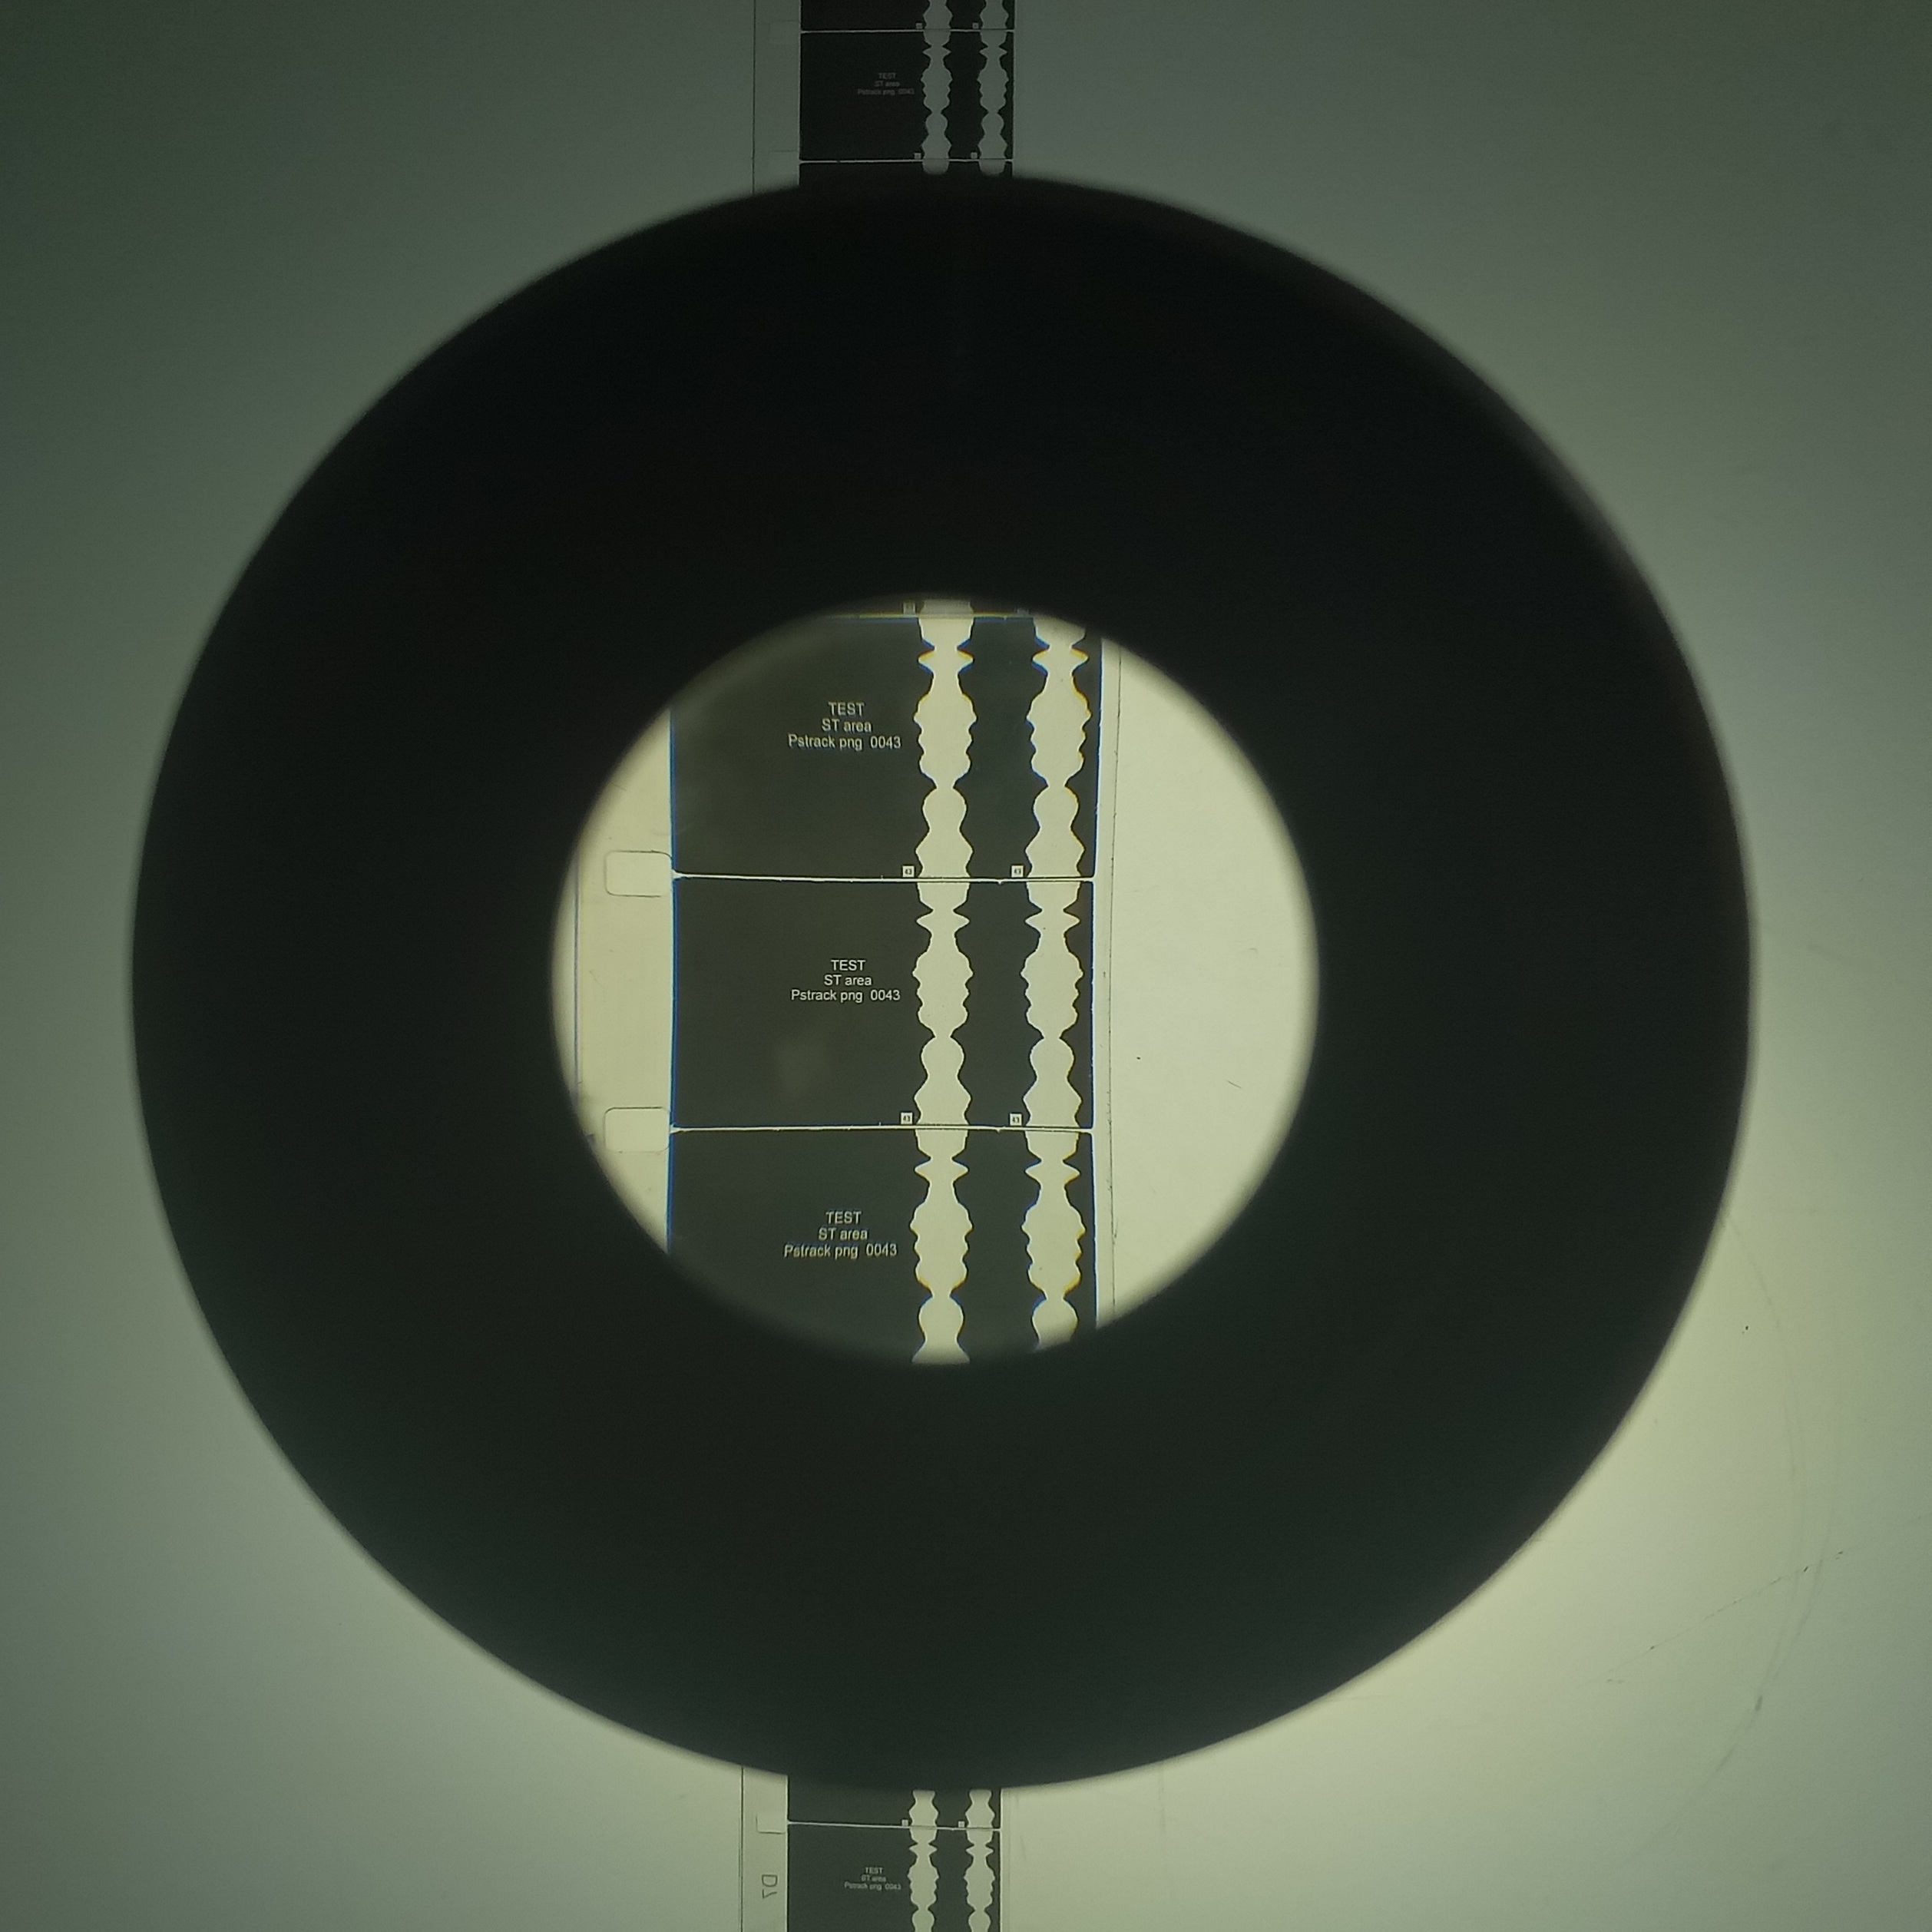
Test results are good depending mainly on the res of the scans, high res just means more processing later to compile photos into moving image sequences.

I’m doing some studio tours in July as part of the Cinema Rediscovered Festival . In these tours I will be showing people around my work spaces so they can see some of the machines I am fixing and also so they get have a hands on go at lacing cameras or projectors.

The details of my tour are here.

At the same festival I am also running a glass slide / magic lantern slide workshop at the great Curzon Cinema in Clevedon.


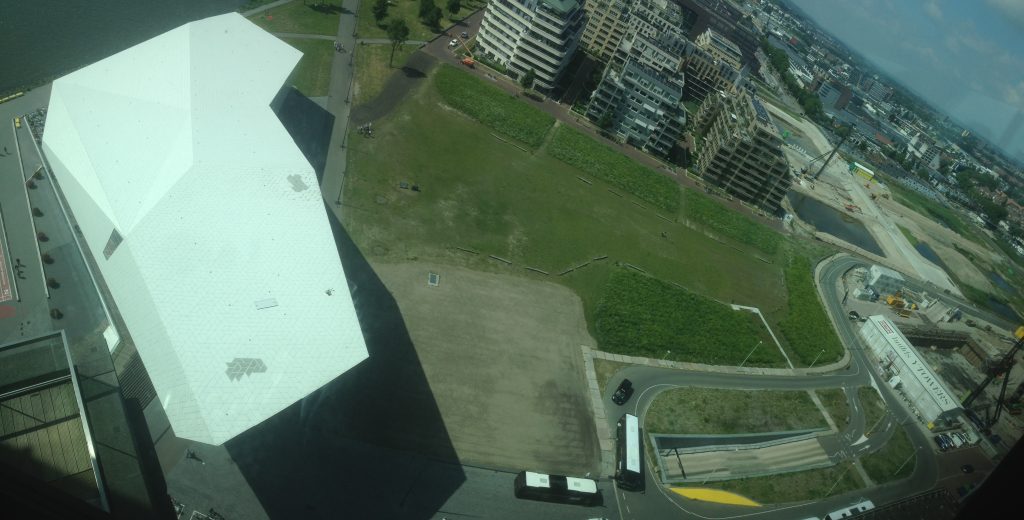
I have just come back from the Eye Annual Conference in Amsterdam which was themed this year as ‘Activating The Archive’  and I will be making some key interest posts here soon.

Also very pleased to acquire a 35mm camera that will shoot sound speed as well as single frame and this machine will form the basis of all my next practical projects.

I am also into the main practical /written research project for my MRes so there will be much activity over the next year.


Light Show Report

So me, Rod, Hoppo and Richie managed to pull off our performance at BEEF and Brunswick Club Saturday just gone.

I thought I’d write up a breakdown report of all the techniques, projectors and processes we devised and used. This is is aimed at myself as documentation but also, as I  believe in the spirit of open source and sharing, at anyone who is interested.

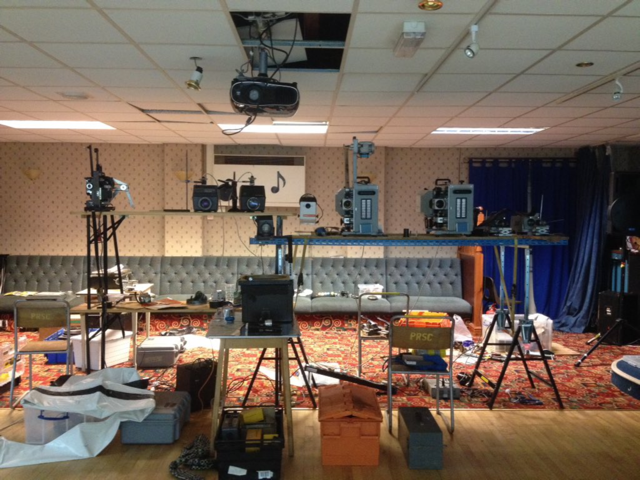
Picture 1. Shows the basic rig with following projectors from the left.

Hand cranked 16mm Elf (customised by ‘Carter’). Used for melting black film during a section with the ‘eclipse’.

Two Epidiascopes prepared with lamps. Used during the ‘Blue Soup’ section. The shadow was provided by a blown lamp the same type used in the epi-scopes. Each lamp is on a switch and dimmer controller that is effectively a primitive ‘instrument’ that can be “played”. The lamps are held in place by stands that also allow fine focus of the part of the lamp being projected. Lamp types were Sylvania Halogen spots 10 degrees to 30.

Xenon OHP. The light source for the opening ‘Stars’ section (pin pricks in black foil over the OHP) and the ‘Blue Soup’ part. The blown lamp is placed in the water tray on the OHP to create a shadow that the epi-scope lamp images then fill.

Solar 250. Provided the moving blobs of murky light in black. Oil wheels that have been filled with car sump oil.

Two 35mm Mignons. The lighting, earth, clouds and burning earth loop was a 35mm ‘Greenpeace’ short film/advert.

Two Rank Tutors with prepared gate/object assemblies. An iris effect and a ping pong ball ‘eclipse’ effect.

Later we added a couple of Kodaks (carousels) and a hand held Super 8mm Eumig that was operated from the front during the ‘Eclipse’ set.

I’ll also post picture of the audio set up I was using. Basically I had a small mixer and several sources including two 1/4 tape recorders, a Nagra 4:2 and a Tandberg, A Volca Bass Drum, a Waldorf 2Pole filer, a Bug Brand ‘CUBE WEOVIL’, a outboard effects unit (Beringer Virtual Composer) a mic source from the cymbals played by Richie Smith and a couple of sources used by Hopkinson, a portable turntable with a 12″ locked groove record and a little noise box unit.

On tape I’d recorded earlier in the week a session of Richie on a particular cymbal at full speed which I played slowed down. I also recorded a bread knife being twanged on a table which was also slowed down. On the Tandberg I had a reel of a rising shepard Tone.


new 35mm gate nicely now at home

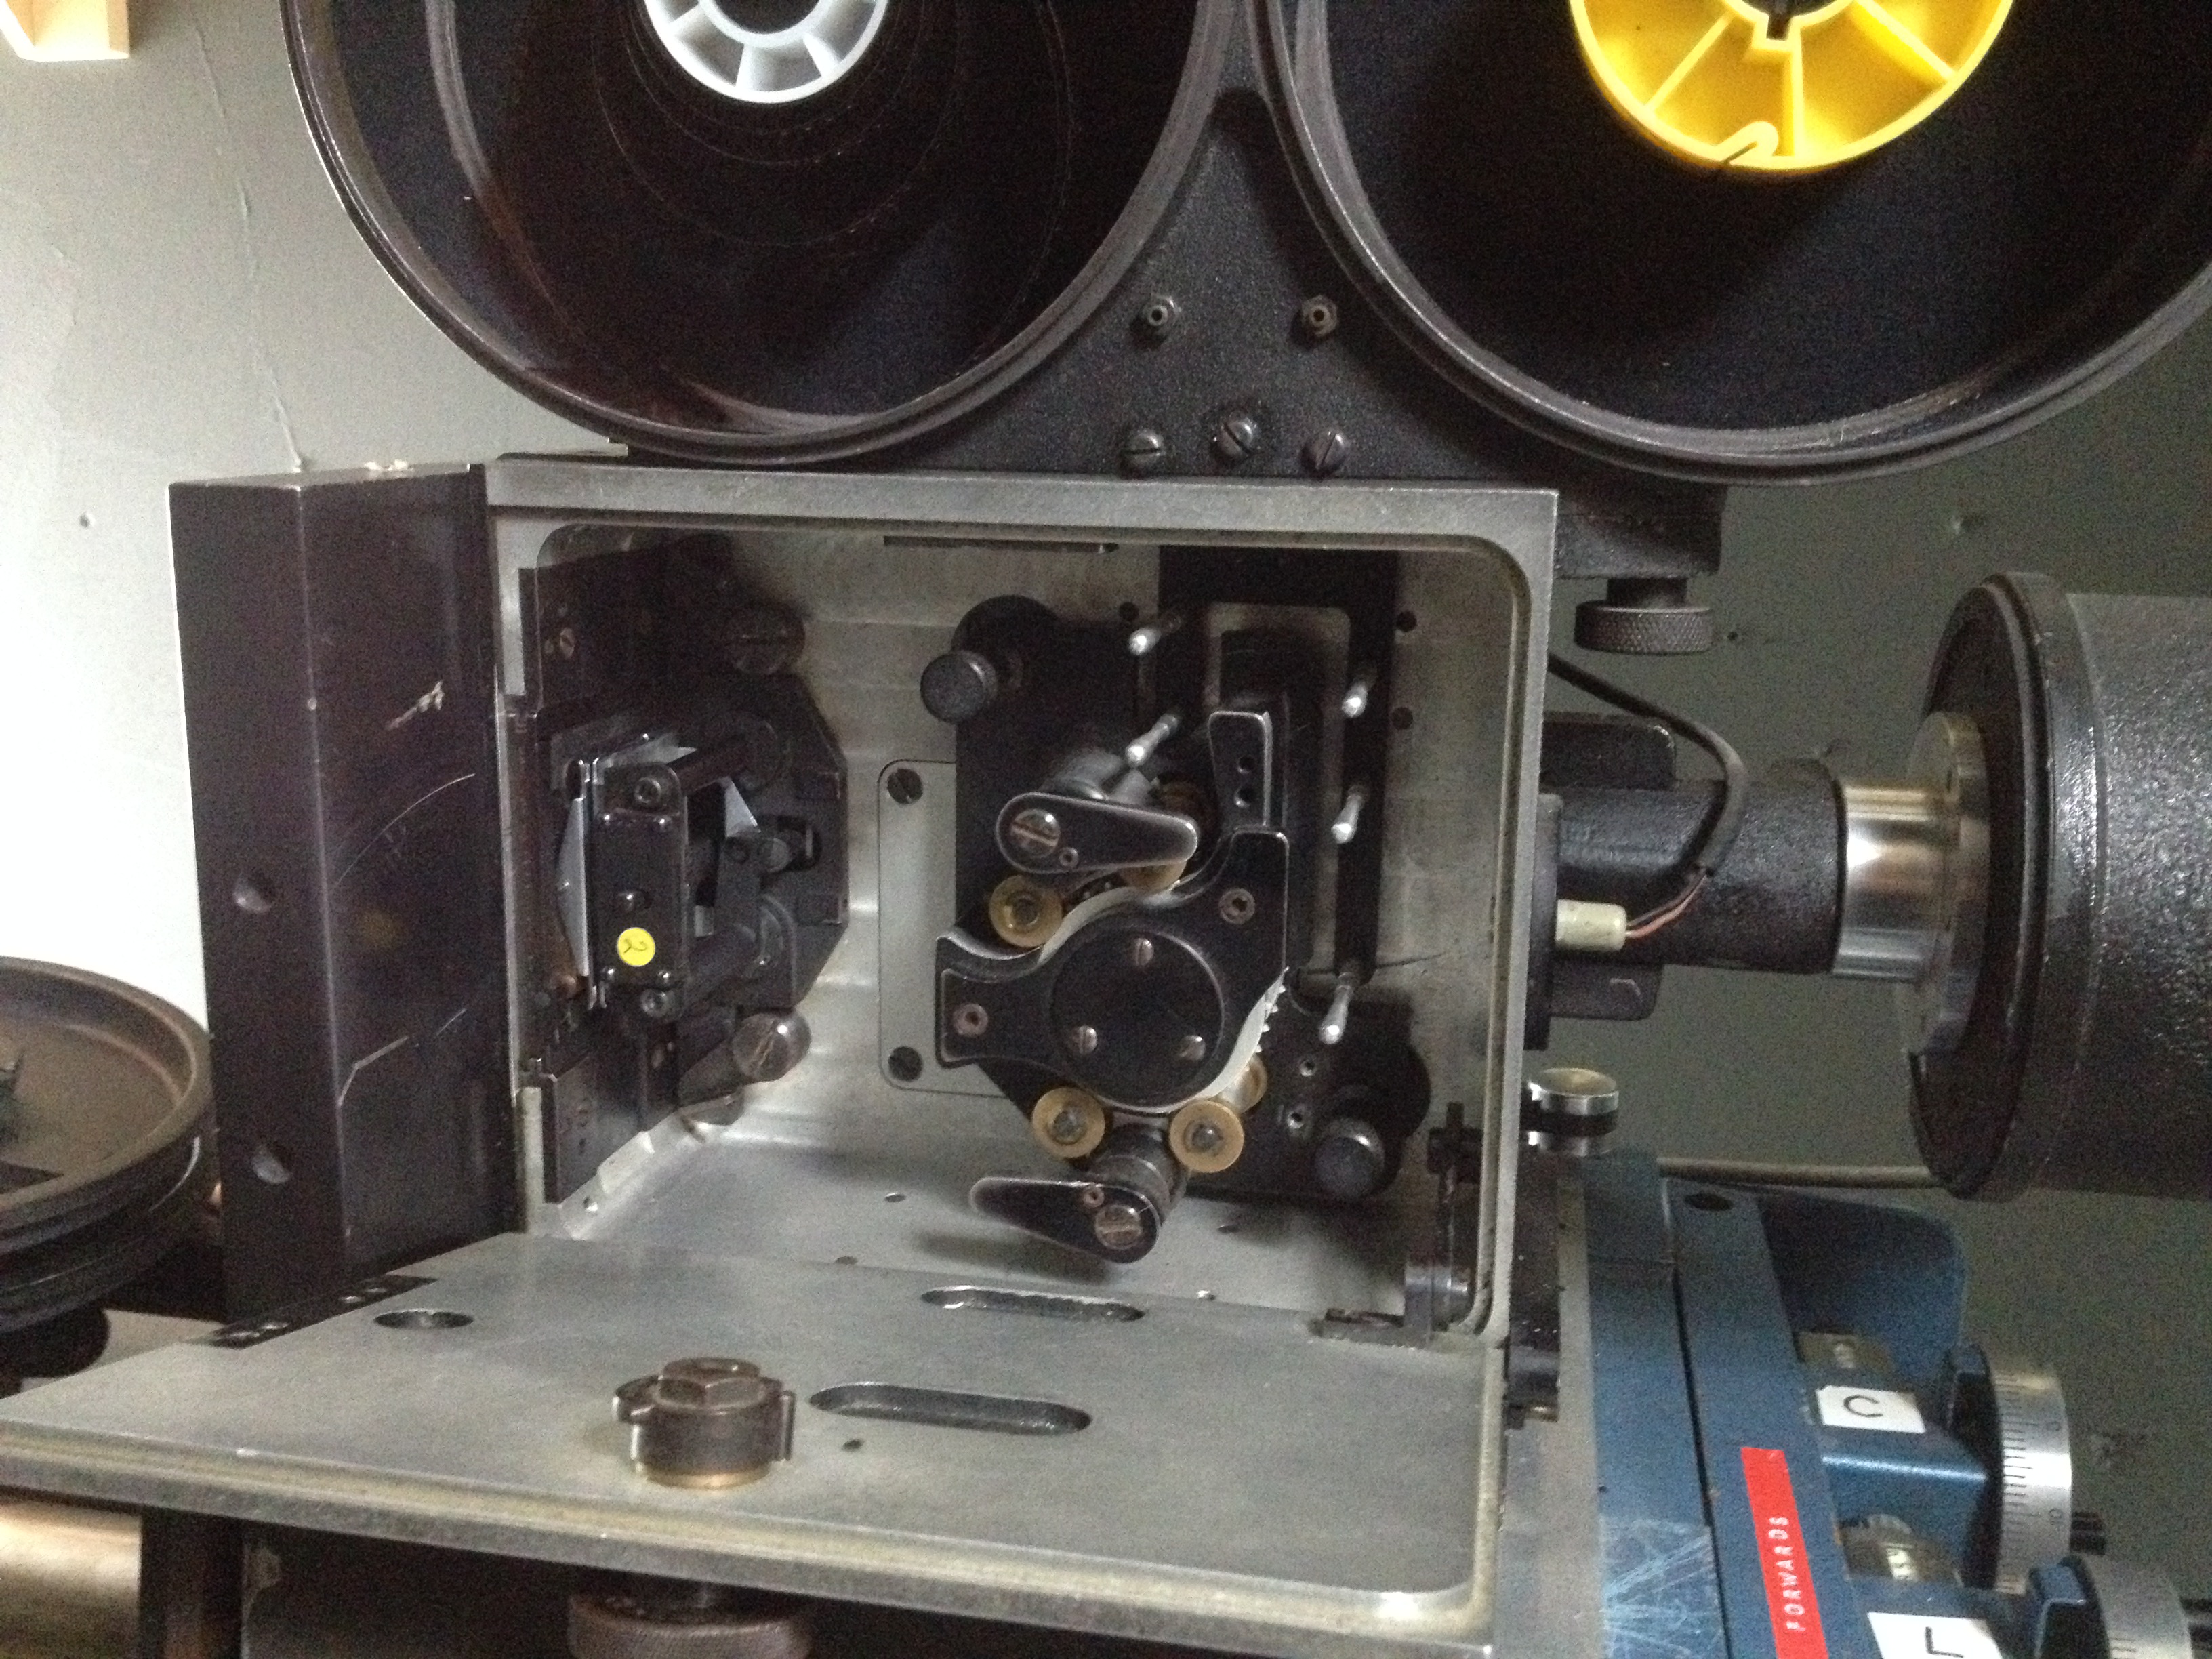
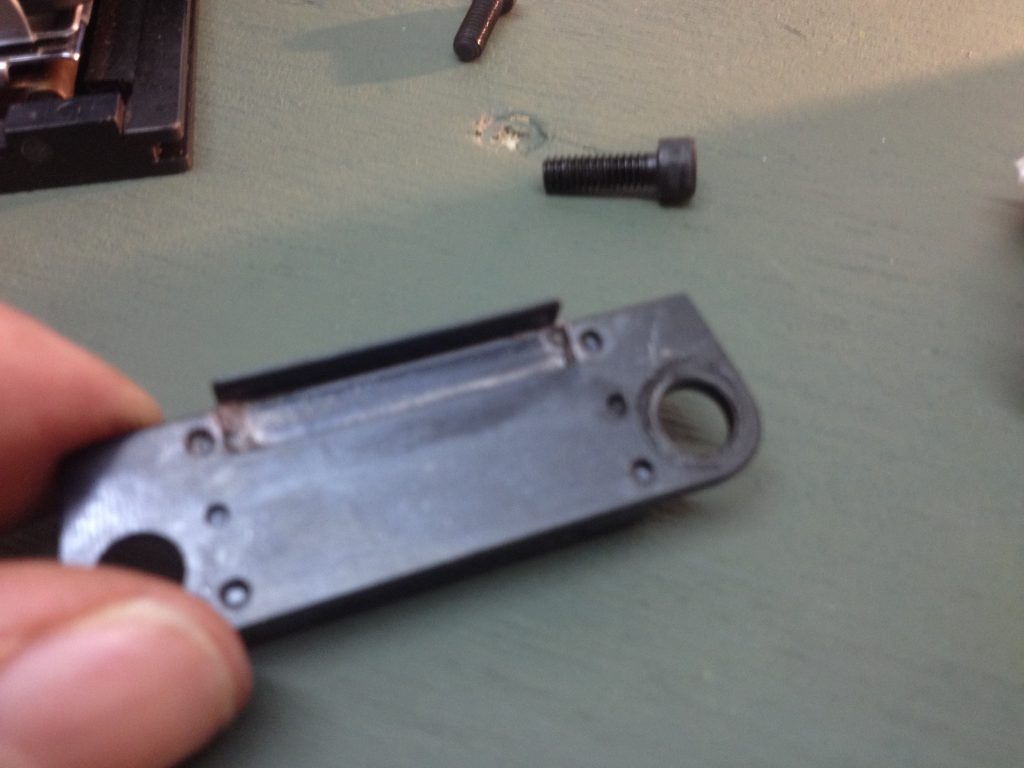
New 35mm gate from BB list, at first was loose and I was worried that perhaps a spring was missing.

But I undid the film transport frame/sprocket and relocated the frame into its proper place.

Now running like a dream.

Need to fix take up motors on camera now………..

Real work starts here.

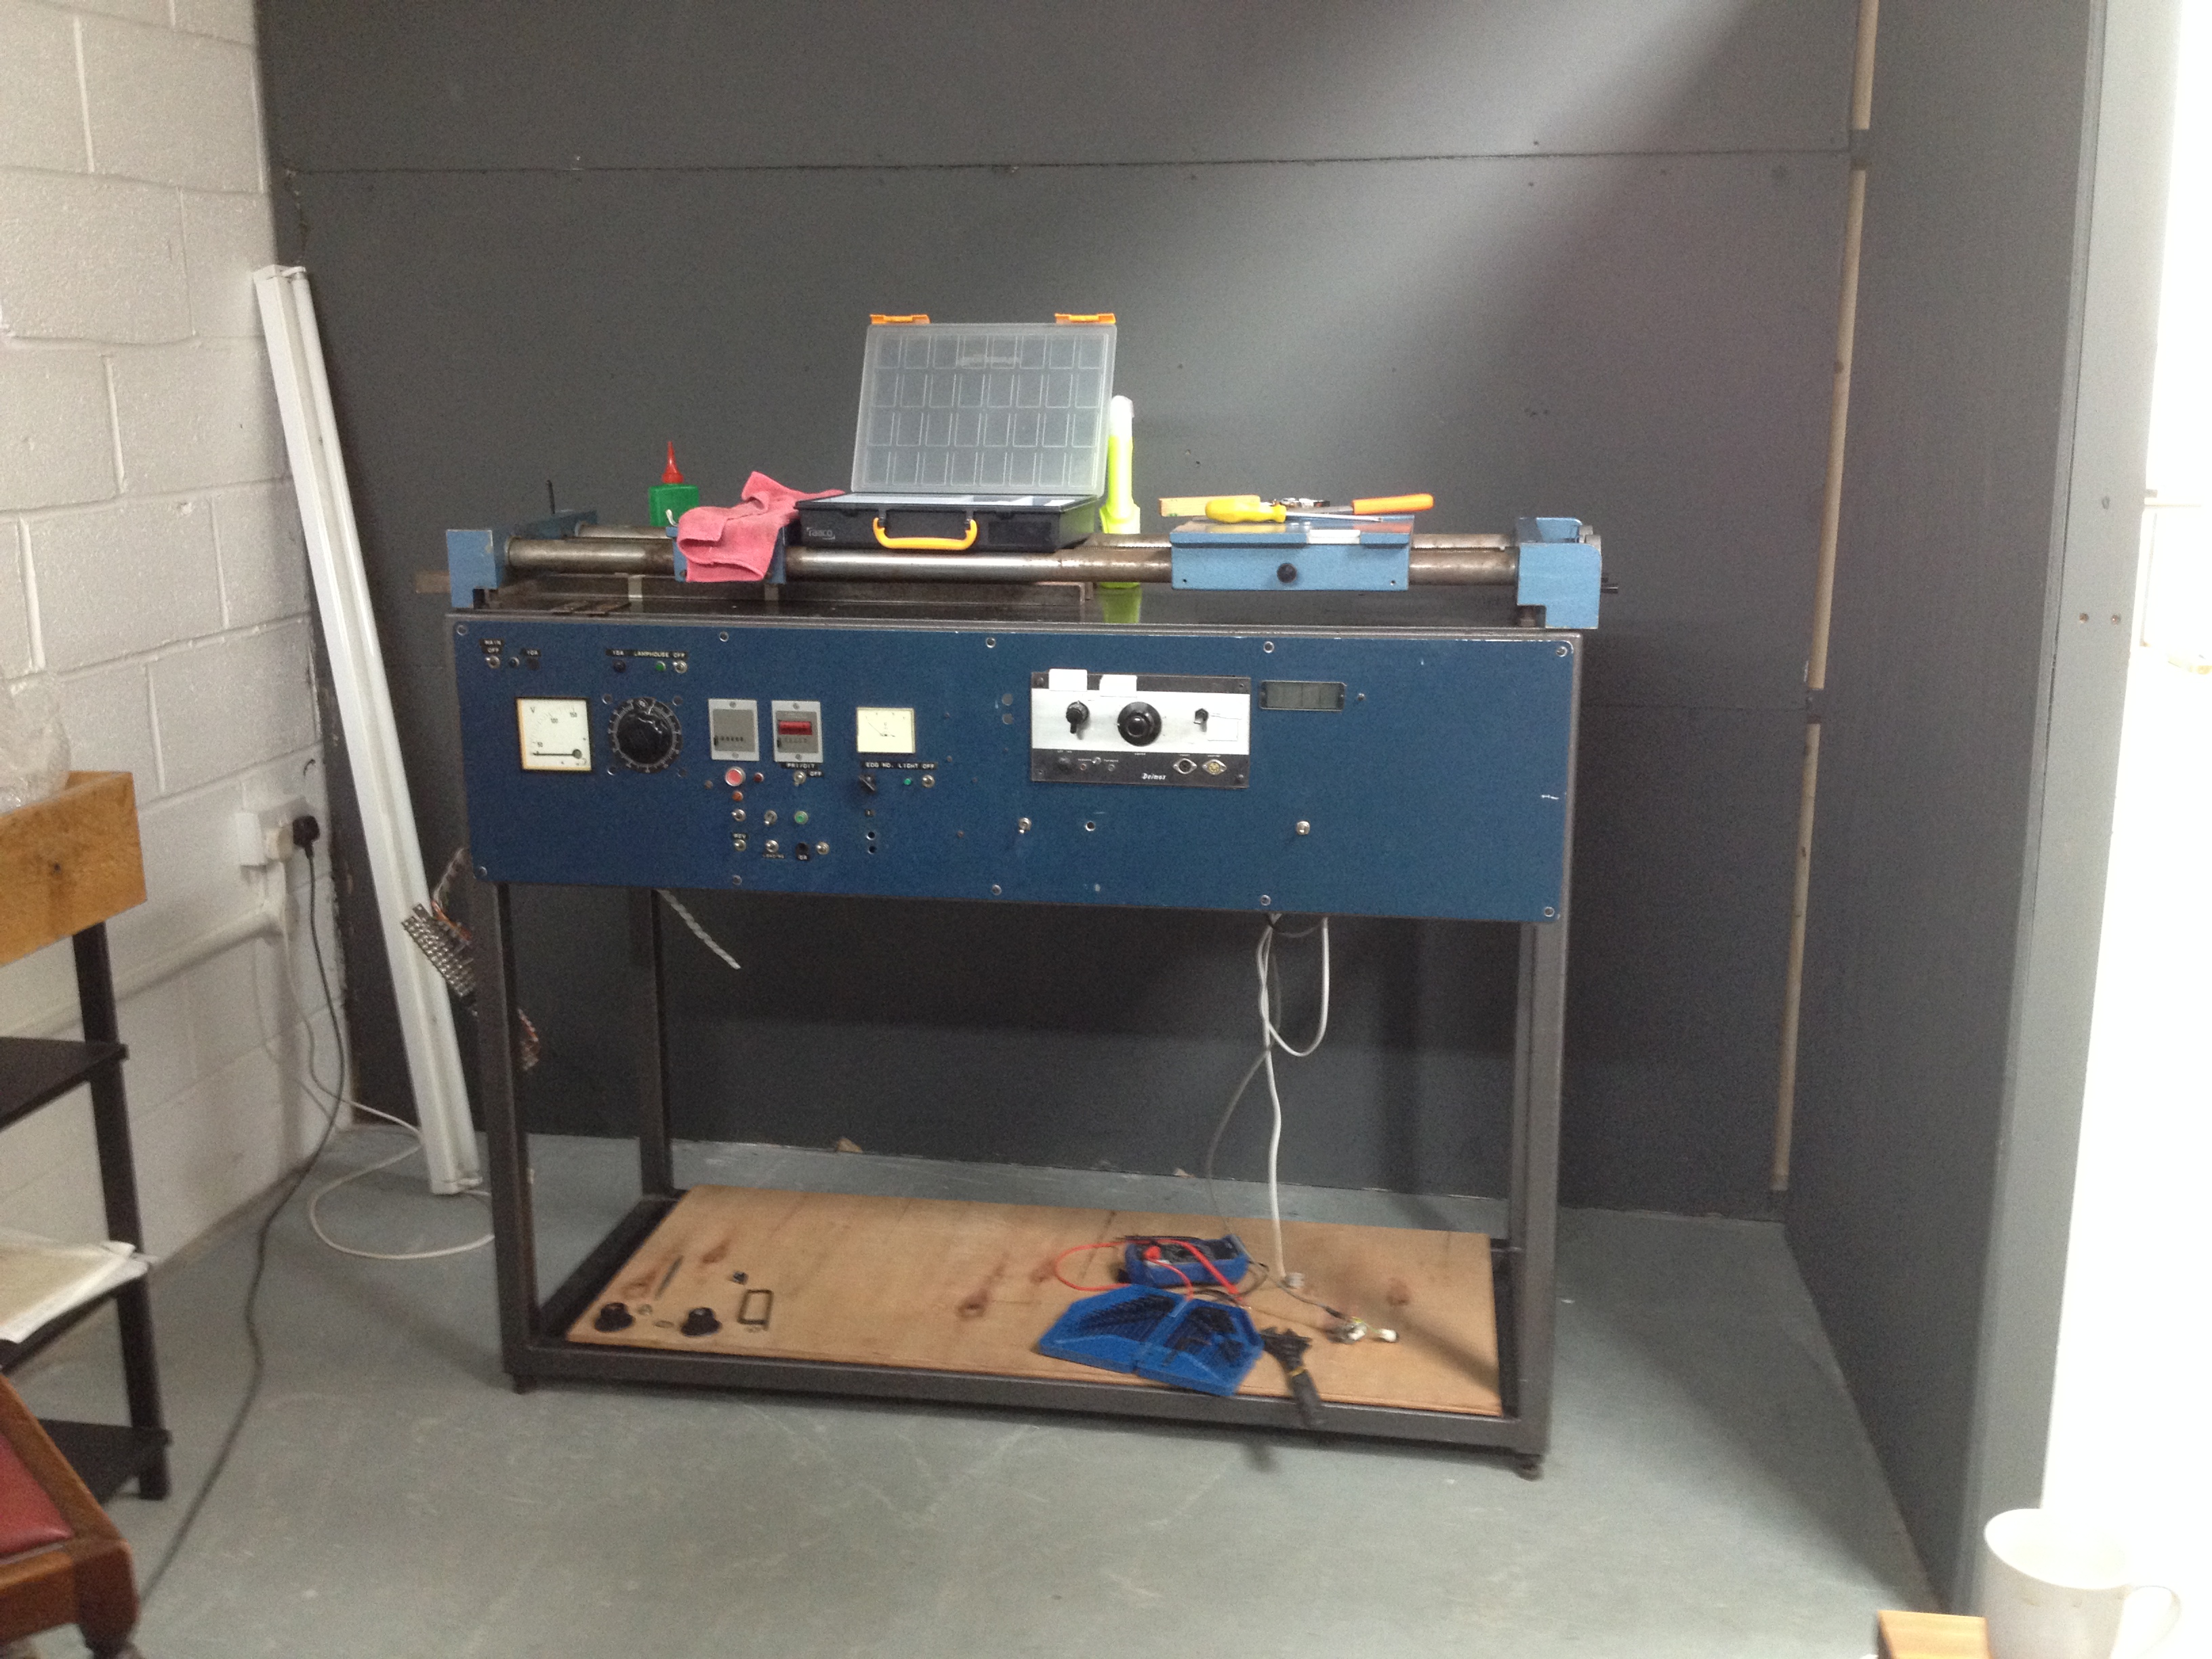
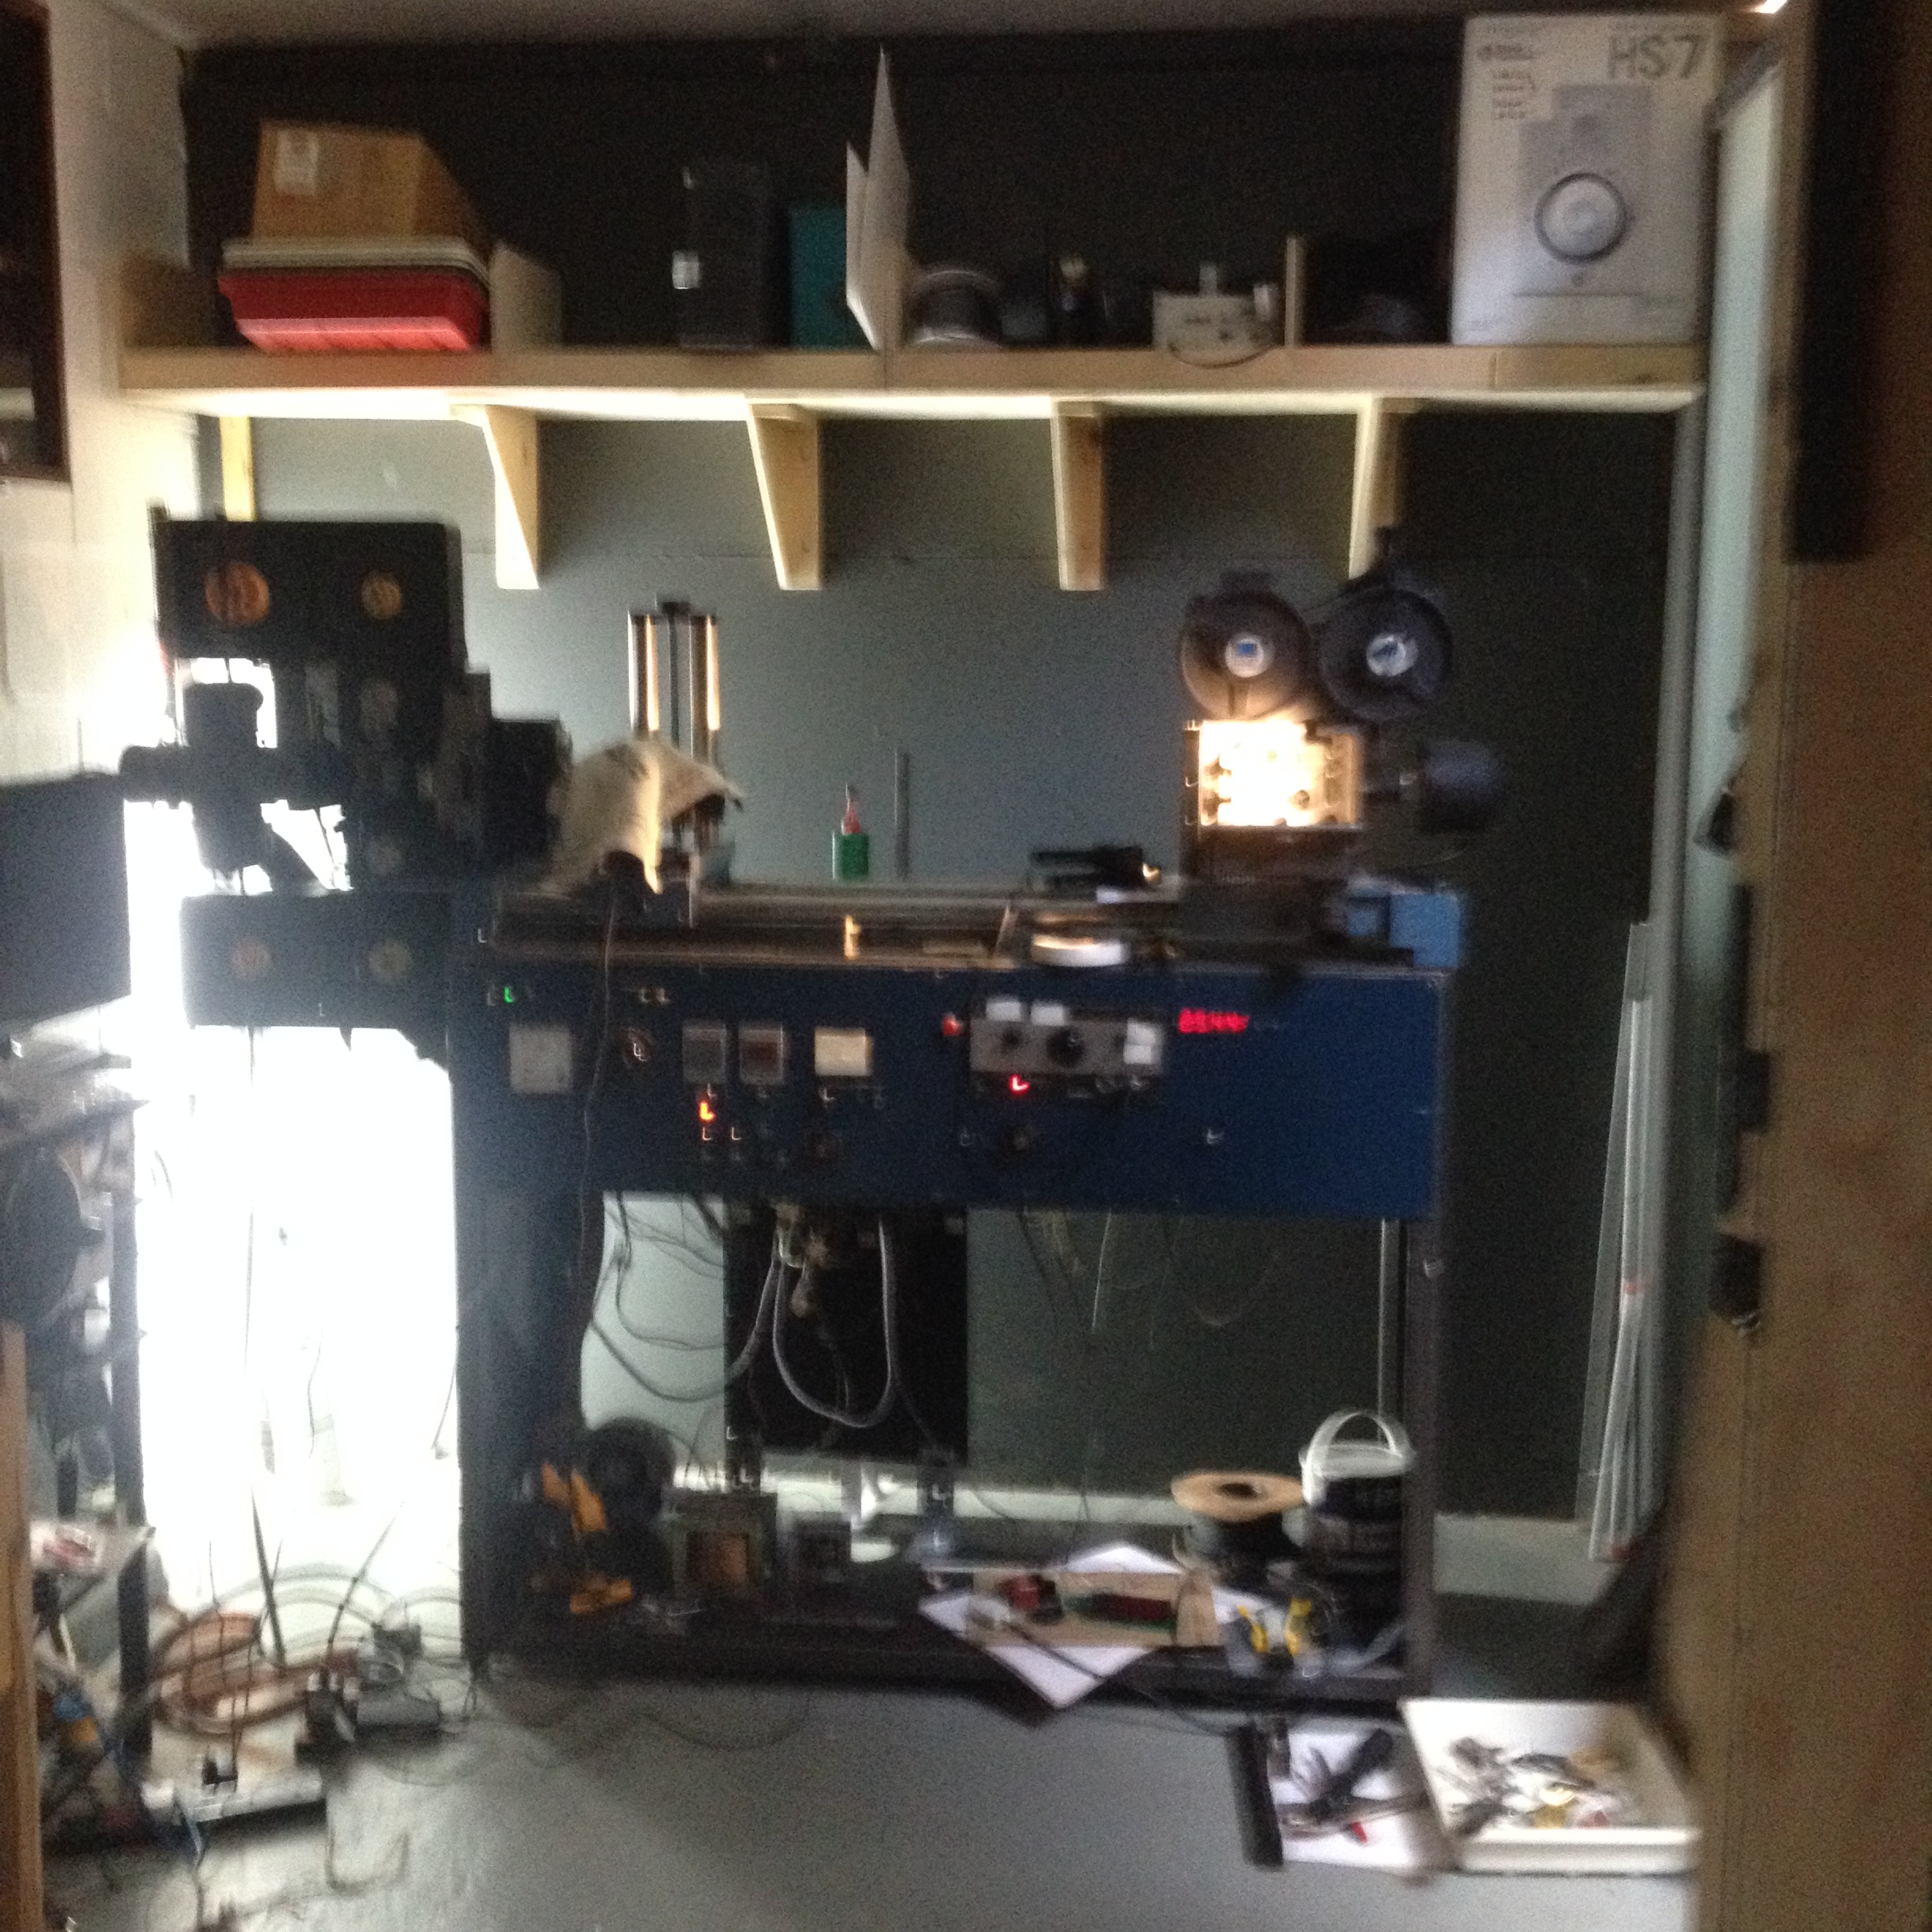
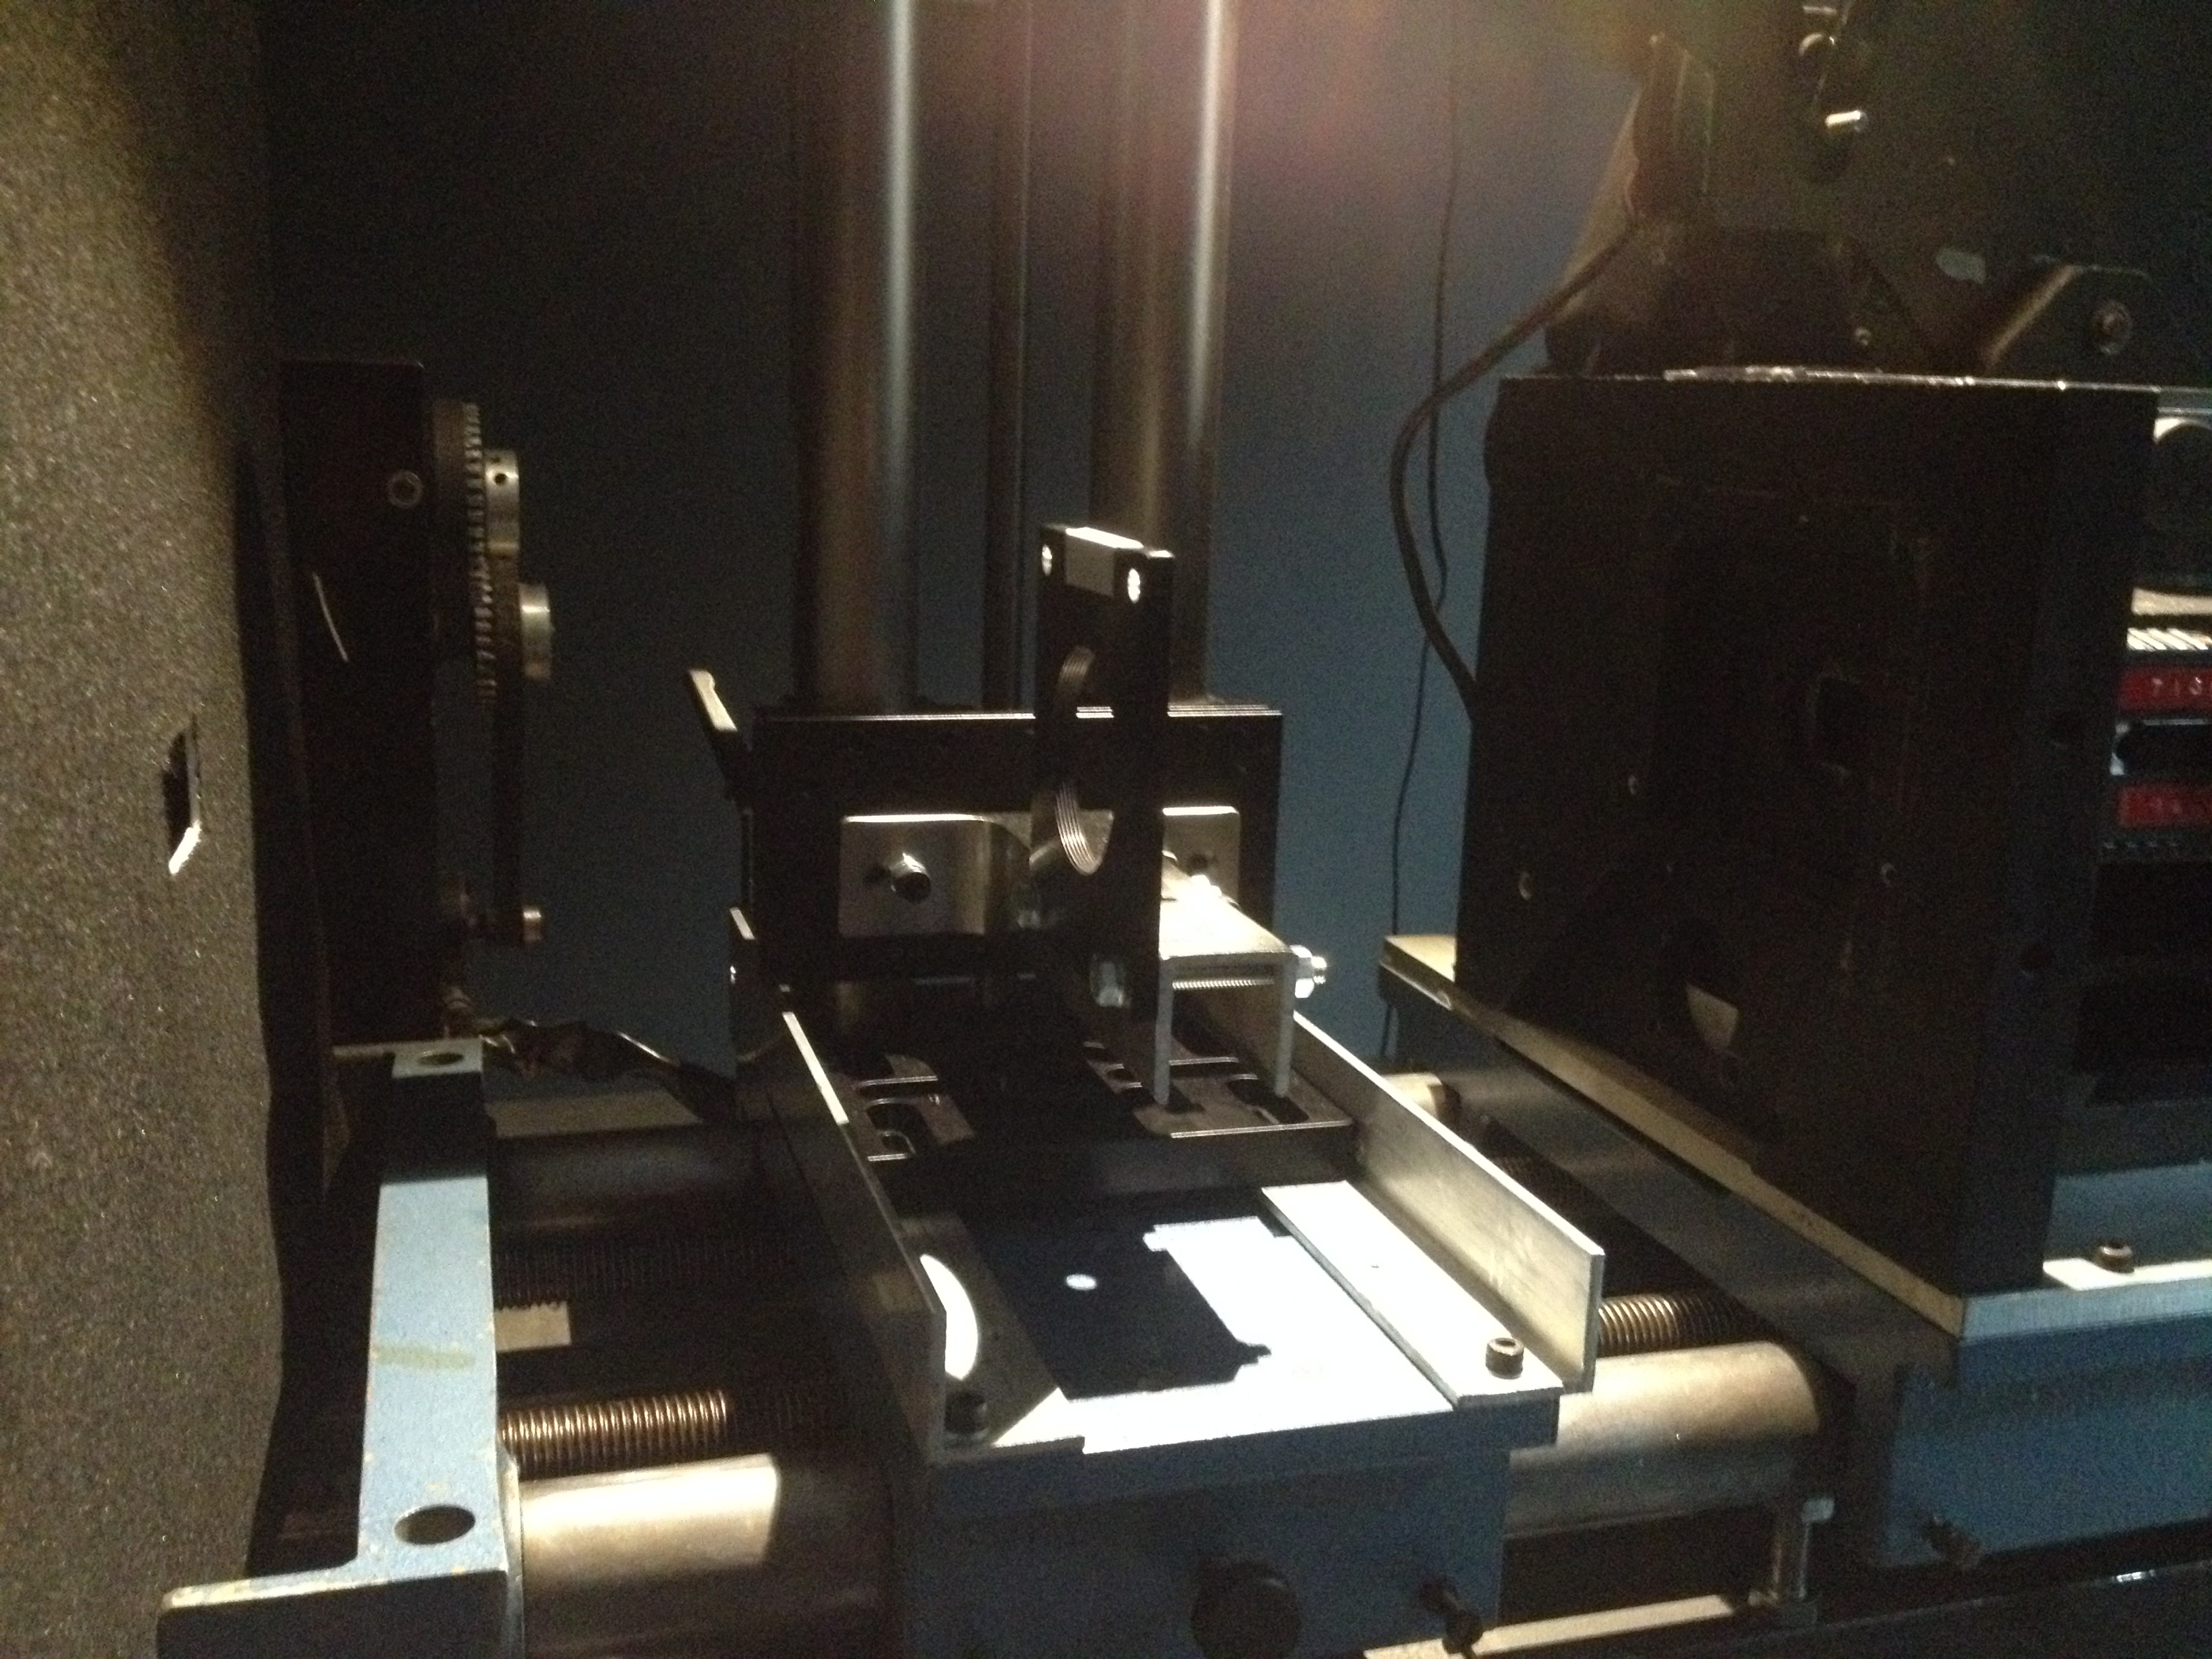
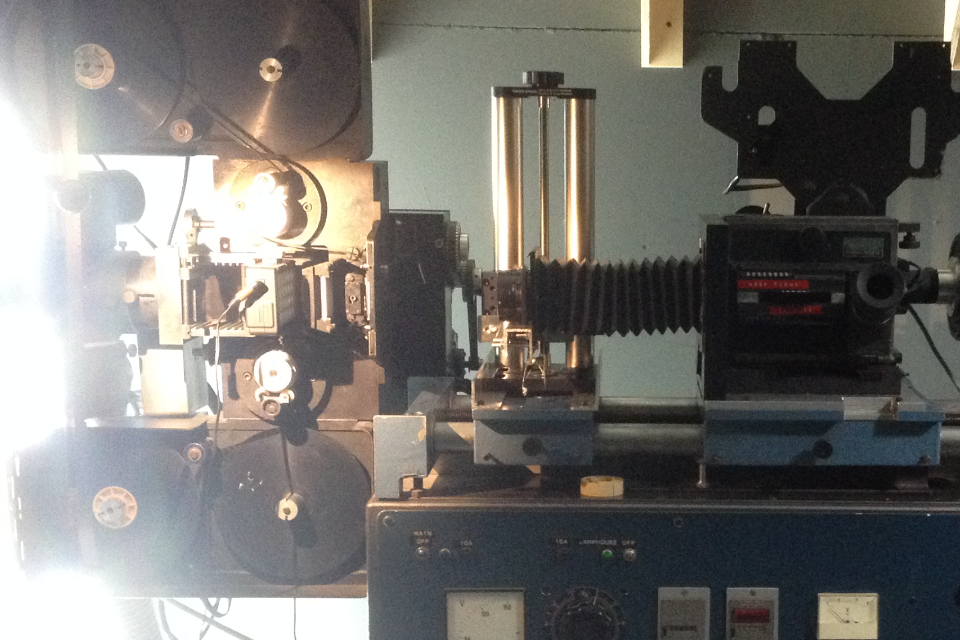
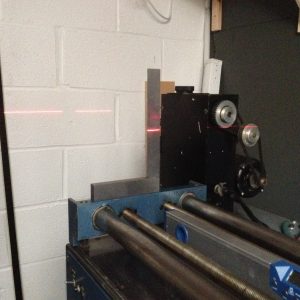
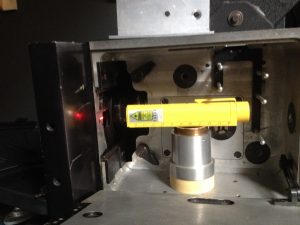
I have finally, after what feels like 10 years (prob 10 years since acquiring this machine) but is actually 5 years of storage battles, makeshift repairs, huge learning curves (electrics, relays, soldering, circuits, mechanics and optics) got to the point where this Oxberry-Neilson/Hordell bastard printer is working enough  to make tests to ascertain what still isn’t working. I know for a fact for instance that when you rail the lens/camera back on the geared bed, the image shifts DOWN! and this tells us that the whole optical axis is misaligned.

Still a minor victory for me personally has been to; complete the basic functions of the projector head and its link with the camera; fix the camera motor and shutter mech; design a solution to the relay lens mount and open out the electrics/electronics enough to make way for modernisations like programme control etc (this will be next).

There are still so many things to do now. Final setting, level, align and fixing of the whole geared bed. Camera TUPS. Better digital counters. The perspex door to projector and any mods to this to allow LED array lighting. Acquire gates to allow 16>16 and 35>35 (really holding out for Steve at MONO.NO.AWARE for this massive help). Plates for the manual stage to mount DSLR (digitisation), Bolex (16mm alternative to Oxberry single frame camera, ie filming off gate at sound speeds), and other cameras. Experimental colour light head. Arduino or ‘C’ written programme for full control. Using Telecentric lenses. Then when all this is done actually make some bloody films.


Parvo L 35mm camera

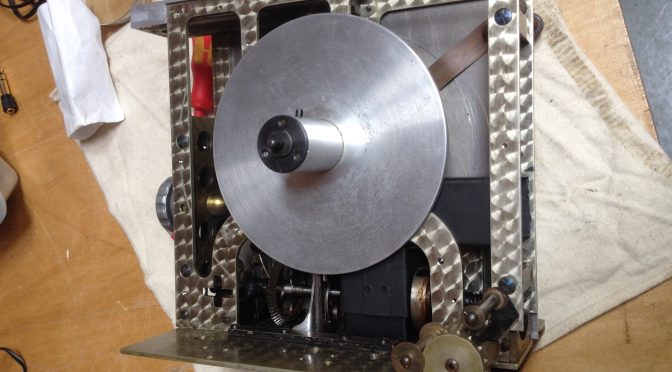
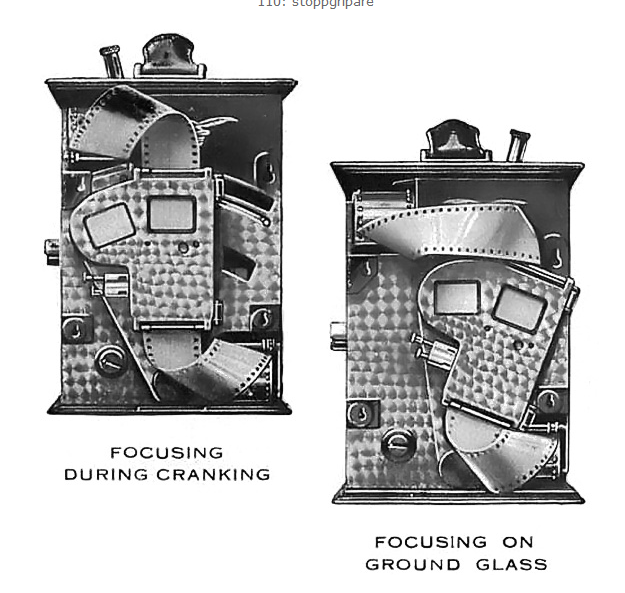
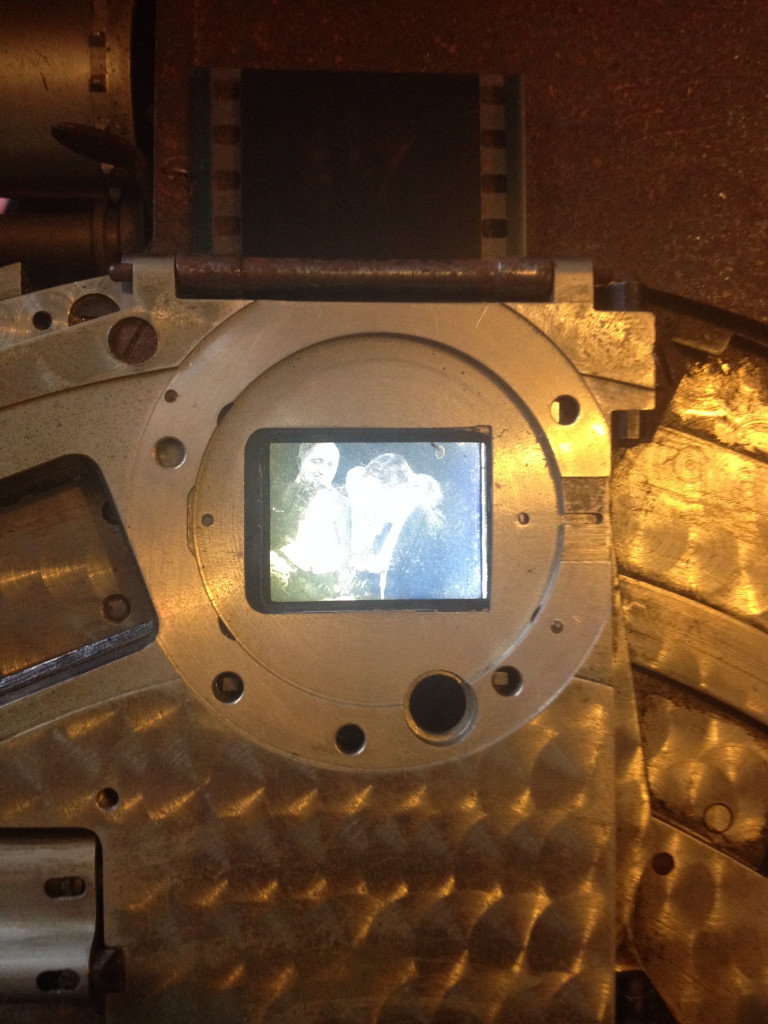
More on the machine part I bought years ago. I have finally, after a bit more in depth research worked out that it is the basic mechanism from a Debrie Parvo L series camera.


Here is a link to a film of its manufacture and assembly.
http://cinematographes.free.fr/videos/debrie-3.mov

Heres some good photos of a complete one in the Malkames Collection.


And here is the manual, in Swedish, but it shows many features like the gate that swipes over to allow TFL focussing.

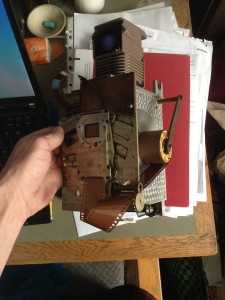
The unit I have got has got several modern interventions. Firstly it has some of the area around the camera gate machined away to make way for somekind of lens (I dont have the whole shutter lens assembly, the housing or a lens). Next its got a mirror placed inside the viewfinder passage. Lastly its got a breakout drive mechanism. All these point to it being converted to a projector. When I bought it it had a lamp-house attached above the mirror.

My plan is to build it into a camera again using modern lens mounts.